 Pin This
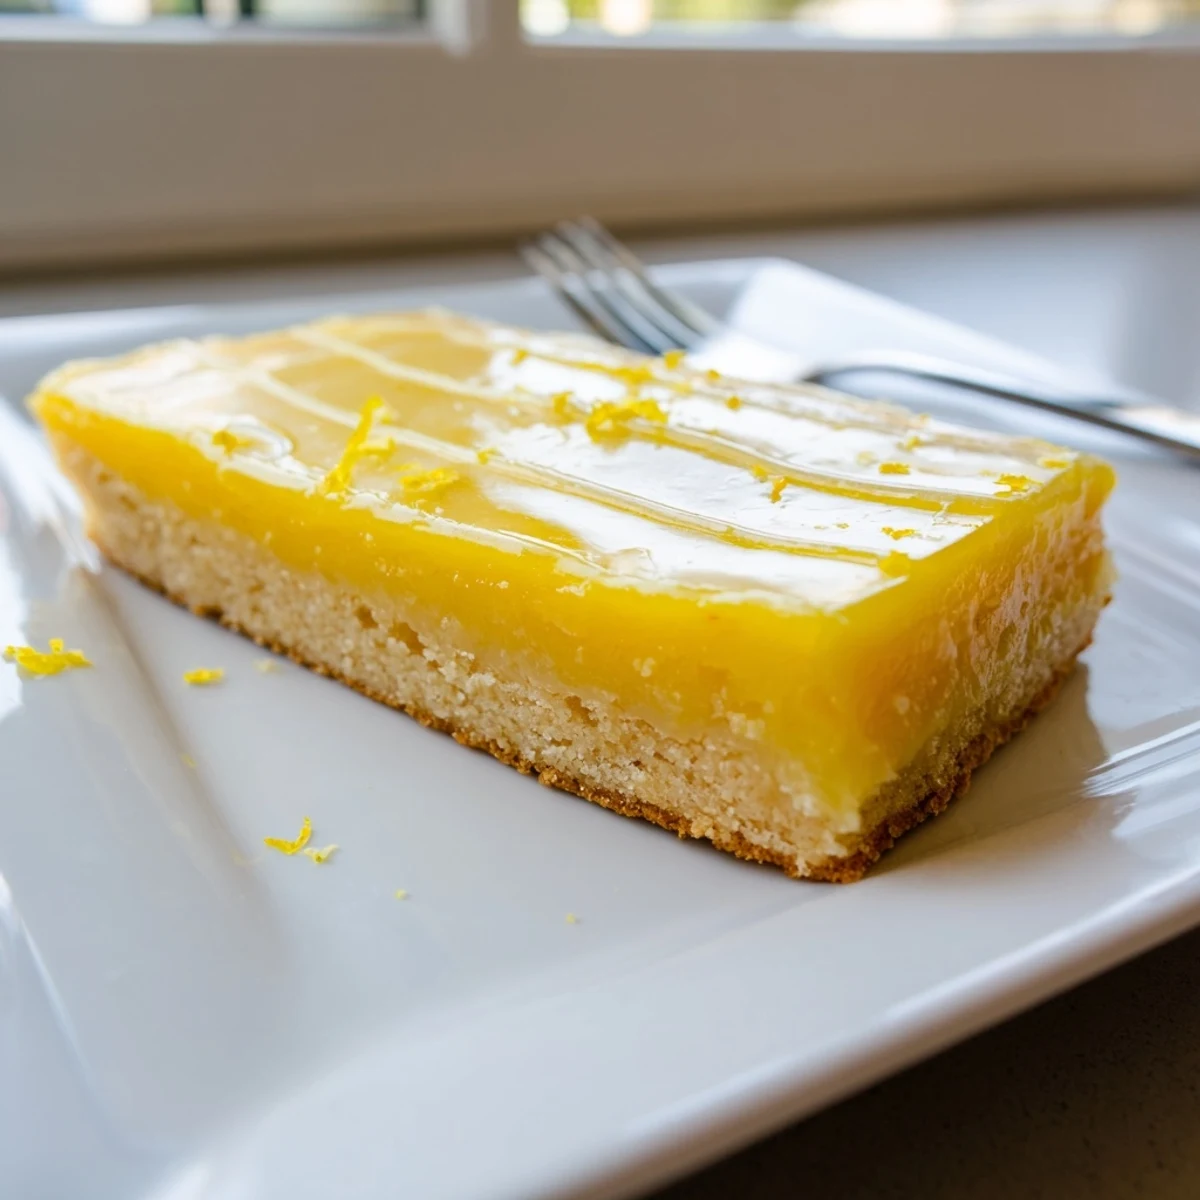
 These bright lemon dessert bars combine three delicious layers: a tender buttery shortbread crust baked to golden perfection, a silky smooth lemon filling made with fresh juice and zest, and a final touch of sweet citrus glaze. The contrast between the rich, crumbly base and the vibrantly tangy topping creates the perfect balance of sweet and tart flavors.
Plan for about two hours total time, including cooling—essential for achieving clean, professional-looking squares. The bars require just 20 minutes of active preparation before oven time does most of the work.
Store in the refrigerator for up to five days, allowing flavors to develop even more depth over time.
There's something about the way sunlight hits a perfectly set lemon bar that makes you forget whatever stress you're carrying. I discovered this during a particularly gray February when I desperately needed something that tasted like hope. These bars became my go-to for bringing a little brightness into the kitchen, especially on days when summer feels impossibly far away.
My neighbor asked for the recipe after I brought these to a block party, claiming they were exactly like her grandmother used to make but better. That's when I knew this wasn't just another lemon bar recipe. There's real magic in the ratio of sweet to tart here, something that makes people pause mid-bite and ask what makes them different.
Ingredients
- Unsalted butter: Room temperature butter creates that melt-in-your-mouth shortbread texture that should crumble gently, not snap
- Granulated sugar: Dissolves completely into the filling for that glassy, smooth finish we're all chasing
- All-purpose flour: The structure builder for both crust and filling, keeping everything from becoming a sad puddle
- Salt: Just enough to wake up all the flavors without making anything taste salty
- Eggs: Large eggs are non-negotiable here for proper setting and that luxurious, custard-like texture
- Freshly squeezed lemon juice: Bottled juice will give you a one-dimensional flavor, so grab three or four lemons and start squeezing
- Lemon zest: The fragrant oils in the zest carry all the perfume that the juice alone can't provide
- Powdered sugar: Sifting is mandatory unless you enjoy picking tiny lumps out of your otherwise smooth glaze
Instructions
- Get your oven and pan ready:
- Preheat to 350°F and line your pan with parchment paper, letting the ends hang over like little handles
- Build the buttery foundation:
- Cream the butter and sugar until they're pale and fluffy, then work in the flour and salt until the dough just comes together
- Create the crust:
- Press the dough firmly and evenly into your pan, then bake until the edges turn a light golden color
- Whisk up the sunshine:
- Stir together the sugar and flour before adding eggs, lemon juice, and zest, mixing until everything is smooth as silk
- Add the tangy layer:
- Pour the filling directly over that hot crust and return it to the oven until the center sets but still has a slight wobble
- Practice patience:
- Let the bars cool completely in the pan, which takes about an hour but is worth every minute
- Make the finishing touch:
- Whisk the powdered sugar with just enough lemon juice to make it pourable, then spread it over the cooled bars
- Portion and serve:
- Use the parchment overhang to lift everything out, then slice into sixteen perfect squares with a sharp knife
 Pin This
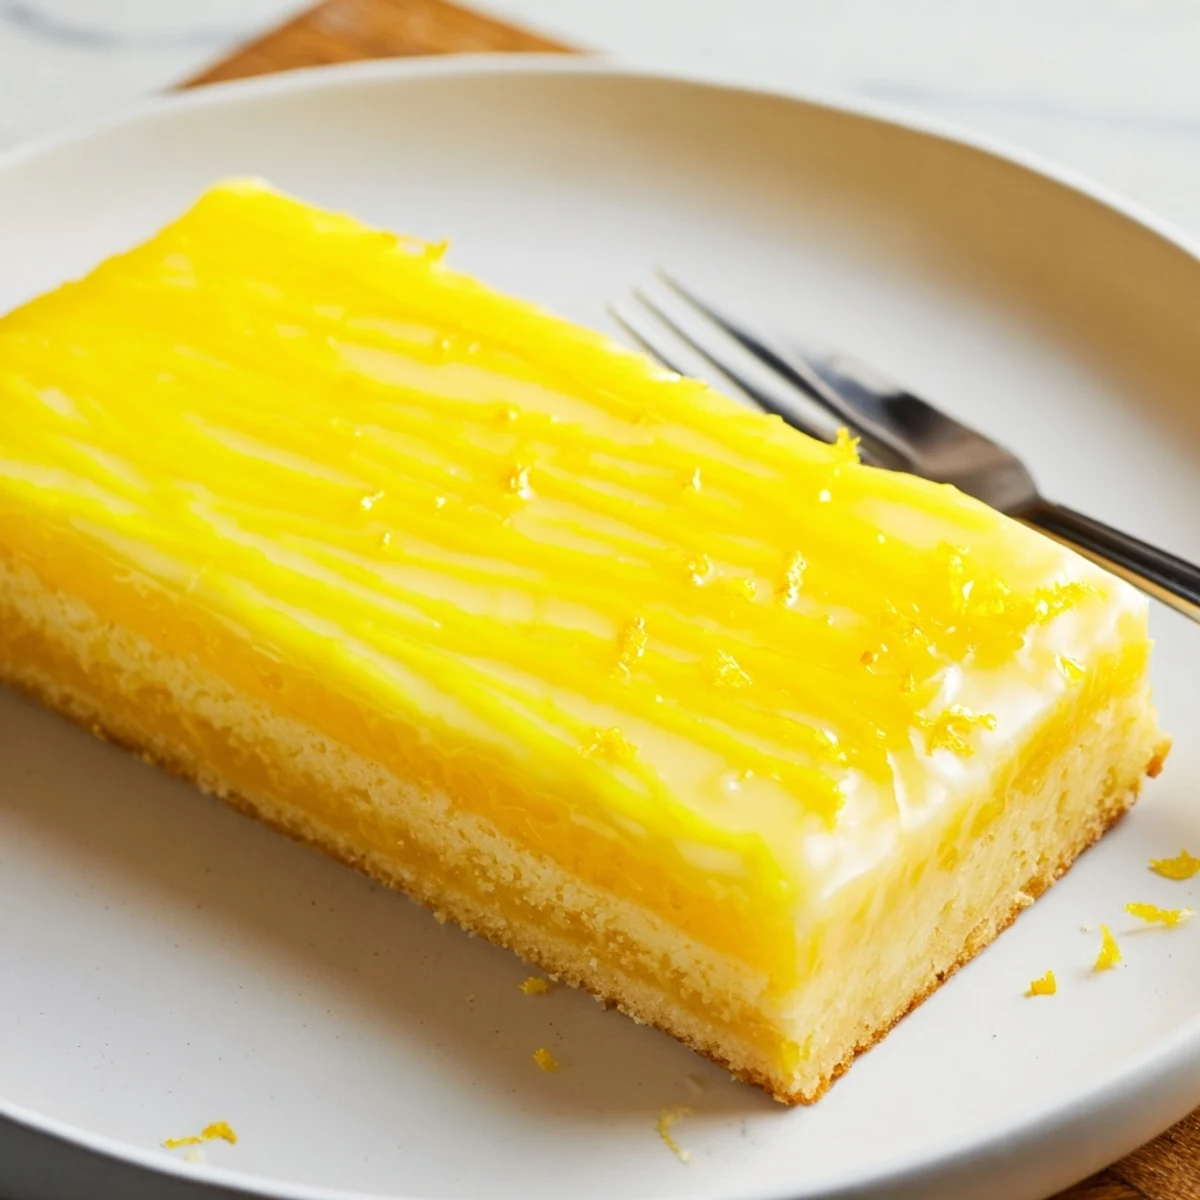
 These bars became a tradition at our family's Easter brunch after my aunt declared them the perfect ending to a spring meal. Now no gathering feels complete without that bright yellow tray making an appearance on the dessert table.
Getting the Perfect Texture
The center should still have a slight jiggle when you remove it from the oven. This residual heat completes the cooking process without turning your beautiful lemon filling into something rubbery or dry.
Room Temperature vs Chilled
These bars taste completely different depending on how you serve them. Room temperature brings out the buttery notes in the crust, while chilling emphasizes the bright, clean lemon flavors.
Making Them Your Own
A tiny pinch of sea salt in the glaze creates this sophisticated sweet-salty thing that people can't quite put their finger on but absolutely love.
- Try swapping in lime juice for a twist on the classic
- Add a drop of vanilla extract to the crust for warmth
- Chill the pan before slicing for the cleanest edges
 Pin This
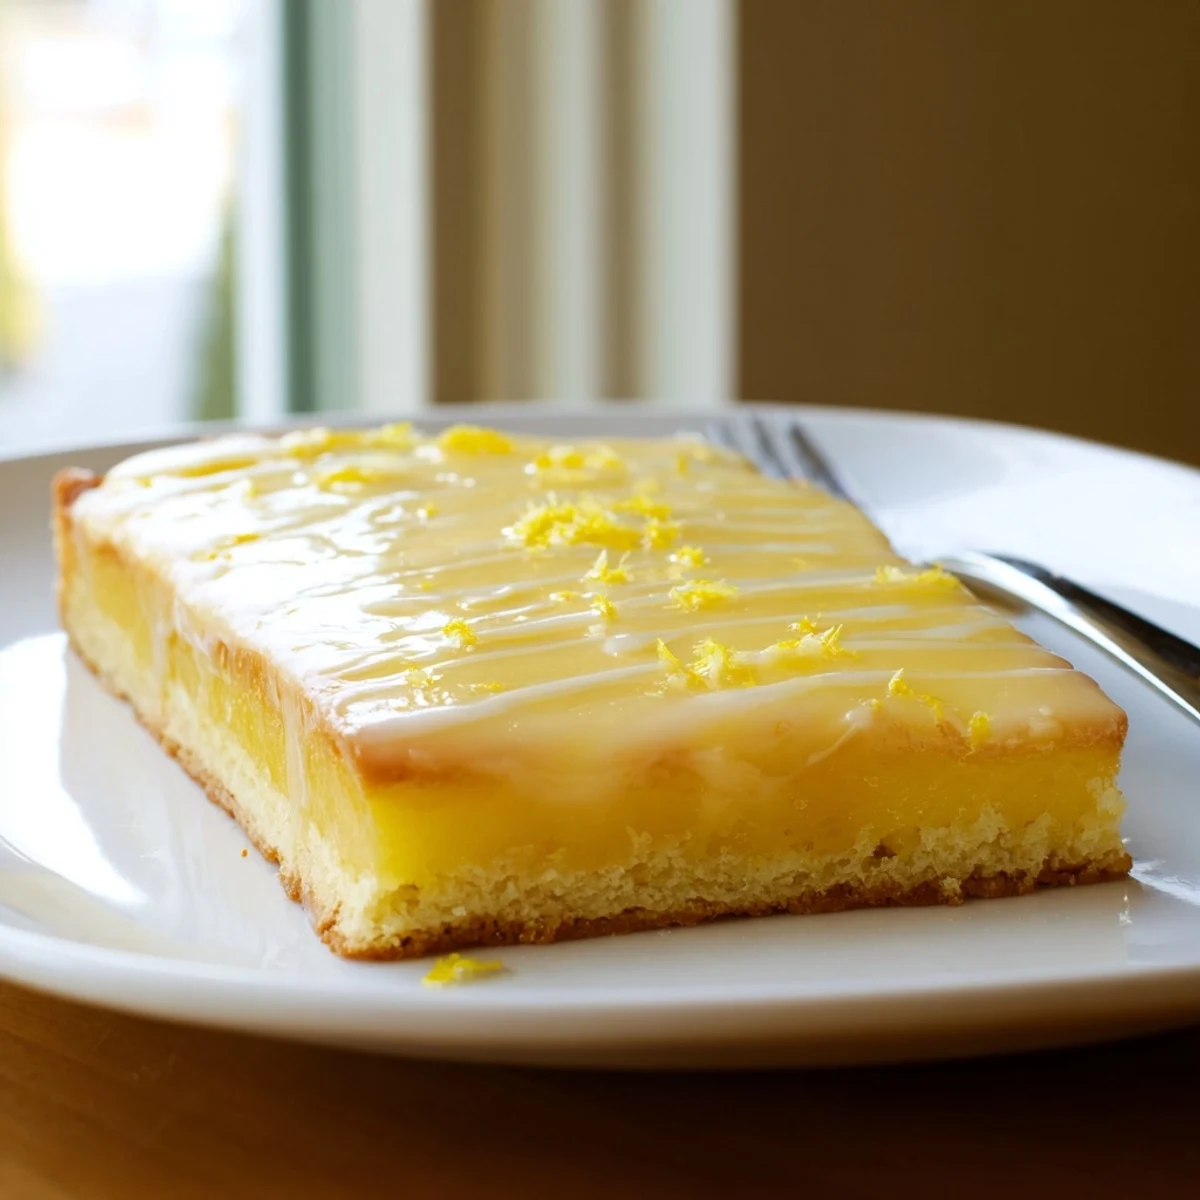
 Every time I pull these from the fridge and cut through that crackly glaze, I'm reminded why they're worth every minute of effort.
Questions & Answers
- → How do I know when the lemon filling is set?
-
The filling is ready when the center appears just set and no longer wobbles when you gently shake the pan. The edges should be slightly golden, and a knife inserted near the center should come out clean rather than runny.
- → Can I use bottled lemon juice instead of fresh?
-
Fresh lemon juice delivers significantly brighter flavor and natural acidity. Bottled juice can work in a pinch, but the bars will taste noticeably less vibrant and may have a slightly artificial aftertaste.
- → Why must the crust be hot when adding the filling?
-
Pouring the filling onto a hot crust creates a seamless layer between base and topping. The heat helps prevent the filling from seeping underneath and creates that signature smooth, professional appearance.
- → How do I prevent the glaze from being too runny?
-
Start with 2 tablespoons of lemon juice and whisk thoroughly. The glaze should flow slowly but hold its shape when drizzled. Add the third tablespoon only if needed for spreadability.
- → Can I freeze these lemon bars?
-
Yes, freeze before glazing. Wrap the cooled, unglazed bars tightly in plastic and foil for up to 3 months. Thaw overnight in the refrigerator, then add the fresh glaze before serving.
- → What's the best way to get clean cuts?
-
Chill the glazed bars for at least 30 minutes until the topping firms completely. Use a sharp knife wiped clean with a damp cloth between each cut for the most professional-looking squares.
