 Pin This
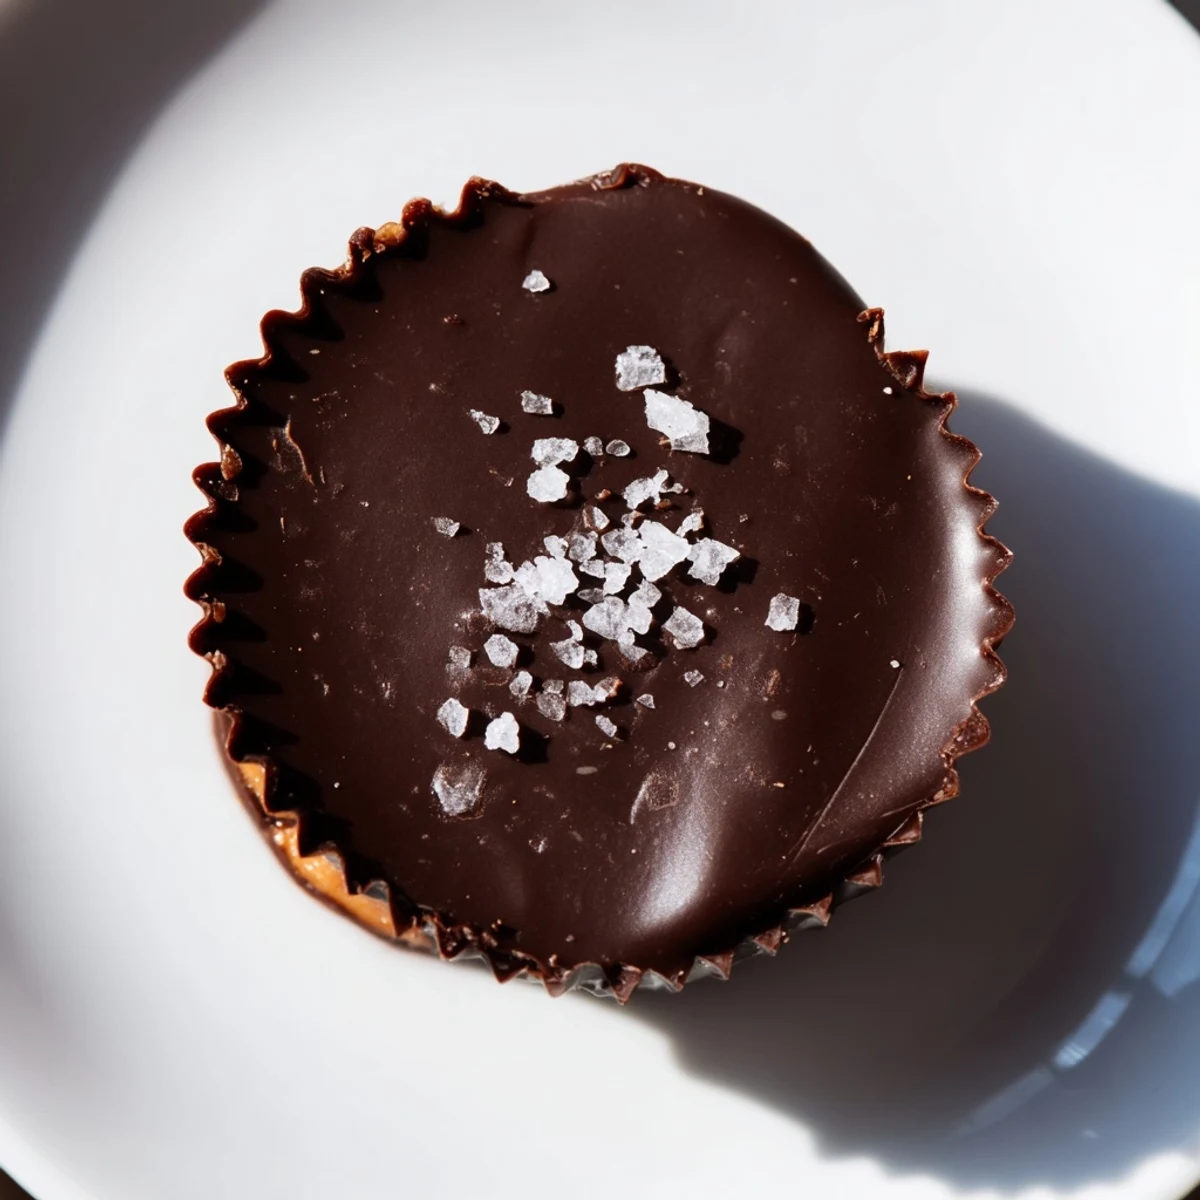
 These chocolate peanut butter cups combine a smooth, rich chocolate layer with a creamy peanut butter filling. Simple steps include melting chocolate, chilling layers, and assembling for a perfect balance of sweet and savory flavors. Ideal for easy homemade treats, they are vegetarian and can be adapted gluten-free or vegan by swapping ingredients. Enjoy chilling or serving at room temperature for a delightful, satisfying snack.
I made these on a rainy Tuesday when the grocery run had been postponed one too many times. The kitchen counter was covered in random baking supplies, and I found myself staring at a jar of peanut butter and some chocolate chips that had been sitting there since who knows when. That first bite made me wonder why I ever bother buying the store bought version. Now they are my go to when I need something sweet but do not want to turn on the oven for an hour.
My sister claimed she did not like sweets until I accidentally made a double batch. We sat on the couch eating them straight from the fridge while watching bad movies and discussing why chocolate and peanut butter should probably be illegal. Now she asks for them every time she visits and I have learned to hide a few for myself before she arrives.
Ingredients
- 225 g semi-sweet or dark chocolate: Choose something you would eat plain because the flavor really comes through
- 1 tbsp coconut oil or unsalted butter: This helps the chocolate set smoothly and makes it easier to bite through without cracking
- 120 g creamy peanut butter: Room temperature peanut butter blends better and creates that silky texture we are after
- 30 g powdered sugar: Do not skip this as it balances the saltiness and thickens the filling perfectly
- 20 g unsalted butter: Softened butter makes the filling creamy rather than stiff or greasy
- ¼ tsp vanilla extract: A small addition that elevates the peanut butter from basic to something special
- Pinch of salt: Even if your peanut butter is salted this little bit makes the chocolate sing
Instructions
- Prep your pan:
- Line a standard 12 cup muffin tin with paper liners and set it where you will work
- Melt the chocolate base:
- Combine the chocolate and coconut oil in a heatproof bowl and melt gently using a double boiler or microwave in 30 second bursts
- Create the first layer:
- Spoon about 1 teaspoon of melted chocolate into each liner and tilt carefully to coat the bottom
- Chill briefly:
- Pop the tin in the freezer for 10 minutes until the chocolate is completely set
- Make the filling:
- Mix the peanut butter powdered sugar softened butter vanilla and salt until smooth and thick
- Shape the centers:
- Roll the peanut butter mixture into 12 small discs and place one on each chocolate layer pressing gently
- Seal with chocolate:
- Spoon the remaining melted chocolate over each disc covering them completely
- Set the tops:
- Tap the tin gently on the counter to level the tops then refrigerate 30 minutes until firm
 Pin This
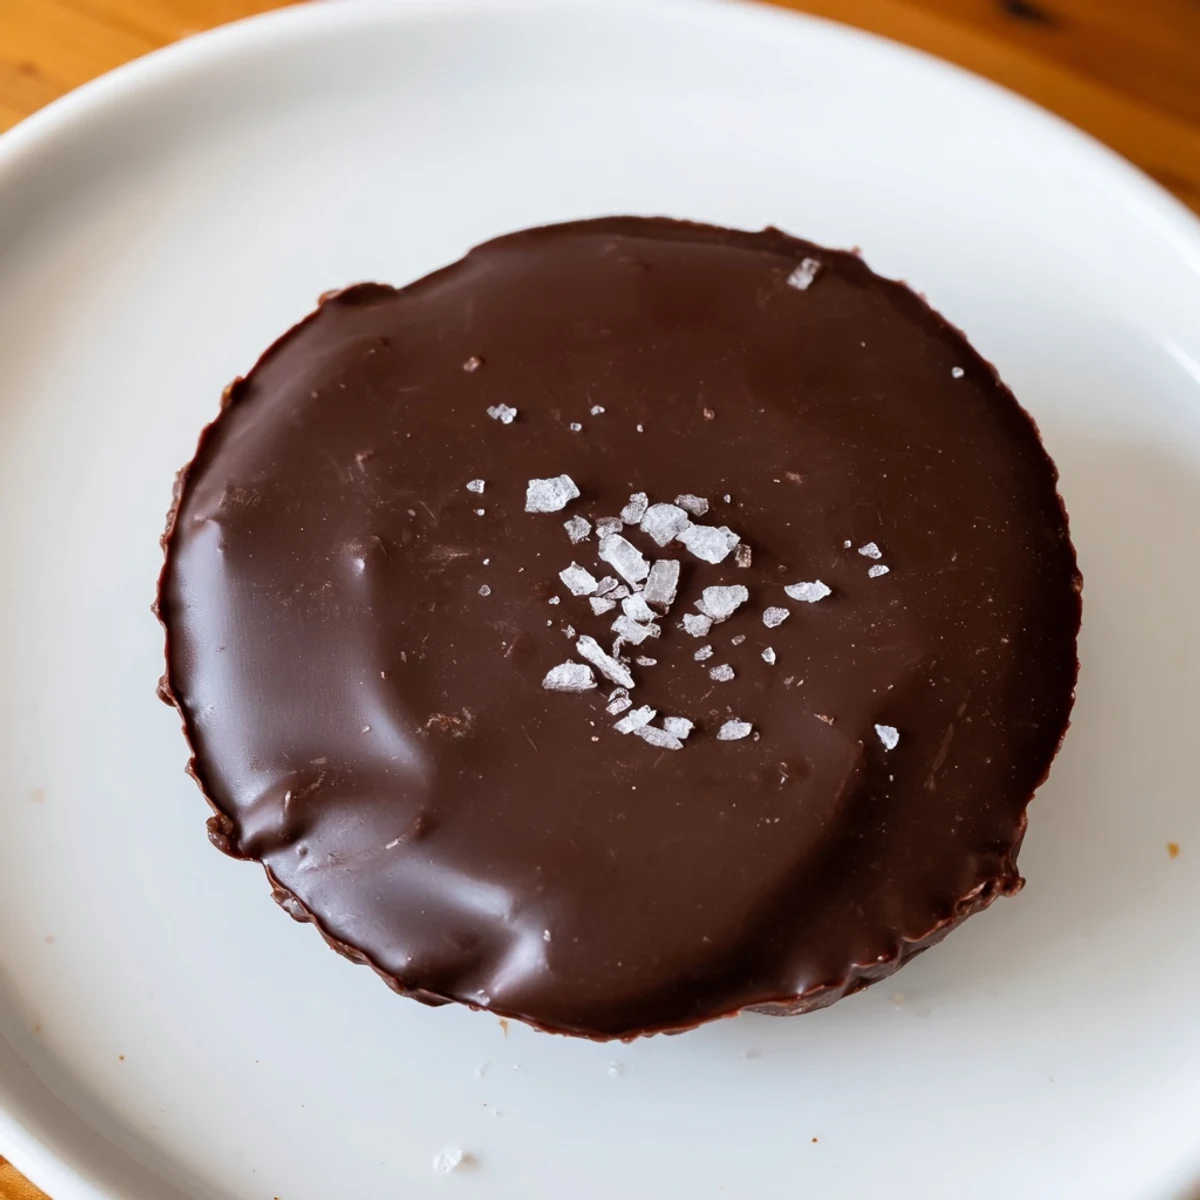
 Last Christmas I wrapped a dozen of these in a simple tin and my cousin actually gasped when she opened them. She said they looked like something from a fancy chocolatier and I did not have the heart to tell her they took twenty minutes to make. Sometimes the simplest gifts are the ones that stick in peoples memories the longest.
Getting the Chocolate Right
I have learned that chocolate can be temperamental and overheating it changes everything. Keep the heat low and stir constantly even if it feels like nothing is happening at first. The moment you see it starting to gloss over pull it back immediately because residual heat will finish the job. Your patience will be rewarded in that first silky smooth bite.
Customizing Your Filling
One day I added a tablespoon of cocoa powder to the peanut butter mixture and created something between these and a buckeye. You could also swirl in some marshmallow fluff or add crushed pretzels for a salty crunch element. The recipe is forgiving enough that small experiments rarely go wrong.
Storage and Serving
These keep beautifully in the fridge for a week though I have never personally tested them beyond day four. The freezer is your friend if you want them to last longer or if you prefer that extra firm texture. Let them sit at room temperature for a few minutes before serving for the best experience.
- Remove the liners while the cups are cold to avoid any chocolate smearing
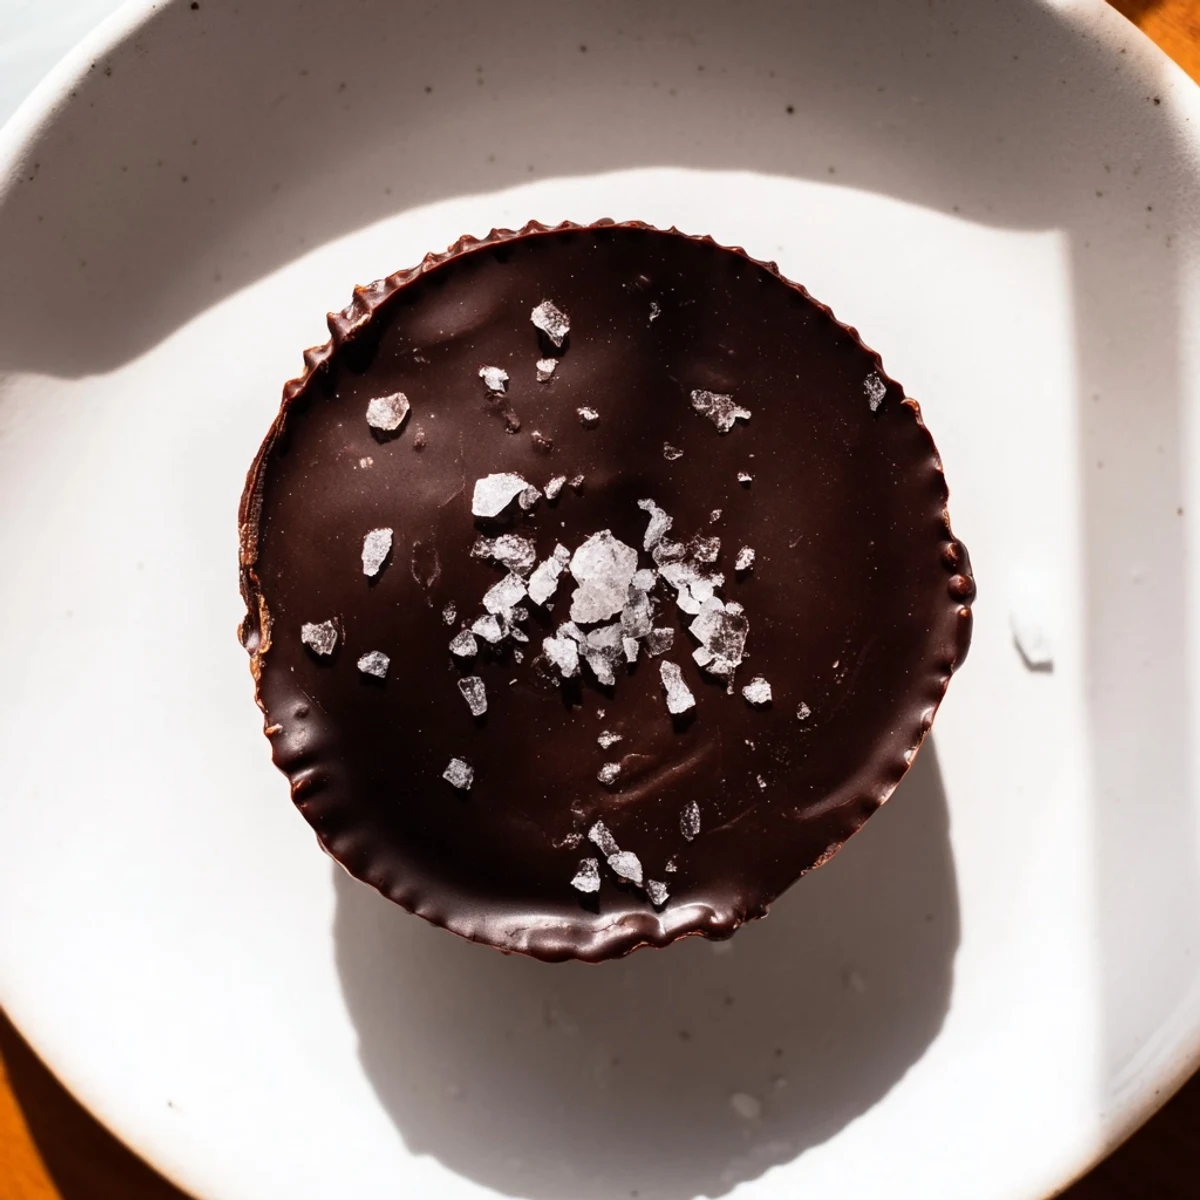
- Place them on a pretty plate right before serving so they do not sweat
- A light dusting of flaky salt on top makes them look fancy with zero extra effort
 Pin This
 Make these once and they will become part of your permanent baking rotation. I keep all the ingredients on hand now just in case the mood strikes.
