 Pin This
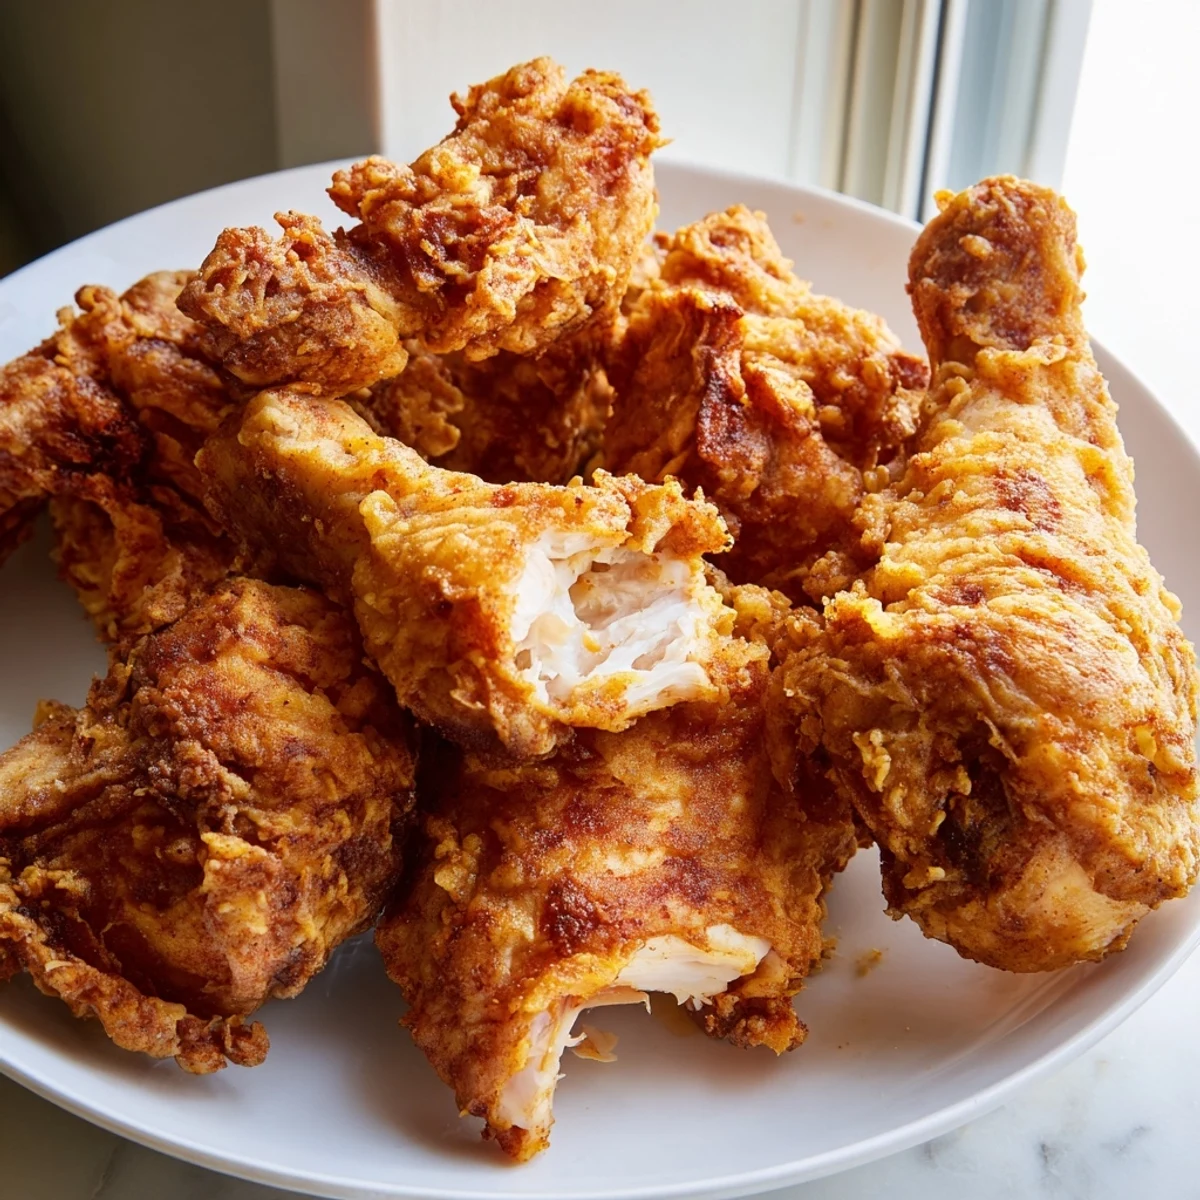
 This Southern-style fried chicken delivers everything you want in comfort food: ultra-crispy, golden-brown exterior with juicy, well-seasoned meat inside. The buttermilk marinade tenderizes while adding depth, while the double-spiced flour coating creates that irresistible crunch.
After marinating for at least two hours (overnight is even better), each piece gets dredged and rested before hitting 350°F oil. The result? Perfectly cooked chicken with a thick, crackling crust that stays crisp.
Ready in 45 minutes with simple pantry ingredients, this version rivals the best fried chicken joints. Serve alongside classic sides like coleslaw and mashed potatoes, or enjoy straight from the wire rack while still hot.
The sound of chicken hitting hot oil still takes me back to my grandmother's cramped kitchen, where she'd shoo us away from the stove while clutching a pair of tongs like a weapon. That first batch would emerge hissing and golden, and we'd burn our fingers stealing pieces before they even hit the paper towels. She never measured anything, but somehow hers always came out perfect—crisp enough to shatter, juicy enough to make you forget your manners.
I made this for my roommate's birthday last year, forgetting that I'd tripled the cayenne in a moment of overconfidence. The four of us sat around the coffee table, sweating and laughing, passing around napkins and glasses of milk like they were going out of style. Nobody stopped eating though—there's something about homemade fried chicken that makes you power through the heat just to get to that next perfectly seasoned bite.
Ingredients
- Chicken pieces: Bone-in, skin-on cuts hold up better to the frying process and stay infinitely juicier than boneless breasts
- Buttermilk: The acidity here does double duty tenderizing the meat and creating the perfect sticky surface for that flour coating to grab onto
- Garlic and onion powder: These savory grounds distribute evenly through the marinade, giving you flavor in every single bite
- All-purpose flour: The protein content here creates just enough structure to hold up during frying without getting tough
- Baking powder: This secret ingredient adds lift to your crust, making it bubble and crunch instead of turning into a heavy shell
- Vegetable oil: You need something neutral with a high smoke point—canola or peanut oil work beautifully here
Instructions
- Create the buttermilk bath:
- Whisk together your buttermilk, salt, garlic powder, onion powder, cayenne, and black pepper until everything's dissolved. Submerge the chicken completely, cover the bowl, and let it hang out in the refrigerator for at least two hours—overnight is even better if you can plan ahead.
- Build the coating station:
- In a separate bowl, combine your flour with paprika, salt, black pepper, cayenne, and baking powder. Get this mixed thoroughly so every piece of chicken gets that same gorgeous seasoning.
- Coat for maximum crunch:
- Pull the chicken from the marinade and let the excess drip off—don't shake it too hard, you want some of that liquid still clinging to the meat. Press each piece firmly into the flour mixture, making sure to get into all the nooks and crannies. Set them on a wire rack and walk away for ten minutes—this helps the coating set so it doesn't slide off during frying.
- Get your oil ready:
- Heat your oil to 350°F (175°C) in a deep fryer or heavy-bottomed pot. If you don't have a thermometer, you can test it by dropping in a pinch of flour—it should sizzle immediately without burning.
- Fry in batches:
- Carefully lower your chicken into the hot oil, working in small batches so you don't crowd the pan. Let them cook for 12 to 15 minutes, turning them occasionally, until they're a deep golden brown and a thermometer inserted into the thickest part hits 165°F.
- Rest and serve:
- Let the chicken drain on a wire rack or paper towels for at least five minutes. This resting period is crucial—it lets the crust firm up and the juices redistribute throughout the meat.
 Pin This
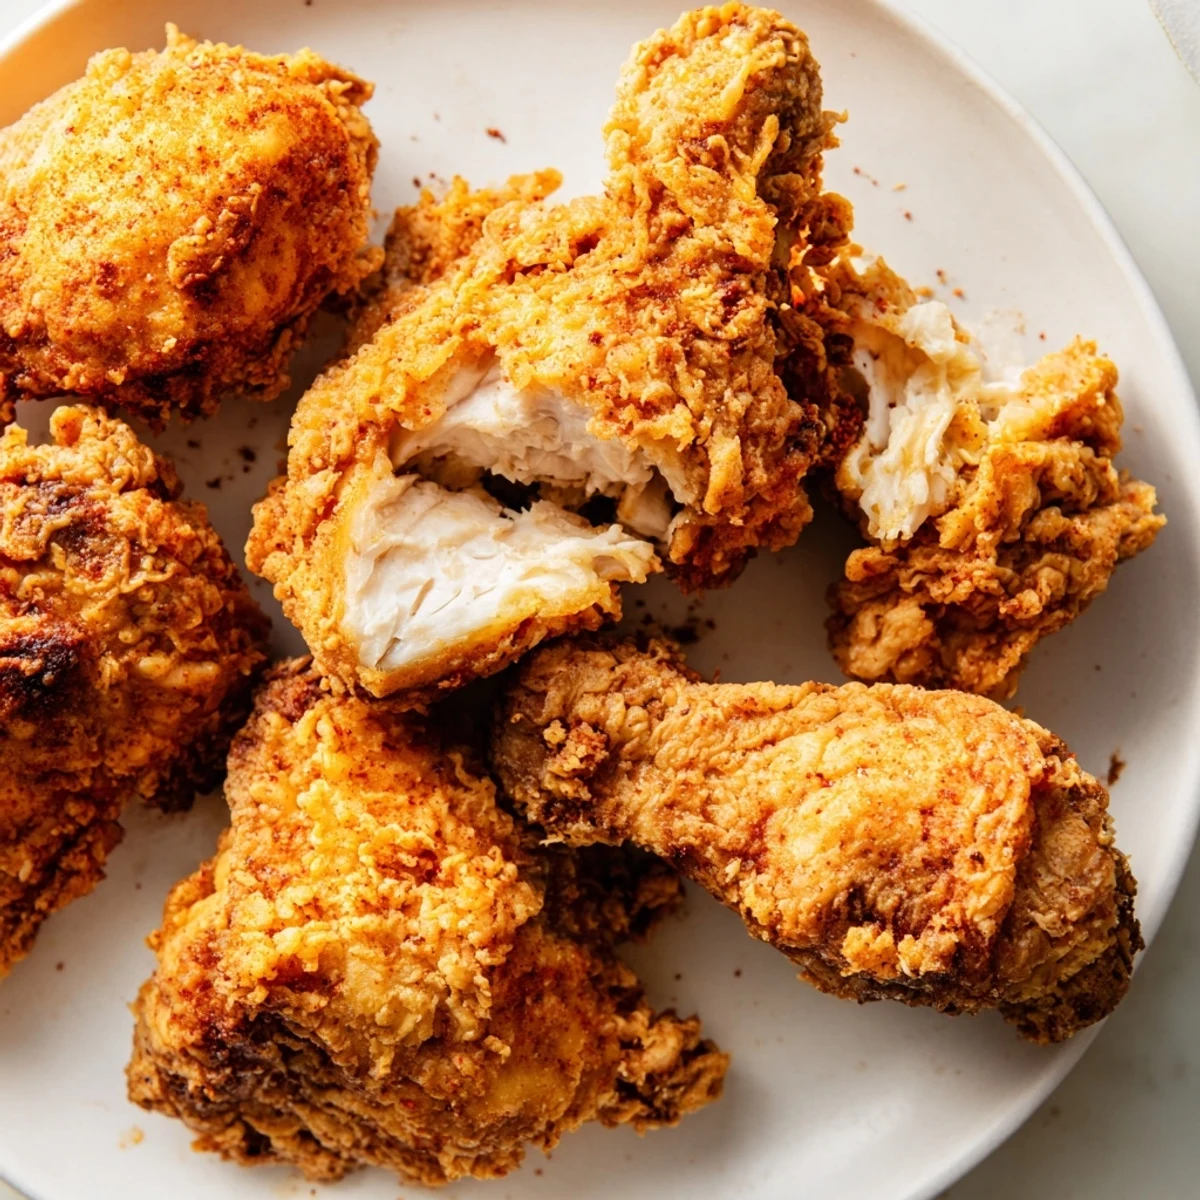
 My neighbor called me once at 10 PM, desperate because she'd promised fried chicken for her daughter's birthday the next day and had no idea where to start. I walked her through the marinade step over the phone, and she texted me the next afternoon with a photo of the proudest smile I've ever seen, surrounded by a group of sticky-fingered six-year-olds. Some recipes are just worth passing along.
The Double Dip Secret
If you want that extra-thick, shatteringly crisp crust you get at really good fried chicken places, try the double-dip method. After your first coating, quickly dip the chicken back into the buttermilk, then press it into the flour mixture again. It creates this incredible bubble texture that holds up even after the chicken's been sitting out for a bit—though honestly, it rarely lasts that long.
Temperature Control Matters
Keeping your oil at the right temperature is probably the most important technical skill in fried chicken making. Too cold and you'll get soggy, greasy pieces that absorb way too much oil. Too hot and you'll burn the outside before the inside cooks through. A kitchen thermometer takes all the guesswork out of it and costs less than a single batch of takeout.
Make It A Meal
Fried chicken demands the right supporting cast. Creamy coleslaw cuts through the richness, buttery mashed potatoes soak up whatever juices escape, and a piece of cornbread ties everything together. A cold lager or some chilled sparkling wine provides the perfect contrast to all that crispy, savory goodness.
- Set up a toppings bar with hot honey, ranch, and pickles
- Keep the oven on low if you're making a big batch
- Extra coating mix keeps for months in the pantry
 Pin This
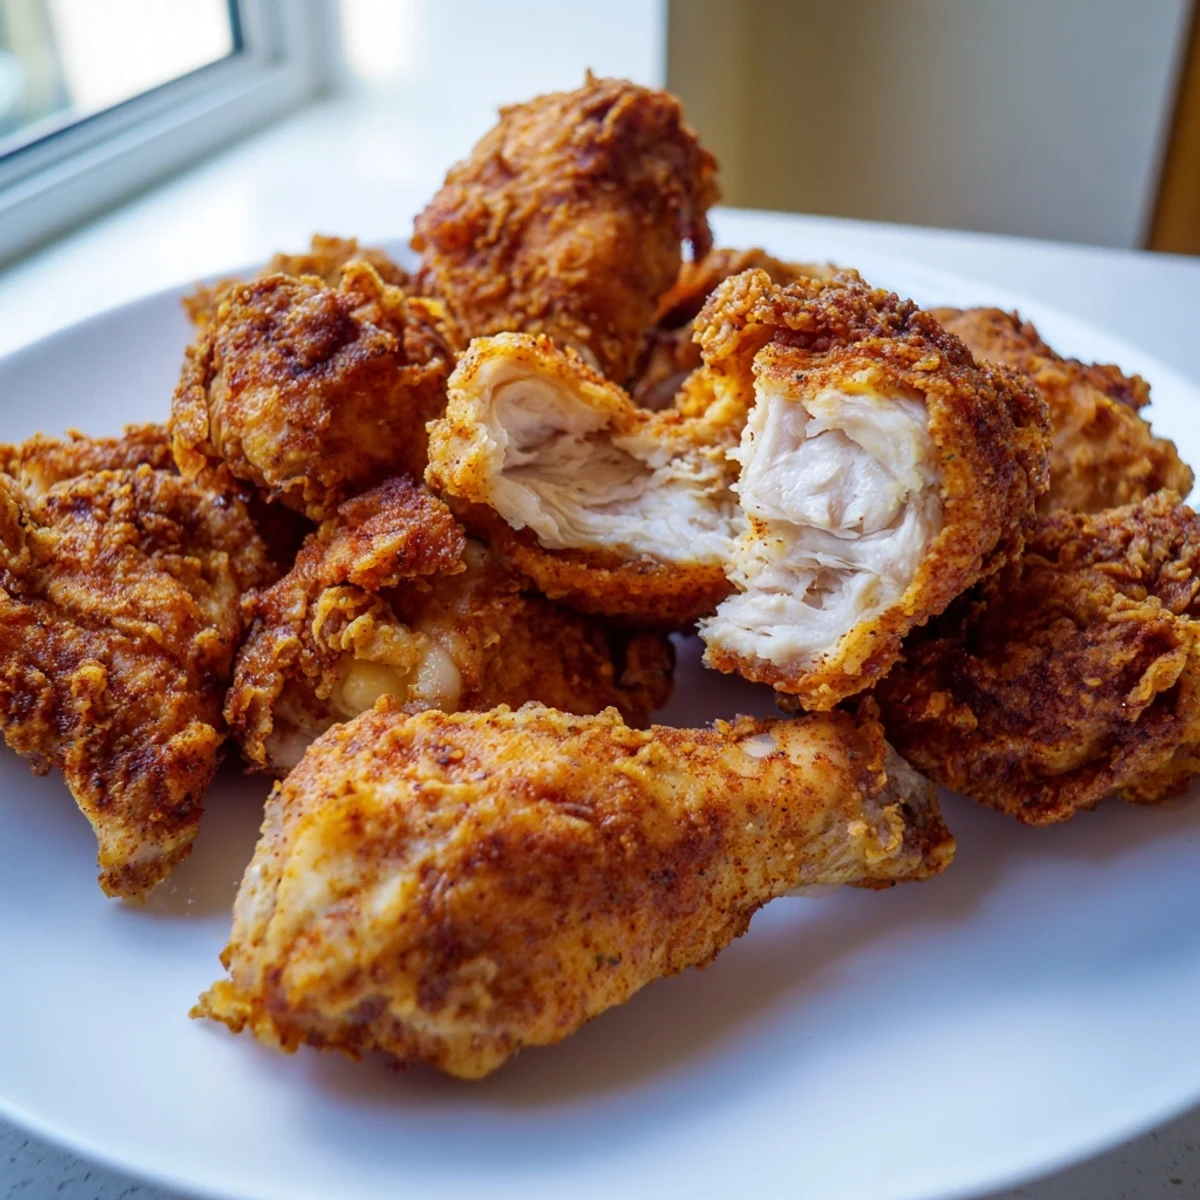
 There's honestly nothing quite like gathering around a platter of homemade fried chicken, the kitchen still smelling like grease and victory, while everyone reaches for the same piece at the same time. Some traditions stick around for a reason.
Questions & Answers
- → How long should I marinate the chicken?
-
Marinate for at least 2 hours, ideally overnight. The buttermilk tenderizes the meat and infuses it with seasonings throughout. Longer marinating means more flavorful, juicy results.
- → What's the secret to extra crispy coating?
-
Let coated chicken rest for 10 minutes before frying—this helps the coating adhere. For maximum crunch, try the double-dip method: return floured chicken to the buttermilk, then coat again in flour mixture before frying.
- → What oil temperature is best for frying?
-
Maintain oil at 175°C (350°F). Too cool and the chicken absorbs excess oil, too hot and the coating burns before the meat cooks through. A kitchen thermometer ensures consistent results.
- → How do I know when the chicken is done?
-
Fry for 12–15 minutes until golden brown, then verify the internal temperature reaches 75°C (165°F). Insert a thermometer into the thickest part without touching bone for accurate reading.
- → Can I make this spicier?
-
Absolutely! Increase the cayenne pepper in both the marinade and coating, or add hot sauce to the buttermilk mixture. You can also sprinkle extra cayenne on the flour coating for an additional kick.
- → What's the best way to drain fried chicken?
-
A wire rack is ideal—it allows air circulation and prevents the bottom from getting soggy. Paper towels work in a pinch, but flip pieces halfway through draining to remove excess oil from both sides.
