 Pin This
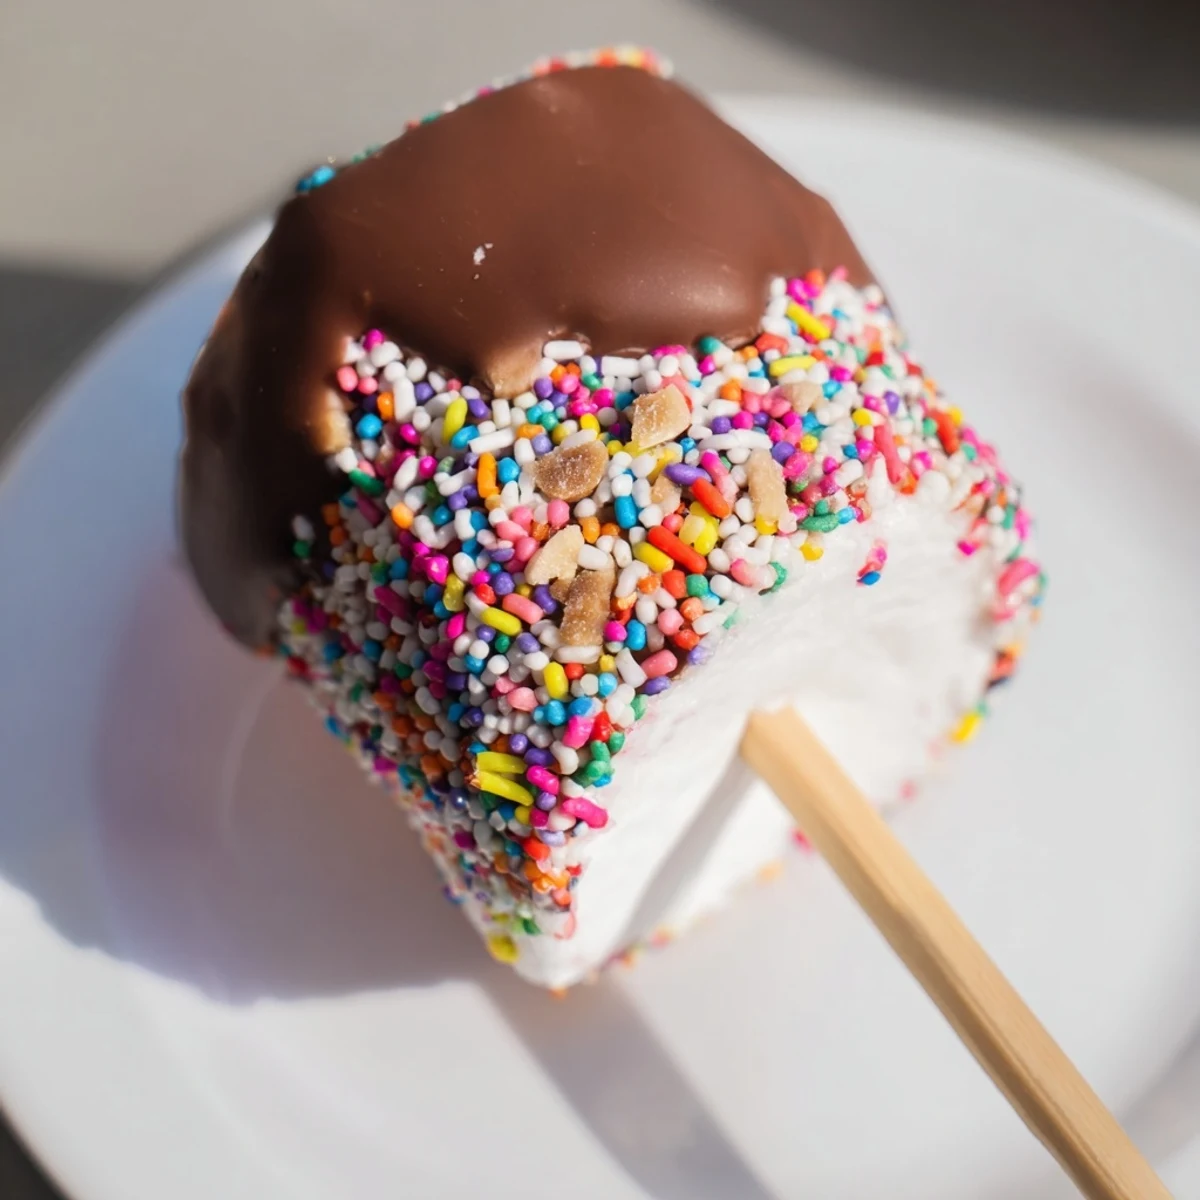
 Create delightful party treats by dipping fluffy marshmallows into melted semi-sweet or milk chocolate. Once coated, sprinkle them with colorful toppings, nuts, or coconut. Insert a lollipop stick for easy handling and refrigerate until set. These chocolate-dipped marshmallows are perfect for gifting or serving at gatherings.
There's something wonderfully nostalgic about watching someone bite into a chocolate-covered marshmallow on a stick, that exact moment when the shell cracks and the fluffy center gives way. I stumbled onto making these one lazy afternoon when a friend mentioned she'd never had homemade ones, just the store-bought kind, and I couldn't resist the challenge. What started as a simple idea turned into this little joy that tastes infinitely better than anything wrapped in plastic. Now they're my go-to when I want to feel like I'm running a proper candy shop from my kitchen.
I'll never forget making a batch for my nephew's birthday party and watching his face light up when he realized they were homemade. His friends kept asking for the recipe, which meant absolutely nothing until one of the other parents showed up at my door a week later with questions about tempering chocolate. That's when I realized these little sticks had a way of making moments feel special, not because they're complicated, but because they're made with intention.
Ingredients
- Large marshmallows: The foundation of everything—get the biggest ones you can find because they give you more surface for chocolate and feel more indulgent than the mini kind.
- Semi-sweet or milk chocolate: Choose chocolate you'd actually eat on its own, since that's basically what you're doing here; dark chocolate leans sophisticated, milk chocolate stays playful.
- Sprinkles, nuts, or shredded coconut: Your personality goes here—this is where you make them yours, whether that means rainbow sprinkles or crushed pistachios.
- Wooden or paper lollipop sticks: These are your handles and what makes them feel like treats instead of just eaten straight from the bowl.
Instructions
- Prepare your workspace:
- Line a baking sheet with parchment paper and lay out all your decorations within arm's reach—once the chocolate is melted, you're moving fast and won't have time to hunt for the sprinkles.
- Stick the marshmallows:
- Press a stick into the center of each marshmallow, pushing about halfway through with a gentle twist so it holds firm but doesn't split the marshmallow open. If one cracks, that's your taste-tester.
- Melt the chocolate carefully:
- Chop your chocolate into pieces and melt it using a double boiler (or a bowl set over simmering water) for even heat, stirring often until smooth. If you use a microwave, do 30-second bursts and stir between each one to avoid scorching—burned chocolate is the saddest thing.
- Dip with confidence:
- Hold the stick and swirl each marshmallow into the chocolate, turning slowly to coat every side. Tap the stick gently against the bowl rim to let the excess drip off so you don't end up with a thick chocolate blob at the bottom.
- Decorate immediately:
- The moment the marshmallow comes out of the chocolate, while it's still warm and sticky, shower it with your toppings before the chocolate begins to set. This is the fun part and the window is small, so don't overthink it.
- Chill until set:
- Stand the coated marshmallows upright on the parchment paper and slide them into the fridge for at least 30 minutes. This is when the magic happens and the chocolate hardens into a proper shell.
 Pin This
 There's a specific magic in watching someone choose between different flavored sticks at a table, or when a kid asks if they can have a second one because the first one disappeared in two bites. These little things have taught me that sometimes the most memorable treats aren't the ones that take hours in the kitchen.
Flavor Variations to Try
Once you nail the basic technique, playing with chocolate types becomes half the fun. Dark chocolate transforms these into something sophisticated and less sweet, while white chocolate takes them almost dessert-fancy territory. I've done a trick where I melt a bit of each and drizzle stripes on the outside instead of coating entirely, which looks restaurant-quality but is honestly just lazy chocolatiering. The caramel drizzle mentioned in the notes is genuinely worth the extra two minutes—it adds a salty-sweet complexity that makes people pause mid-bite wondering what just happened.
Storage and Gifting Ideas
These keep beautifully in an airtight container for up to three days, though I've yet to have any last that long in my house. If you're packaging them as gifts, standing them upright in a mason jar with parchment between layers looks intentional and thoughtful without requiring any fancy wrapping. For parties, you can actually make them a day ahead and keep them chilled until five minutes before serving—the chocolate firms up even more, and the marshmallows somehow get even fluffier through magic I don't fully understand.
Making Them Your Own
The real pleasure here is that you can make these exactly how you want them without being locked into anyone else's vision. I've crushed salted pretzels for topping, drizzled melted peanut butter alongside the chocolate, and even added a tiny pinch of cinnamon to the chocolate itself for a twist. The formula stays the same but every batch can feel completely different.
- Toast your nut toppings lightly in a dry pan first to deepen the flavor and make them crack more satisfyingly between your teeth.
- If you want to be fancy, use edible gold dust or pearl dust mixed into the sprinkles for something that catches the light.
- Always keep the chocolate warm but not hot—aim for that sweet spot where it coats smooth but doesn't turn your marshmallow into a deflated mess.
 Pin This
 Make these when you want to feel proud of something small and perfectly imperfect, or when you need a quick gift that tastes like you actually spent hours on it. They're proof that the best kitchen moments aren't always the complicated ones.
Questions & Answers
- → How should I store these treats?
-
Store them in an airtight container for up to 3 days. They can be kept at room temperature or refrigerated to maintain the chocolate's firmness.
- → Can I use different types of chocolate?
-
Yes, you can use semi-sweet, milk, dark, or white chocolate depending on your preference for sweetness and richness.
- → Do I have to refrigerate them?
-
Refrigerating for at least 30 minutes is recommended to help the chocolate coating set quickly and keep the sprinkles in place.
- → Are these marshmallows vegan?
-
Traditional marshmallows contain gelatin, so this version is vegetarian but not vegan unless you use specifically vegan-friendly marshmallows.
- → What decorations work best?
-
Colorful sprinkles, chopped nuts, shredded coconut, or a pinch of sea salt work wonderfully for adding texture and flavor.
