 Pin This
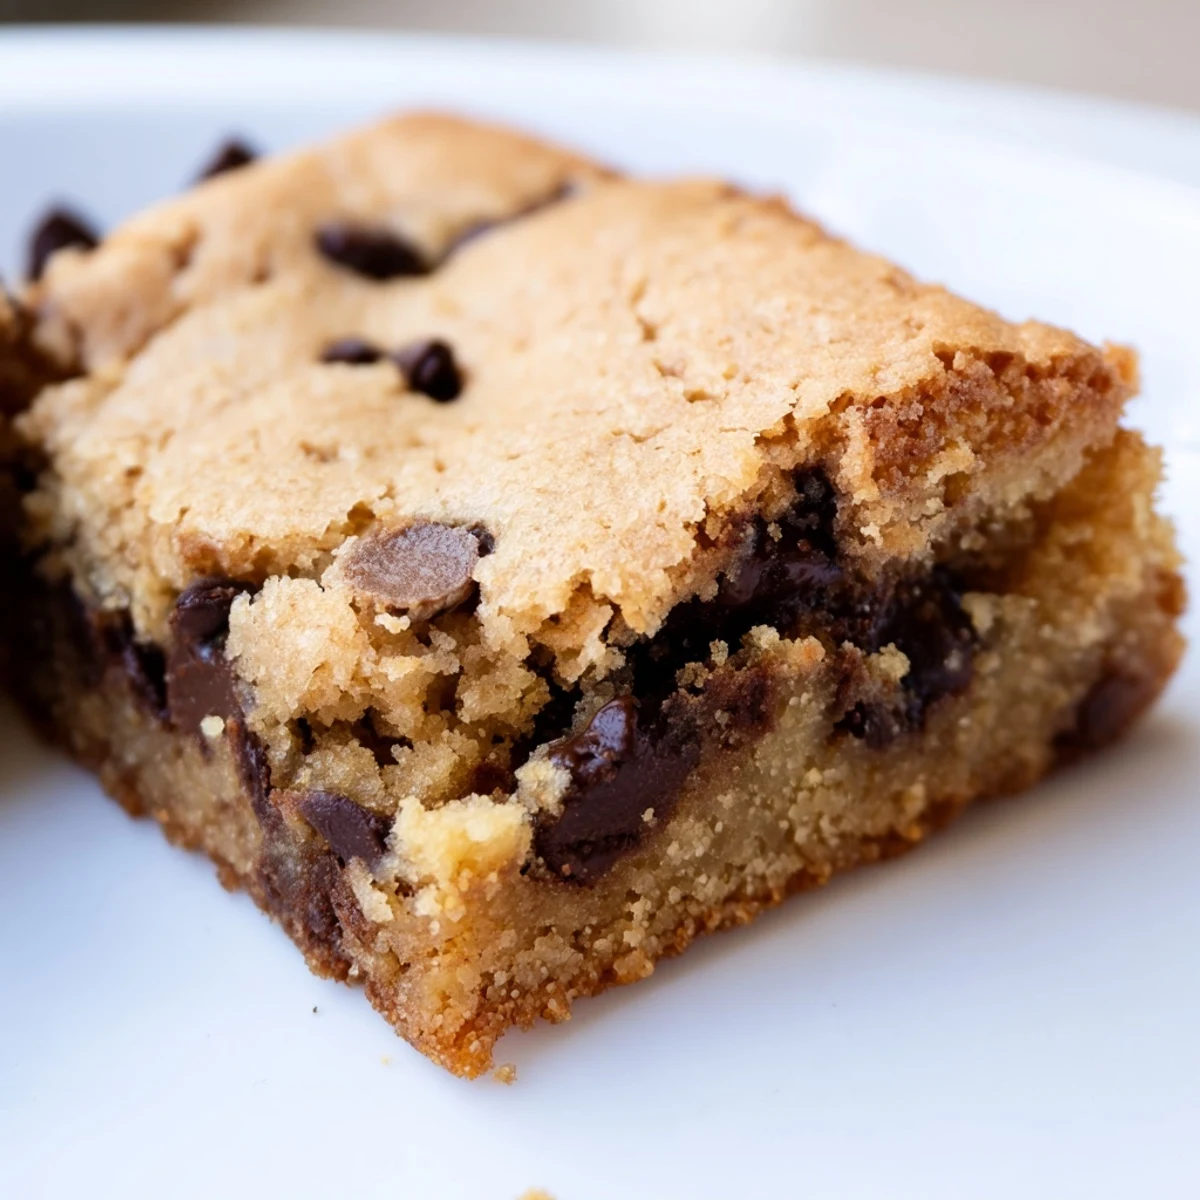
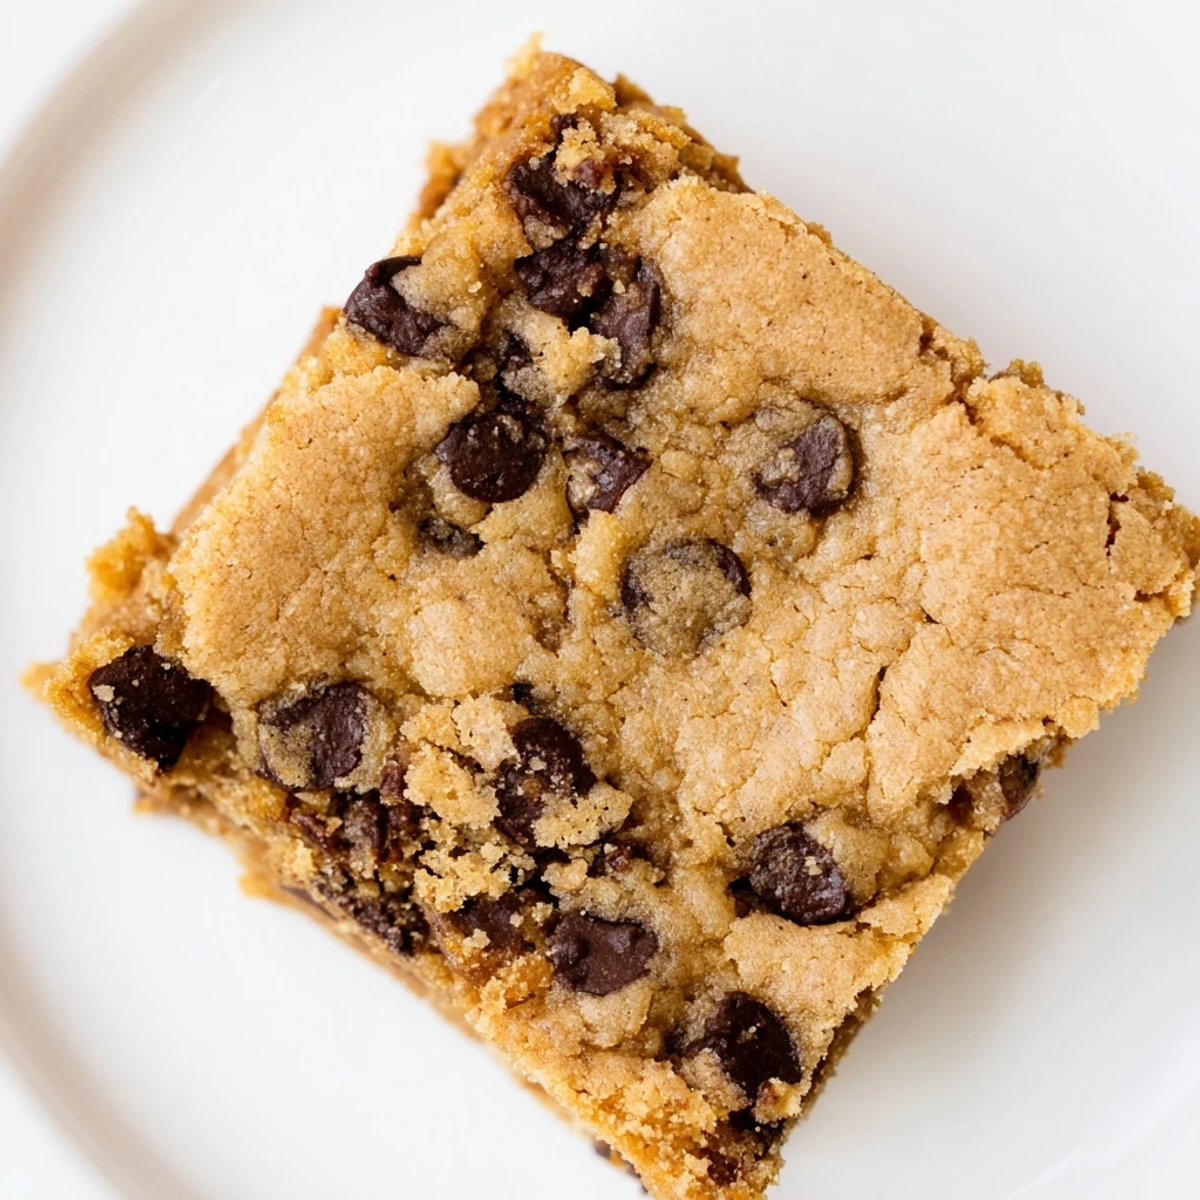
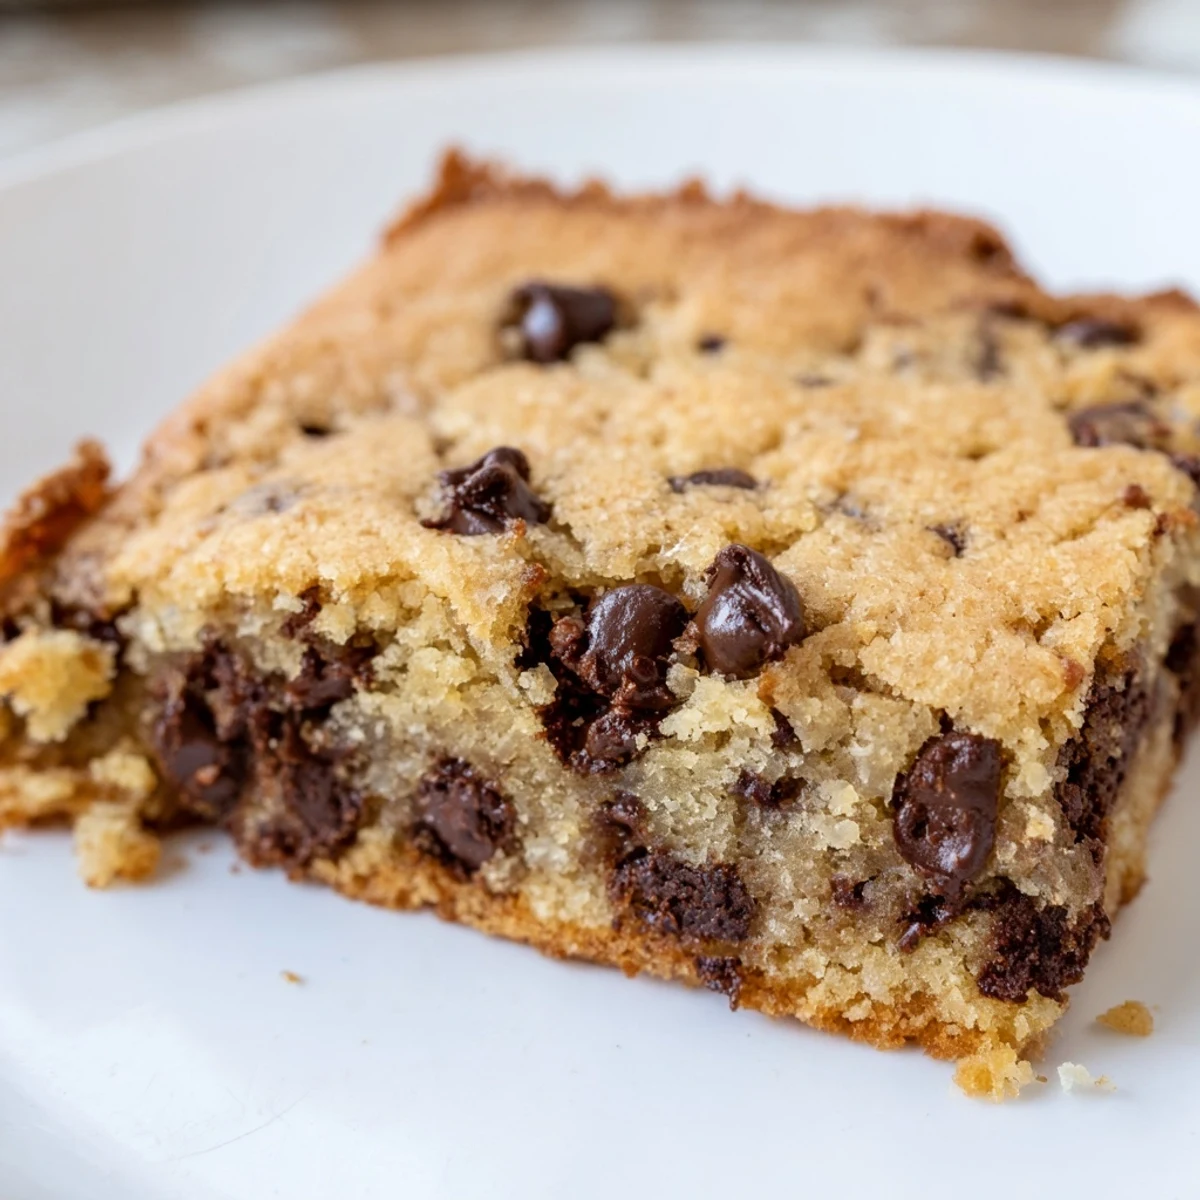
 These soft, chewy bars are filled with rich semisweet chocolate chips and baked to golden edges. The combination of melted butter, brown and granulated sugars creates a glossy, smooth batter that yields delicious, tender bars. Simply whisk dry ingredients separately, then combine with wet ingredients and fold in chocolate chips. Baked in a lined pan for 22-25 minutes, these bars cool easily and cut into perfect portions. Ideal for fuss-free dessert or snack times with optional flaky sea salt or chocolate variations.
There's something deeply satisfying about baking a full pan of cookie bars instead of fussing with individual scoops. I discovered this method on a lazy Sunday morning when I had friends stopping by unexpectedly, and I needed something warm and shareable fast. The bars came out soft and chewy, and everyone asked for the recipe before they even finished eating. It's become my go-to when I want that homemade cookie taste without the stress of managing dozens of tiny rounds on a sheet.
I made these for my sister's housewarming party last spring, and they disappeared so fast I didn't even get to take a photo. She's still asking me to bring them to gatherings, which is the highest compliment a baker can get. That batch taught me the value of something simple, generous, and uncomplicated—exactly what these bars are.
Ingredients
- All-purpose flour (2 1/4 cups): This is the structure of your bars, so measure it carefully by spooning into your cup rather than scooping directly from the bag, which compacts it and throws off ratios.
- Baking soda (1 tsp): The secret helper that makes these bars spread slightly and caramelize at the edges while staying soft in the middle.
- Fine sea salt (1/2 tsp): More than just seasoning—salt amplifies the chocolate flavor and balances the sweetness in a way that makes people pause and ask what's in them.
- Unsalted butter (1 cup, melted and cooled): Let it cool slightly so it doesn't cook the eggs when you add them next; warm but not hot is the sweet spot.
- Packed light brown sugar (1 cup): The molasses in brown sugar gives these their chewy texture and subtle depth that granulated sugar alone can't provide.
- Granulated sugar (1/2 cup): This adds sweetness and helps the bars develop those caramelized, golden edges.
- Eggs (2 large, room temperature): Cold eggs can cause lumps and won't blend smoothly into the butter mixture, so pull them out of the fridge about 20 minutes before you start.
- Pure vanilla extract (2 tsp): Skip the imitation vanilla here—the real stuff makes a difference in a recipe this simple.
- Semisweet chocolate chips (2 cups): These melt slightly during baking and stay tender; feel free to mix in some dark chocolate or white chocolate for variety.
Instructions
- Prep your pan and preheat:
- Set your oven to 350°F and line a 9x13-inch pan with parchment paper, letting the edges hang over the sides—this makes pulling out the finished block effortless and prevents any stuck corners.
- Combine dry ingredients:
- Whisk flour, baking soda, and salt in a medium bowl so the leavening is evenly distributed. Set it aside and forget about it for now.
- Mix the wet base:
- In a larger bowl, whisk together the cooled melted butter and both sugars until the mixture looks smooth and slightly glossy. This should take about a minute of steady whisking.
- Add eggs and vanilla:
- Crack one egg into the wet mixture, whisk it in completely, then add the second. Stir in vanilla extract last so it distributes evenly through the whole base.
- Bring it together:
- Pour the dry mixture into the wet mixture and fold gently with a spatula until you just can't see any white flour streaks. Overmixing develops gluten and makes the bars tough, so resist the urge to beat this smooth.
- Scatter in the chocolate:
- Fold the chocolate chips in gently so they're spread throughout but not crushed or pressed. You want whole chips in every bite.
- Spread and smooth:
- Pour everything into your lined pan and use a spatula or your fingertips to press the dough evenly across the bottom. Don't worry about perfection—slight ridges actually catch a bit more caramelization.
- Bake until just right:
- Slide into the oven for 22 to 25 minutes; you're looking for golden edges while the center still wobbles slightly when you gently shake the pan. A toothpick should come out with a few moist crumbs, not wet dough and not completely clean.
- Cool completely:
- Let the pan sit on a wire rack until everything is completely cool. This prevents the bars from being gummy when you cut them, and it firms up the structure so the cuts stay clean.
- Cut and serve:
- Lift the entire block out using the parchment overhang, place on a cutting board, and slice into 16 squares or 12 larger bars if you prefer a more indulgent size.
 Pin This
 These bars remind me of simplicity done right—the kind of dessert that doesn't need frosting, fancy plating, or an explanation. Sometimes the best food is just soft, chocolatey, and generous enough to share.
Customizing Your Bars
The beauty of a sheet pan of bars is how forgiving it is to personal taste. I've made these with dark chocolate for a sharper bite, swapped in white chocolate and macadamia nuts for a tropical twist, and even added a sprinkle of flaky sea salt on top before baking, which sounds odd until you taste how it makes every other flavor pop. The base dough is sturdy enough to handle mix-ins without changing the bake time, so treat this as a starting point rather than a strict rule.
Storage and Make-Ahead Tips
These keep beautifully in an airtight container at room temperature for up to four days, staying soft and chewy the whole time. I've also frozen unbaked dough in the pan for up to three months—just add a few extra minutes to the bake time straight from frozen. If you're making these for an event, baking them the day before actually helps because the flavors mellow and deepen as they sit.
The Science of Chewy Bars
What makes these bars stay soft when other cookies harden has a lot to do with the ratio of brown sugar to granulated sugar, the melted butter technique, and the fact that you're not spreading heat-sensitive dough thin across a sheet. The bars retain moisture better because they're thicker, and the edges have more surface to caramelize while the interior stays tender. One other secret is not overbaking—the carryover heat while cooling does the final cooking, so trusting that slightly underdone center is everything.
- Brown sugar contains molasses, which absorbs moisture and keeps bars chewy days longer than a high granulated sugar batch would.
- Melted butter distributes more evenly than creamed butter in a bar dough, creating a more uniform, tender crumb.
- Cut while completely cool so you get clean edges and the bars hold together without crumbling.
 Pin This
 These chocolate chip cookie bars are the kind of recipe you'll return to again and again because they work. They're soft, forgiving, generous, and they taste like someone who cares made them just for you.
Questions & Answers
- → What type of chocolate works best?
-
Semisweet chocolate chips are ideal for a balanced sweetness, but dark or white chocolate can be swapped to adjust the flavor.
- → Can I add nuts to the bars?
-
Yes, chopped nuts like walnuts or pecans can be folded in with the chocolate chips for extra crunch and flavor.
- → How do I ensure the bars stay soft?
-
Use melted butter and avoid overmixing the batter to retain a tender, chewy texture after baking.
- → What pan size is recommended?
-
A 9x13-inch baking pan lined with parchment paper helps achieve even baking and easy removal.
- → Can these bars be stored?
-
Store in an airtight container at room temperature for up to four days to maintain freshness and texture.
- → Is it necessary to sift the dry ingredients?
-
Whisking the flour, baking soda, and salt together helps distribute them evenly, which improves texture.
