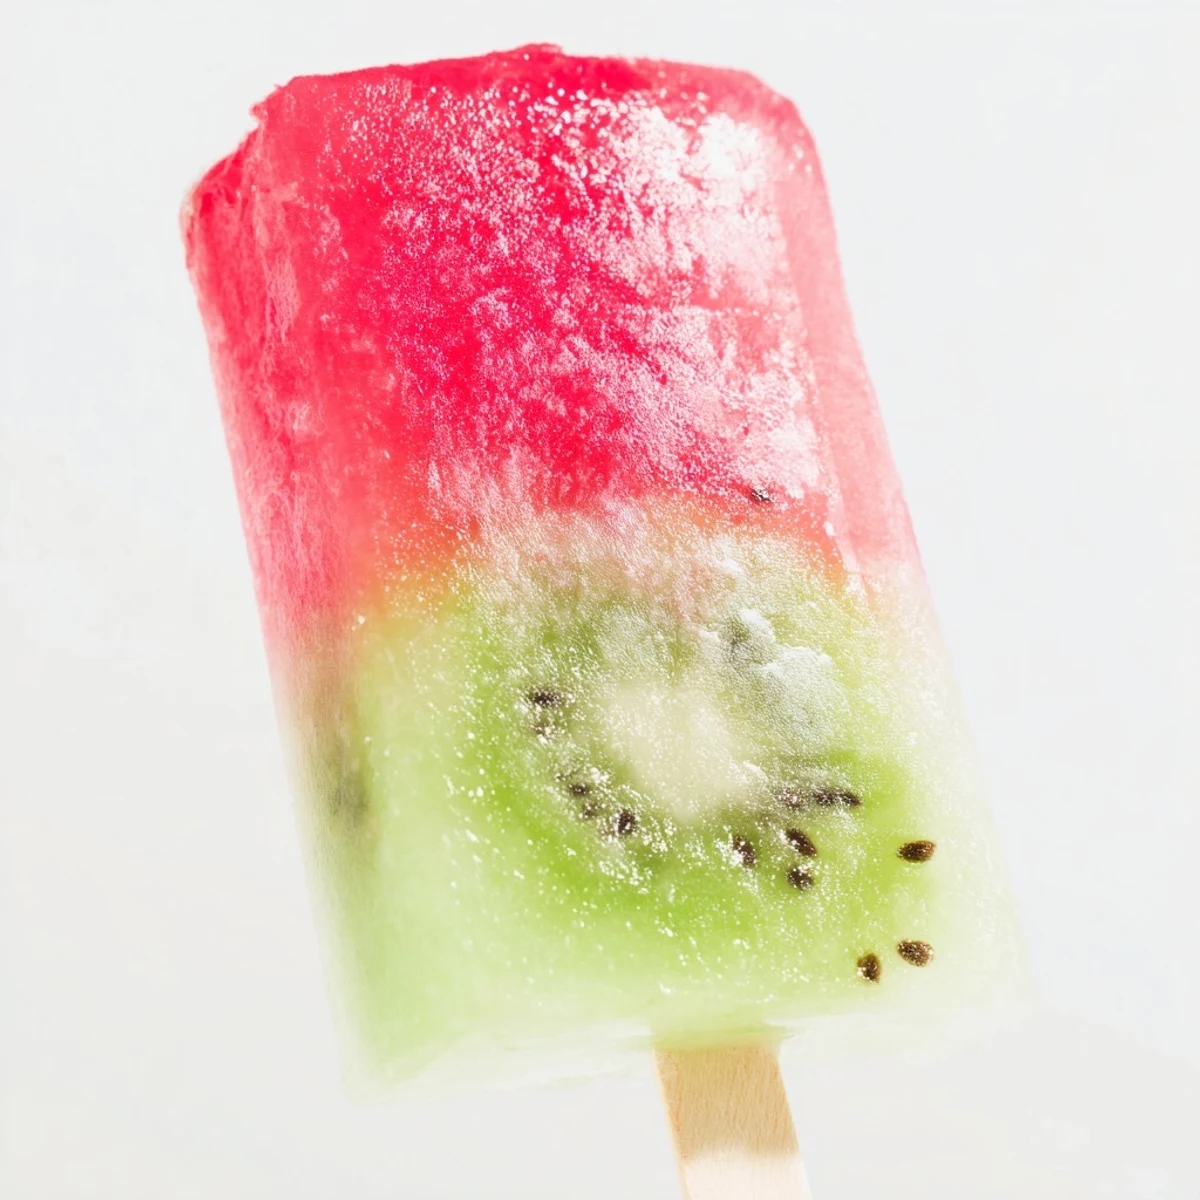
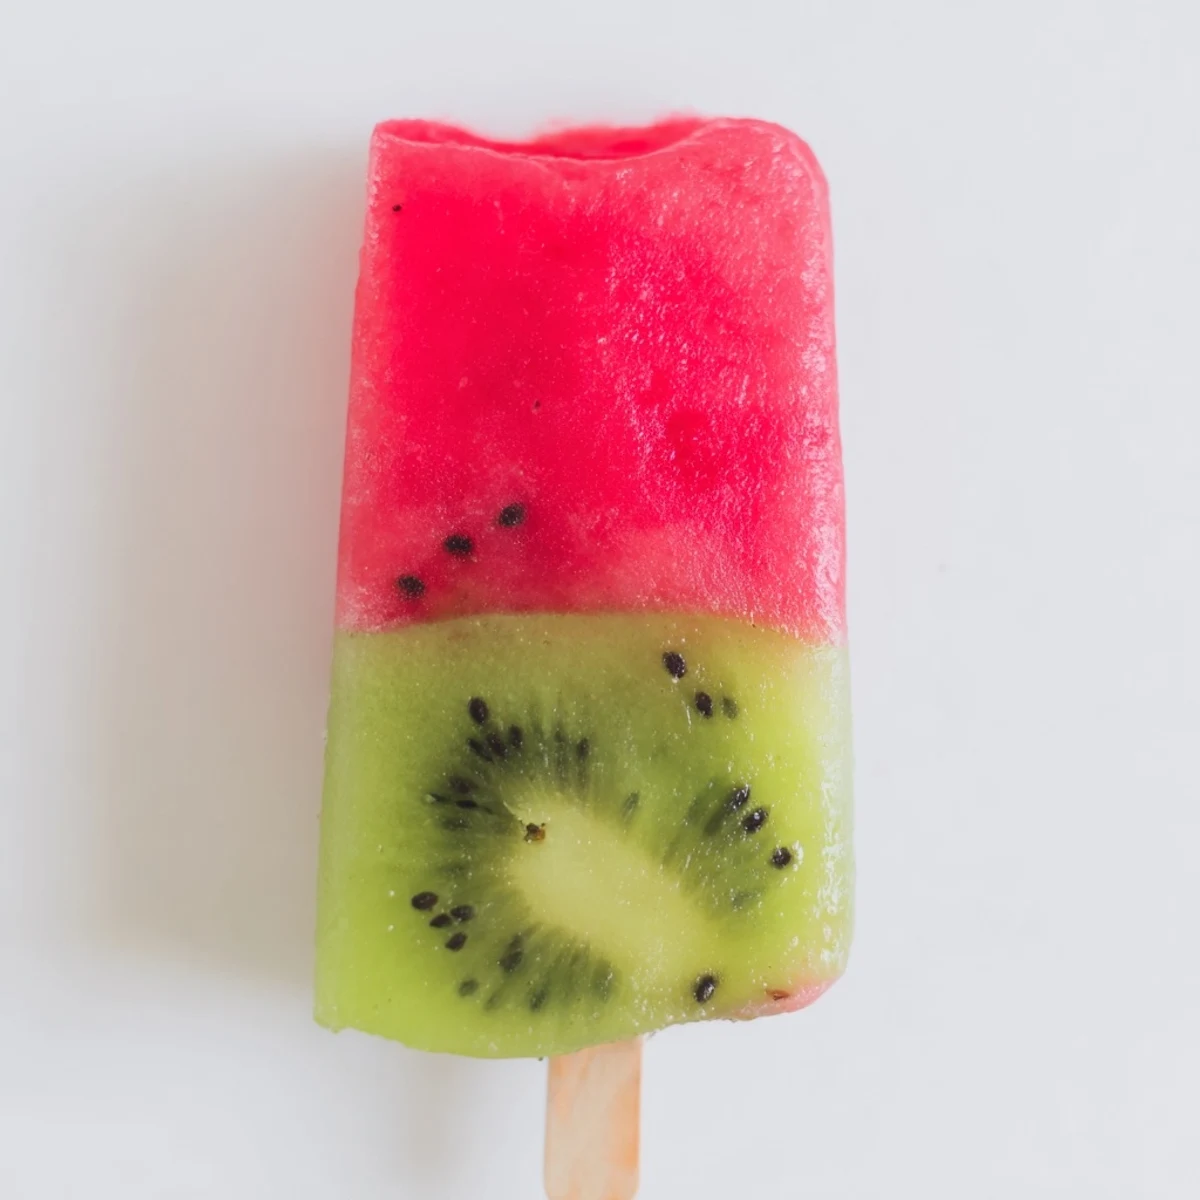
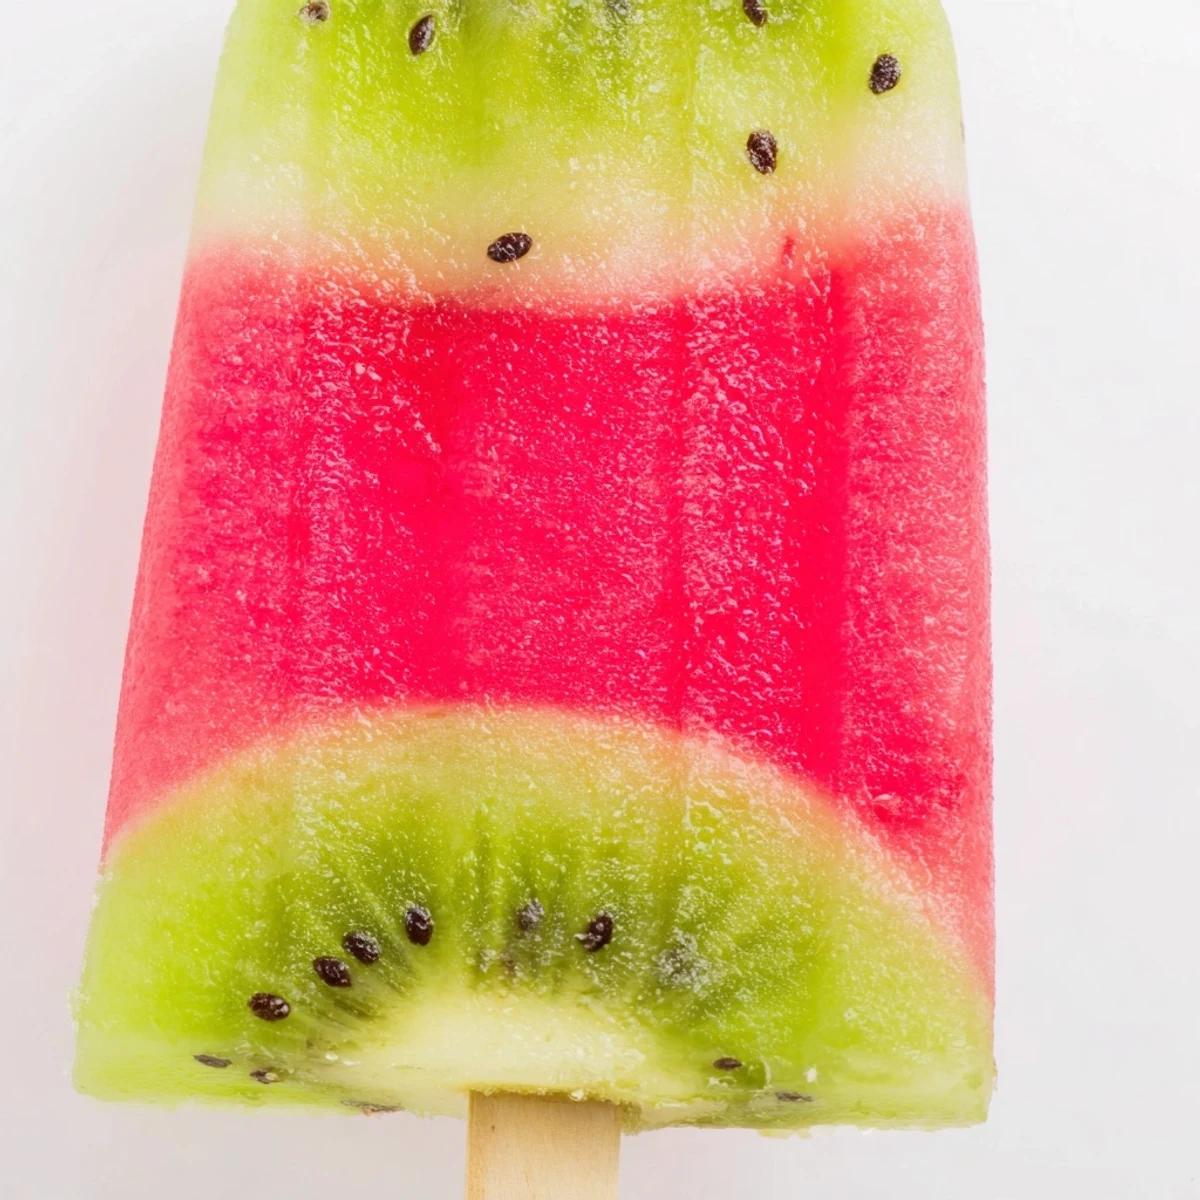
 Pin This
 Create stunning two-layer frozen treats featuring the perfect balance of sweet watermelon and tangy kiwi. These vibrant popsicles are naturally refreshing, with each layer offering distinct fruit flavors that complement each other beautifully. The preparation is simple—blend fresh fruits with lime juice and optional sweetener, then freeze in layers for that gorgeous striped effect. Perfect for hot summer days, these dairy-free delights are naturally vegan and gluten-free, making them an inclusive dessert everyone can enjoy. Kids and adults alike love the visual appeal and refreshing taste.
August hit our kitchen like a furnace last year, and my kids were melting into the couch cushions complaining about everything being boring. I spotted two sad kiwis rolling around the fruit bowl and half a watermelon taking up too much fridge space, so I grabbed the blender on a whim. Those popsicles disappeared so fast I had to make a second batch before dinner. Now they request them the minute school lets out every June.
My neighbor watched me unmold a batch over the fence and immediately demanded the recipe while her toddler pressed his face against the glass door. I handed her three through the chain link and she texted me that evening asking if she could triple it for a birthday party.
Ingredients
- Seedless watermelon (3 cups cubed): Pick a watermelon that feels heavy for its size and has a creamy yellow spot on the bottom, which tells you it ripened in the field properly.
- Fresh lime juice (2 tablespoons for watermelon, 1 tablespoon for kiwi): Fresh is nonnegotiable here because the bottled stuff tastes flat and these pops need that bright zing to cut through all the sweetness.
- Agave syrup or honey (1 to 2 tablespoons for watermelon, 1 tablespoon for kiwi): This is optional and depends entirely on how sweet your fruit already is, so taste everything before you commit.
- Ripe kiwis (3, peeled and sliced): Gently press them with your thumb and if they yield just slightly they are perfect for blending into a smooth layer.
Instructions
- Blend the watermelon base:
- Toss the cubed watermelon, lime juice, and sweetener into the blender and run it until you get a silky pink liquid with no chunks. Give it a quick taste and adjust sweetness before moving on.
- Fill the molds halfway:
- Pour the watermelon purée into each mold until roughly two thirds full, then tap the molds on the counter a few times to knock out stubborn air bubbles hiding in the corners.
- Give the first layer a head start:
- Slide the molds into the freezer for about one hour so the watermelon firms up enough to hold the kiwi layer on top without the two colors bleeding into each other.
- Blend the kiwi layer:
- While you wait, blend the peeled kiwi slices with lime juice and sweetener until the mixture turns a beautiful bright green and looks completely smooth.
- Top off and insert sticks:
- Pour the kiwi purée over the slightly firmed watermelon layer, leaving a tiny gap at the top for expansion, then slide the sticks in straight and centered.
- Freeze until solid:
- Return everything to the freezer for at least three hours, though overnight is even better if you can stand the wait, because fully solid pops release cleanly and hold their layers perfectly.
- Unmold with care:
- Run warm water over the outside of each mold for a few seconds, then pull gently and steadily without wiggling, which can crack the layers apart.
 Pin This
 The moment my daughter held one up to the sunlight and declared it looked like a tiny sunset on a stick, I realized these popsicles had become a summer tradition without me even planning it.
Keeping Things Cool While You Work
Work quickly when filling molds on a hot day because the watermelon purée starts separating if it sits out too long. I usually set my molds on a baking sheet lined with a damp towel so they do not tip over when I transfer them to the freezer.
Playing With Flavors and Layers
Once you master the basic two layer technique, the door is wide open for experimentation with whatever fruit looks good at the market. Mango and strawberry, peach and blueberry, or even coconut milk swirled with passion fruit all work beautifully with the same method.
Serving and Storing Your Pops
These pops keep well in the freezer for up to two weeks if you wrap them individually in parchment paper and store them in an airtight container to prevent ice crystals from forming. Unmolding is always the most nerve wracking part but a little patience goes a long way.
- Run warm water for just three to five seconds per mold and no more, because too much heat melts the outer layer and ruins the clean edges.
- If you want to add visual flair, press thin kiwi slices against the inside walls of each mold before pouring in the first layer.
- Always let the pops rest at room temperature for two minutes before serving so they soften just enough to bite into comfortably.
 Pin This
 Some recipes are about technique and precision, but this one is simply about summer joy on a stick. Make a double batch because they will be gone before the afternoon is over.
Questions & Answers
- → How long do these frozen treats need to freeze?
-
Allow approximately 4 hours total freezing time—1 hour for the watermelon layer to set before adding the kiwi layer, then 3 additional hours for complete firmness. For best results, leave them overnight.
- → Can I use other fruits for the layers?
-
Absolutely! Try strawberry-mango, blueberry-raspberry, or peach-cantaloupe combinations. The key is choosing fruits with similar freezing times and vibrant colors that create beautiful layers.
- → Do I need a sweetener?
-
The sweetener is optional depending on your fruit's natural sweetness. Watermelon and kiwi vary in sugar content, so taste your purée before freezing. Add agave, honey, or maple syrup if you prefer extra sweetness.
- → How do I prevent the layers from mixing?
-
Freeze the first layer for at least one hour until slightly firm before pouring the second layer. This creates a solid base that prevents blending. Insert sticks when adding the second layer for stability.
- → Can I make these without popsicle molds?
-
Yes! Use small paper cups, ice cube trays for bite-sized versions, or even muffin tins. Add sticks during the freezing process when the mixture is firm enough to hold them upright.
- → How should I store these frozen treats?
-
Once fully frozen, remove from molds and wrap individually in parchment paper or plastic wrap. Store in an airtight container in the freezer for up to 2 months. Let thaw slightly before serving.
