 Pin This
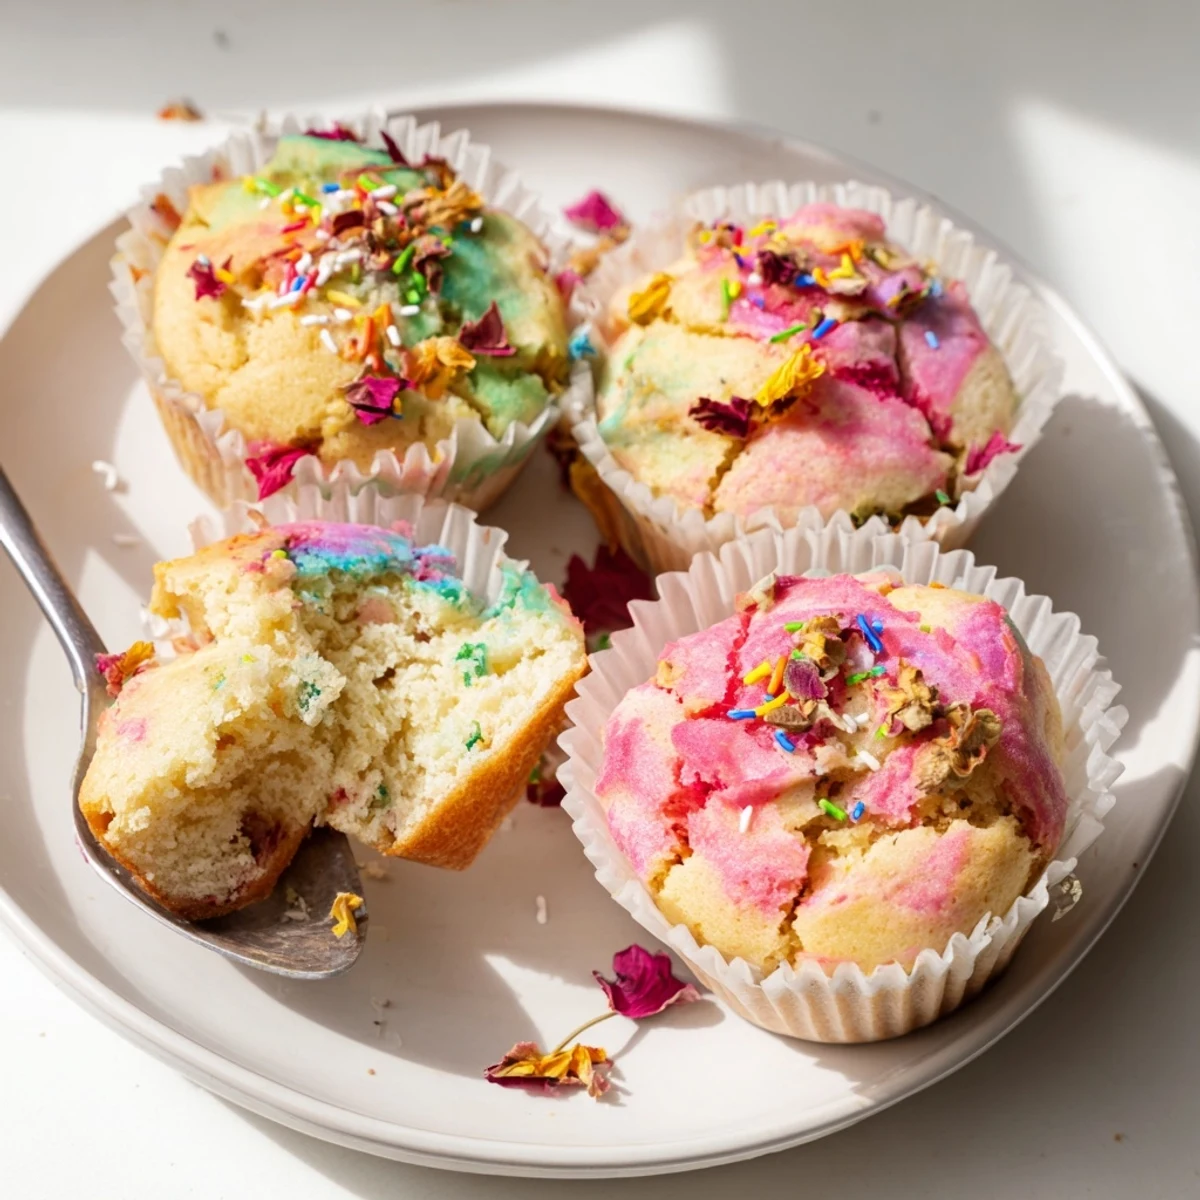
 These steamed cupcakes achieve remarkable fluffiness through gentle steam heat, creating the signature blooming or cracked tops that make them visually stunning. The method is perfect when oven access isn't available or when you want incredibly moist results.
The batter combines basic pantry staples—flour, eggs, sugar, milk, and butter—whipped until pale and airy. Steam circulation ensures even rising, while the gentle cooking method preserves moisture better than traditional baking.
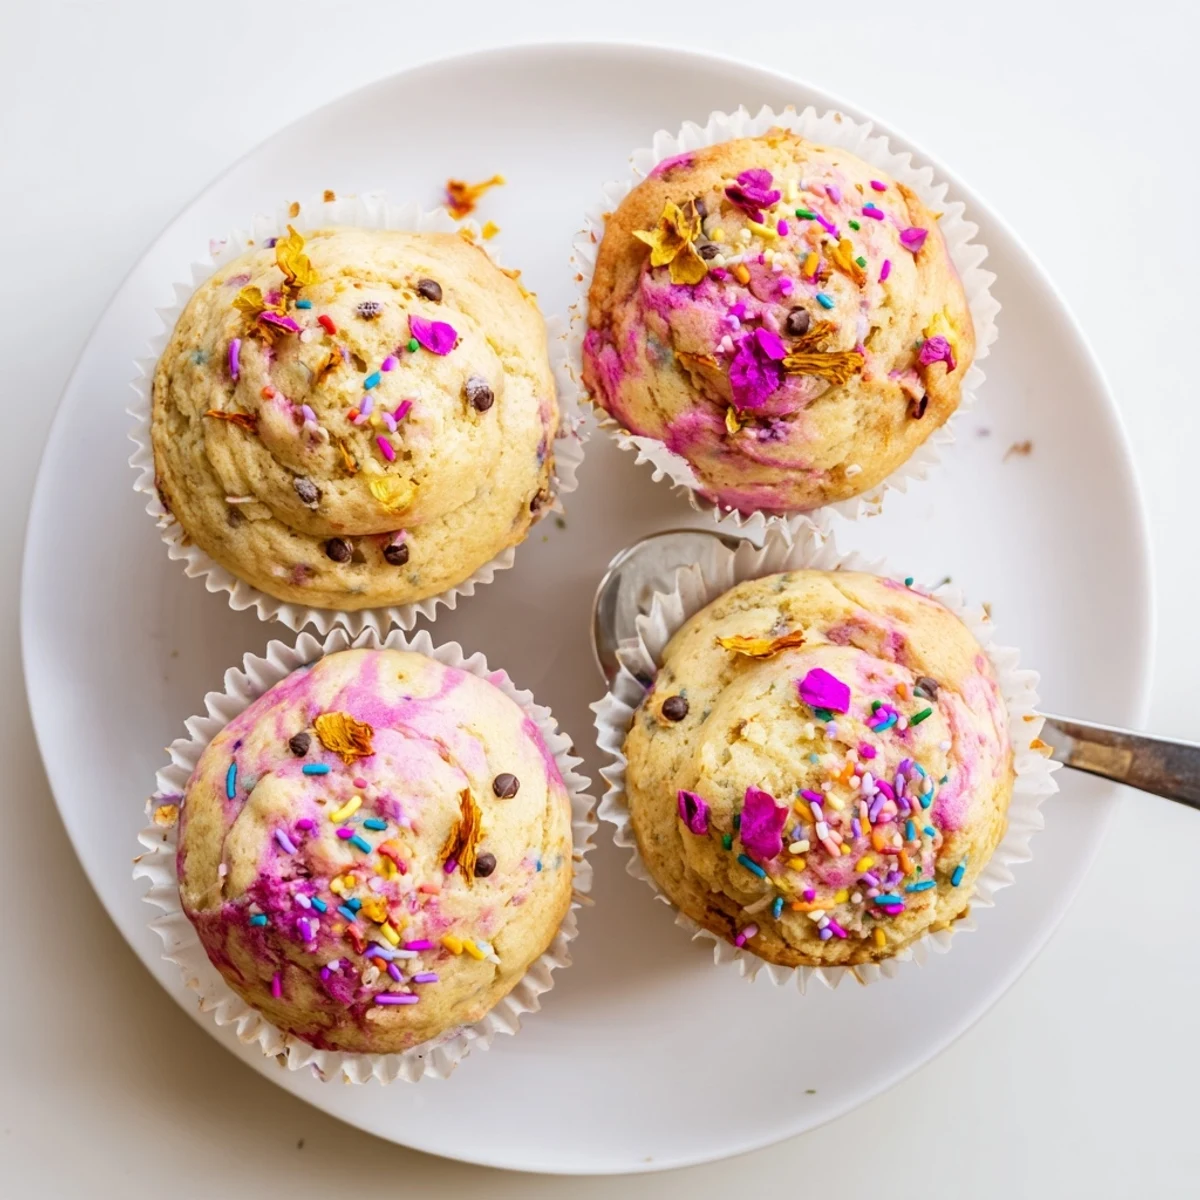
Add food coloring in layers or swirls for a marbled blooming effect that reveals itself beautifully as the cupcakes steam. The process takes just 15 minutes of active cooking time, yielding eight perfectly portioned treats.
The first time I made these steamed cupcakes, my tiny apartment kitchen had no oven but I was determined to bake something special for my roommate's birthday. I watched through the glass lid as these little cakes literally bloomed open like flowers in the steam, creating the most beautiful cracked tops I'd ever seen. Now they're my go-to whenever I want to impress someone without turning on the oven.
Last summer, my neighbor smelled these steaming through our open windows and actually knocked on my door to ask what I was making. I shared some still-warm cupcakes with her over tea, and she couldn't believe they weren't baked in an oven. Now whenever I see her, she asks if I'm making those magic steam flowers again.
Ingredients
- All-purpose flour: The foundation that gives structure while keeping the crumb tender and light
- Baking powder and baking soda: Together they create the lift that makes these cupcakes bloom upward
- Salt: Just a pinch balances the sweetness and enhances all the other flavors
- Granulated sugar: Sweetens while helping create that beautiful pale, thick batter
- Large eggs: Room temperature eggs incorporate better and help achieve the right texture
- Whole milk: Adds moisture and richness for a tender crumb
- Melted butter: Brings a wonderful flavor that oil just can't match
- Vanilla extract: Pure vanilla makes these taste like a proper bakery treat
- Food coloring: Gel coloring works best for vibrant layers without adding liquid
Instructions
- Get your steamer ready:
- Fill your steamer with water and bring it to a gentle simmer, then line your cupcake molds with paper liners while you wait
- Whisk the dry ingredients together:
- Combine the flour, baking powder, baking soda, and salt in a bowl so everything is evenly distributed
- Beat the eggs and sugar:
- In a separate large bowl, beat the eggs and sugar until the mixture looks pale and thick, then whisk in the milk, melted butter, and vanilla
- Fold everything together:
- Gently fold the dry ingredients into the wet mixture just until combined, being careful not to overmix which can make them tough
- Add some color if you want:
- Divide the batter and fold in your chosen food coloring, then layer the colors in your molds for a stunning blooming effect
- Fill the molds:
- Spoon the batter into your prepared cupcake molds, filling each about three quarters full to leave room for rising
- Steam them carefully:
- Place the molds in your steamer with space between them, and cover the lid with a clean cloth to catch condensation
- Watch them bloom:
- Steam over medium heat for 12 to 15 minutes until a toothpick comes out clean and the tops have cracked open beautifully
- Add the finishing touches:
- Let them cool slightly before decorating with sprinkles, edible flowers, or chocolate chips for that extra special touch
 Pin This
 These cupcakes have become my favorite gift to bring to gatherings because they always spark conversation. Something about watching steam transform simple batter into these blooming beauties feels like a little bit of kitchen magic that never gets old.
Creating The Blooming Effect
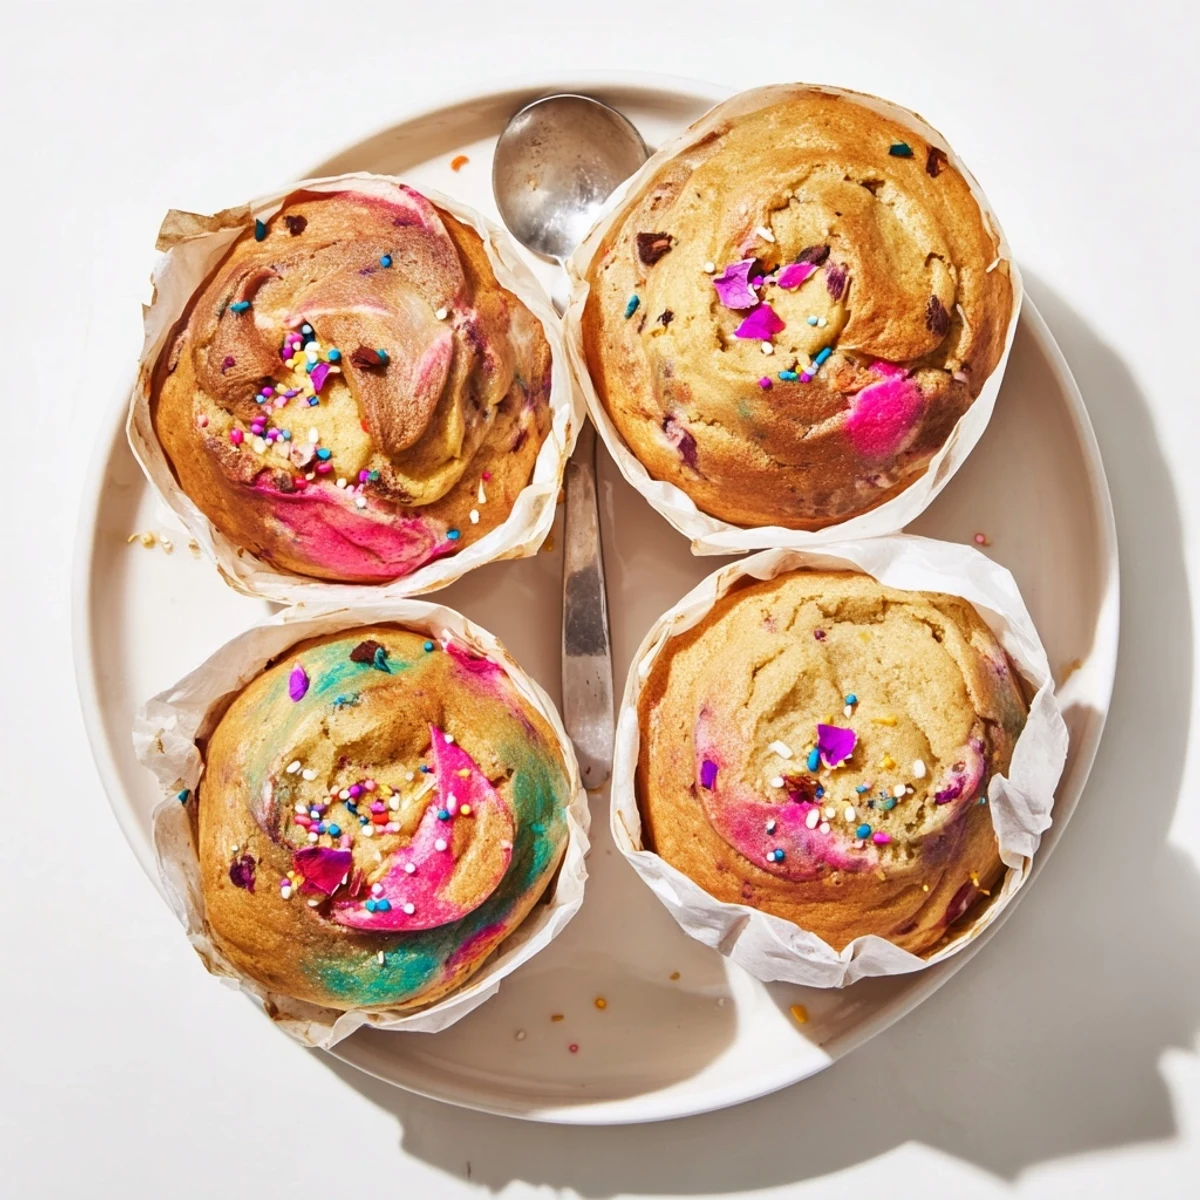
The signature blooming happens because the steam cooks the cupcakes from the outside in, creating upward pressure that splits the top open. I've found that filling the molds exactly three quarters full gives the best results, and the cracks form differently each time making every batch unique.
Making Them Your Own
Citrus zest like lemon or orange adds a bright freshness that cuts through the sweetness beautifully. I once added coconut extract and topped them with toasted coconut for a tropical version that disappeared in minutes at a potluck.
Storage And Serving
These are actually best enjoyed the same day they're made while still slightly warm, though they'll keep in an airtight container for up to two days. The texture becomes denser over time as the moisture redistributes, but a quick 10 second steam brings them right back to life.
- Serve them plain or with a dusting of powdered sugar for a simple elegant finish
- A dollop of whipped cream or frosting hides the cracked tops if you prefer a smooth look
- Try pairing with fresh berries for a contrast of textures and flavors
 Pin This
 There's something so satisfying about making beautiful treats with the simplest method possible. Every time I lift that steamer lid and see all those little blooming tops, I smile knowing that good things really do come to those who steam.
Questions & Answers
- → Why do steamed cupcakes develop blooming tops?
-
The blooming effect occurs because steam creates intense, moist heat that causes the batter to rise rapidly. As the cupcakes expand, the tops crack open beautifully, similar to how soufflés rise. This signature appearance is enhanced by not overmixing the batter and allowing proper steam circulation around each cupcake.
- → Can I make these without a traditional steamer?
-
Yes! You can create a makeshift steamer by placing a heat-proof bowl upside down in a large pot of simmering water, then setting your cupcake molds on top. Alternatively, use a bamboo steamer basket or even a rice cooker with a steaming tray. The key is maintaining consistent steam and preventing water from touching the batter.
- → How do I prevent condensation from making cupcakes soggy?
-
Wrap the steamer lid with a clean kitchen towel before covering. This simple trick absorbs excess moisture that would otherwise drip onto the cupcakes during steaming. Also, avoid removing the lid too frequently, as escaping steam affects the rising process and can cause condensation to form.
- → What's the best way to achieve marbled blooming colors?
-
Divide your batter into separate bowls and tint each with food coloring. Pour different colored batters into the cupcake liners in alternating layers rather than swirling them together. As the cupcakes steam, the colors will naturally create a marbled blooming pattern on top. Gel food coloring works best as it doesn't thin the batter.
- → How should I store steamed cupcakes?
-
Store cooled cupcakes in an airtight container at room temperature for up to two days. For longer storage, refrigerate for up to five days, though they're best enjoyed fresh. Avoid stacking before completely cooled, as the soft texture makes them prone to sticking. You can also freeze undecorated cupcakes for up to three months.
- → Can I substitute ingredients for dietary restrictions?
-
Absolutely! Use gluten-free flour blends cup-for-cup, plant-based milk like almond or oat milk, and vegan butter or coconut oil. For egg replacement, try flax eggs or commercial egg replacers, though the texture may vary slightly. The steaming method works well with these alternatives, producing tender results.
