 Pin This
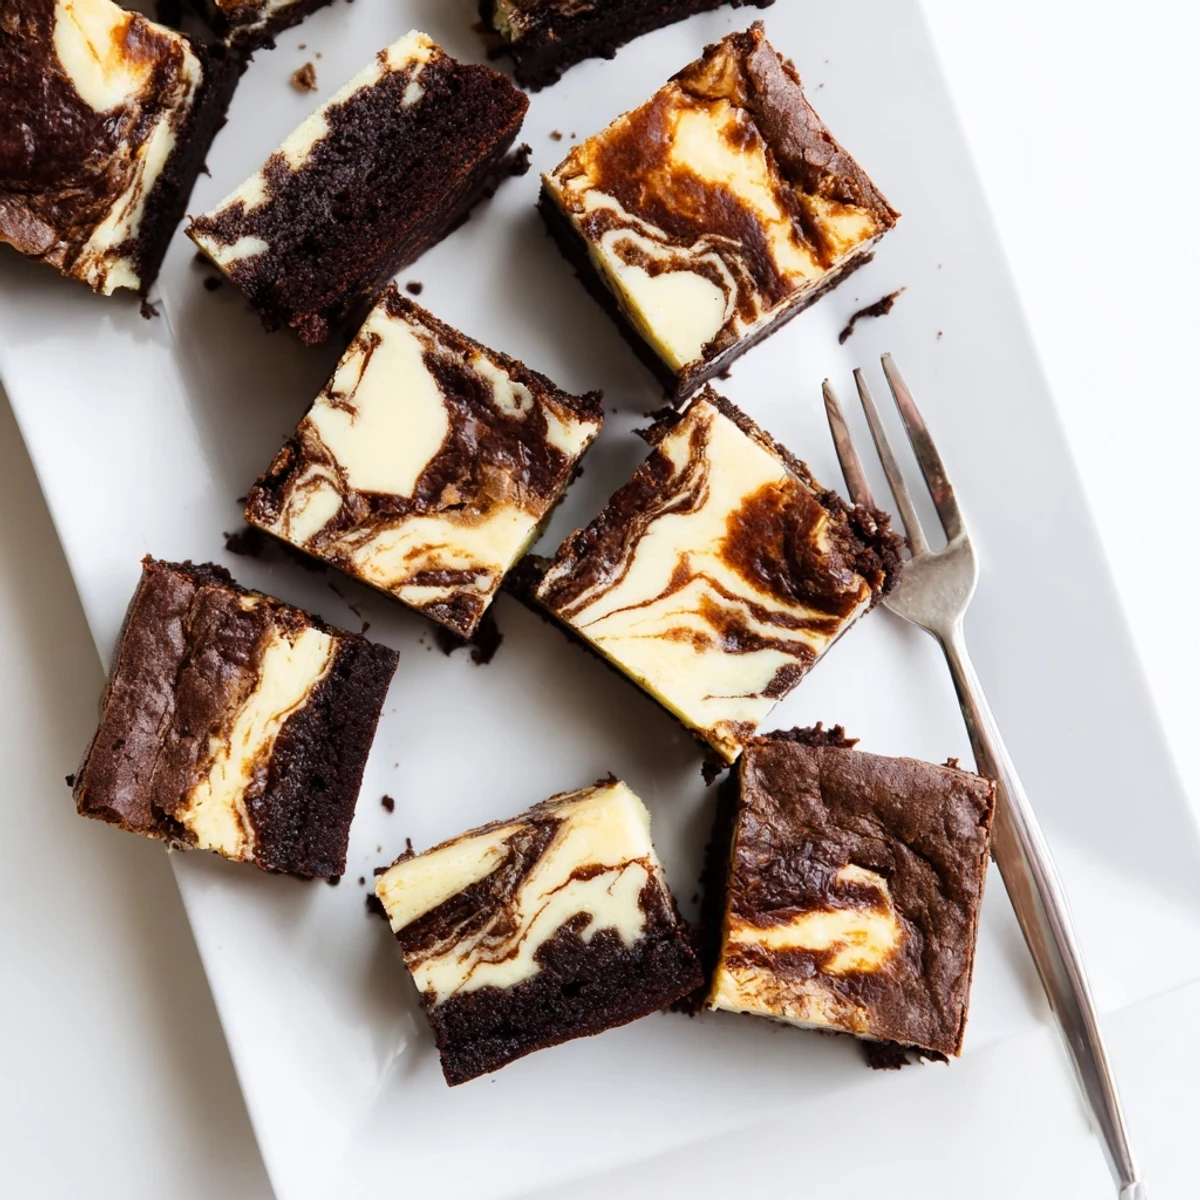
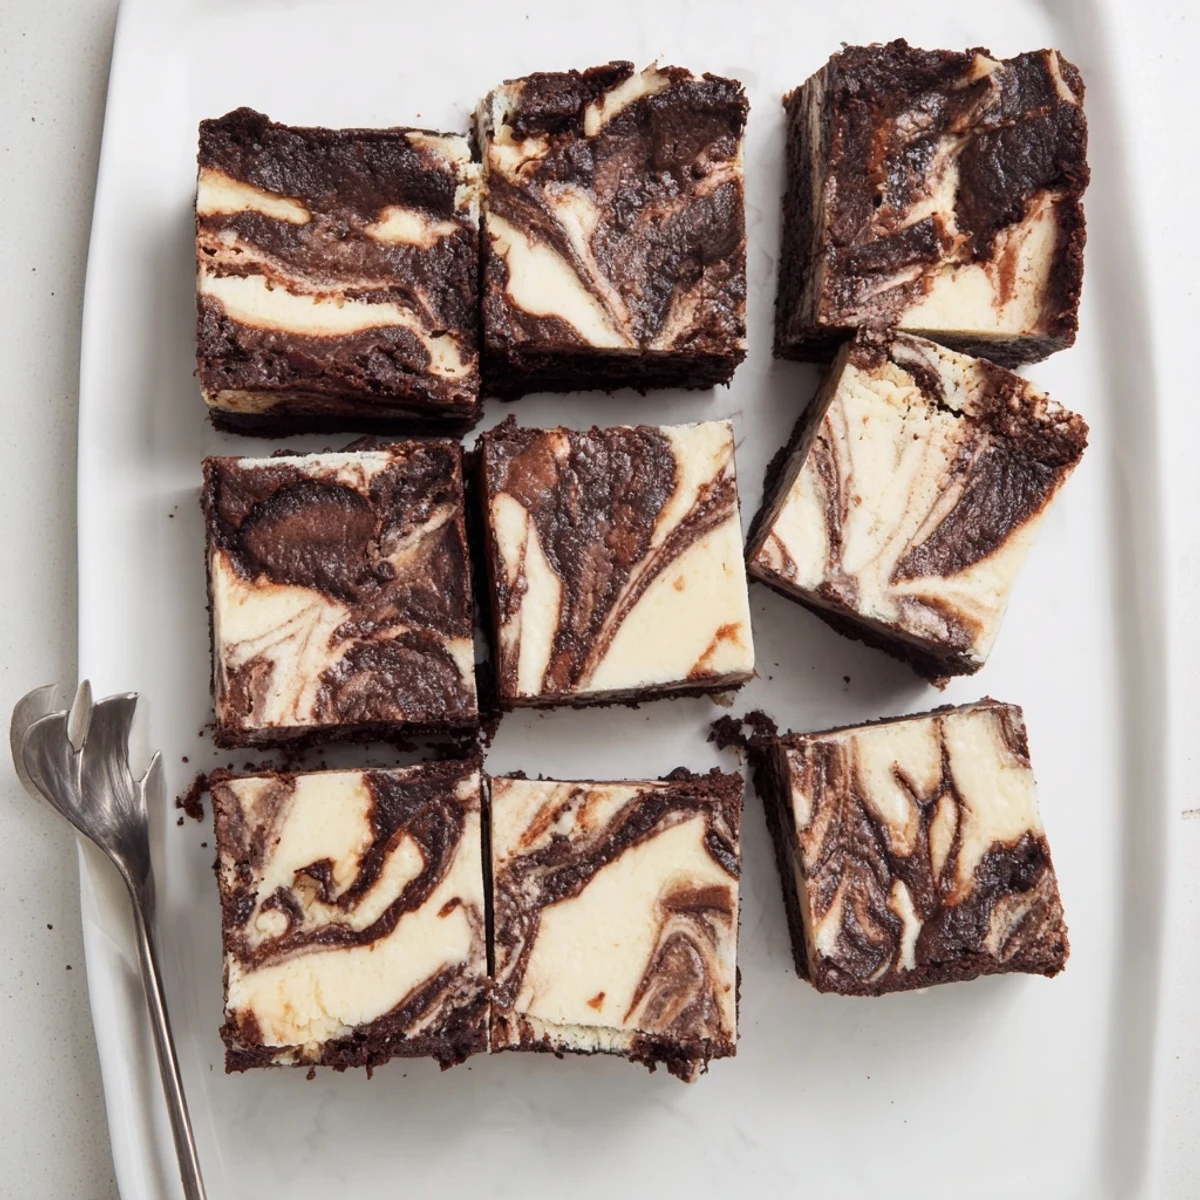
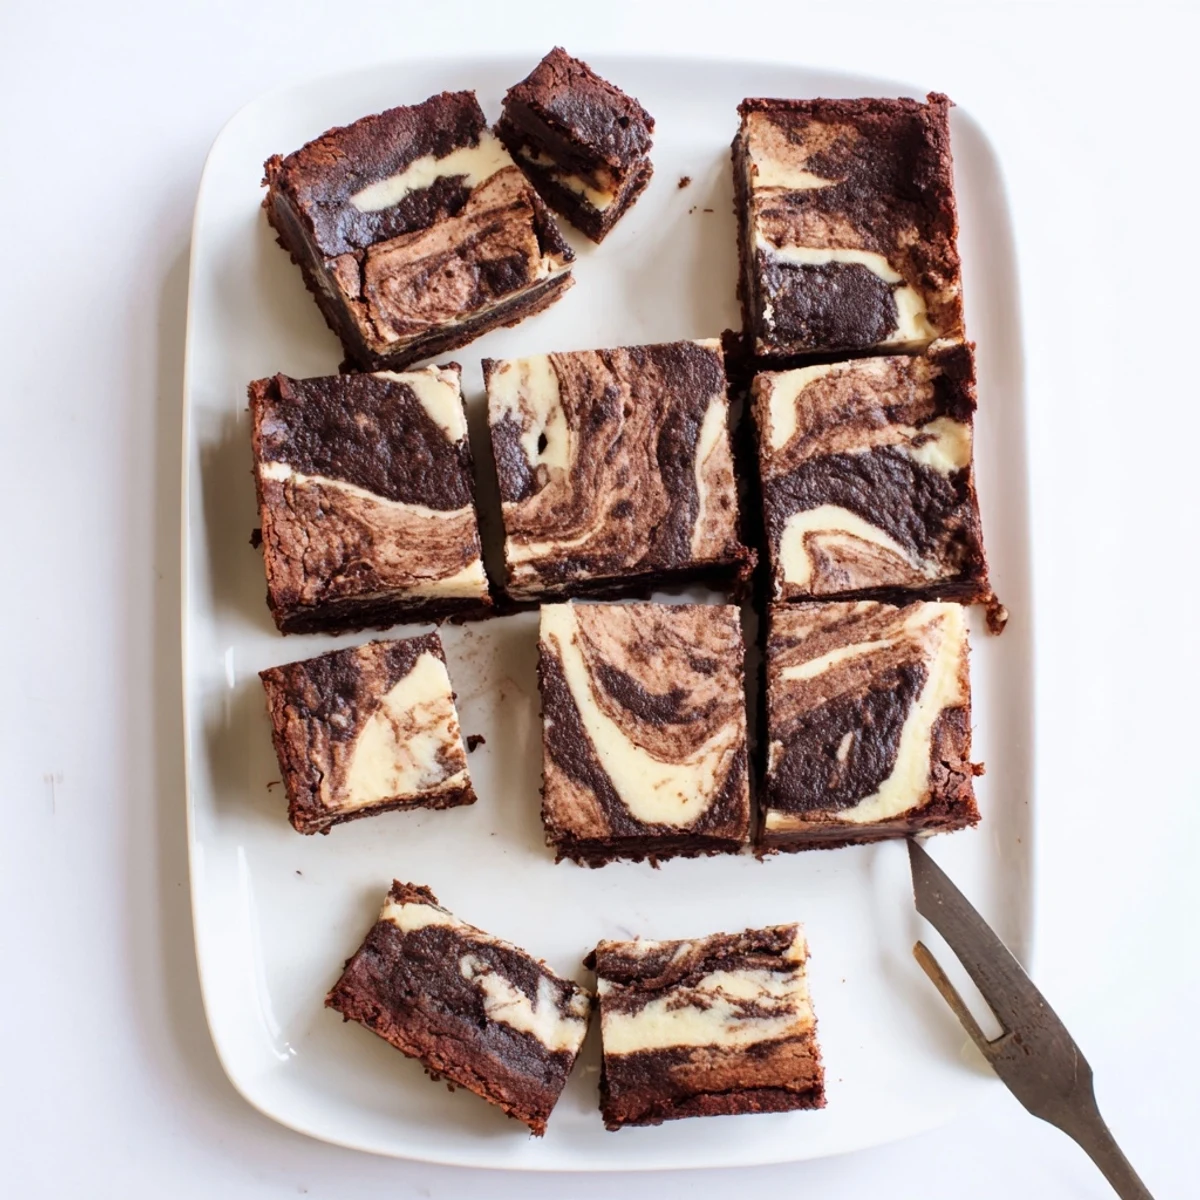
 These indulgent bars feature a dense, fudgy chocolate base enriched with sourdough starter, which adds subtle tang and enhances the chocolate's depth. The creamy cheesecake layer creates a beautiful contrast, while the swirled pattern makes for an impressive presentation. Perfect for chocolate lovers looking for something unique, these bars balance sweetness with the characteristic tang of fermented dough. The texture is exceptionally fudgy and rich, with the cheesecake adding a light, creamy element that prevents each bite from becoming too heavy.
The rain was hammering against the kitchen window the afternoon I first dumped sourdough discard into brownie batter on a whim, not expecting much beyond avoiding waste. What came out of the oven was something else entirely, a fudgy slab with a faint tang that made everyone at the table pause mid bite and ask what was different. These bars became my weekend project, evolving over months into a full cheesecake swirled production that I now make any time my jar of starter needs attention. They are messy, indulgent, and completely worth every smear of chocolate on the counter.
I brought a tray of these to a potluck last spring and watched a friend who never eats seconds quietly return for a third piece while pretending to rearrange the dessert table. That moment alone was worth every minute of swirling batter with a toothpick like some kind of abstract painter.
Ingredients
Sourdough Brownie Base
- 115 g unsalted butter: Good butter makes a noticeable difference here, so skip the cheap stuff if you can.
- 120 g dark chocolate, chopped: Chop it yourself from a bar rather than using chips, the melt is smoother and richer.
- 150 g granulated sugar: This amount balances the tang from the starter without making it cloying.
- 2 large eggs: Room temperature eggs blend more evenly into the warm chocolate mixture.
- 1 tsp vanilla extract: A splash of the real stuff, not imitation, goes a long way in a simple batter.
- 90 g sourdough starter: Active or discard both work, though discard gives a milder, more subtle tang.
- 65 g all purpose flour: Measure by weight if possible, too much flour turns brownies into cake.
- 1/4 tsp salt: Do not skip this, salt is what makes chocolate taste like itself.
Cheesecake Layer
- 225 g cream cheese, softened: Leave it out for at least an hour, cold cream cheese will leave you with lumps no matter how hard you beat it.
- 50 g granulated sugar: Kept light so the cheesecake stays tangy rather than turning into frosting.
- 1 large egg: Binds the layer together and gives it that classic silky set.
- 1 tsp vanilla extract: Rounds out the cream cheese flavor with warm sweetness.
Instructions
- Prep the pan and oven:
- Heat your oven to 175 degrees C and line a 20 by 20 cm pan with parchment, letting the paper hang over the edges like handles. This trick saves you from the horror of brownies stuck to the bottom of a pan.
- Melt chocolate and butter:
- Set a saucepan over low heat and gently melt the butter with the chopped chocolate, stirring until the mixture is glossy and smooth. Take it off the heat before it gets too hot and stir in the sugar until dissolved.
- Build the brownie batter:
- Let the chocolate cool for a minute or two, then whisk in the eggs one at a time until each disappears into the batter. Stir in the vanilla and sourdough starter, then gently fold in the flour and salt until you barely see streaks of white.
- Layer and swirl:
- Scoop out about 60 ml of the brownie batter and set it aside, then spread the rest evenly into your prepared pan. Beat the cream cheese with sugar until silky, add the egg and vanilla, then spread this layer over the brownie base. Dollop the reserved batter on top and drag a skewer through it in figure eights until it looks beautiful and messy.
- Bake and chill:
- Slide the pan into the oven for 30 to 35 minutes, pulling it out when the center is just barely set and a toothpick comes out with a few fudgy crumbs. Let it cool completely in the pan, then refrigerate for at least an hour before slicing into 16 bars.
 Pin This
 There is something deeply satisfying about pulling that parchment sling out of the pan and revealing a perfect slab of marbled brownie cheesecake, like unwrapping a gift you made for yourself.
Getting the Swirl Right
The swirl is more about confidence than technique, so do not overthink it. Use a light hand with the skewer and stop before everything blends into a muddy single color. Some of the best looking bars I have made came from being too impatient to swirl carefully.
Storing and Serving
These bars taste best cold, straight from the fridge, which also makes them remarkably firm and easy to slice cleanly. They will keep for up to five days refrigerated, though in my house they rarely survive past day two. Let them sit at room temperature for about ten minutes if you prefer a softer texture.
Variations Worth Trying
Once you have the base recipe down, start playing around with additions. This is where the recipe becomes a conversation between you and whatever is in your pantry.
- Espresso powder, even half a teaspoon, deepens the chocolate without adding any coffee flavor.
- Toasted walnuts or pecans folded into the brownie batter add a welcome crunch against the creamy cheesecake.
- A handful of chocolate chips scattered over the top before baking creates little pockets of molten surprise.
 Pin This
 Every batch teaches you something small, a better swirl, a shorter bake, a little more patience with the chilling step. These bars are worth that patience, and so is whoever you share them with.
Questions & Answers
- → Can I use discarded sourdough starter?
-
Yes, either active starter or discard works perfectly in this recipe. The discard contributes that subtle tangy flavor and helps create the fudgy texture without requiring fed, active starter.
- → Why add sourdough to brownies?
-
Sourdough starter enhances the chocolate flavor profile, adds a pleasant tang that cuts through richness, and contributes to an exceptionally fudgy, moist texture that develops beautifully over time.
- → How do I know when they're done baking?
-
The edges should be set but the center will still have a slight jiggle. A toothpick inserted should come out with moist crumbs rather than wet batter—the residual heat completes the cooking as they cool.
- → Why must these chill before cutting?
-
Chilling allows the cheesecake layer to fully set and the flavors to meld. This makes cutting clean, neat bars much easier and improves the overall texture for serving.
- → Can I freeze these bars?
-
Absolutely. Wrap individual portions tightly in plastic and freeze for up to 3 months. Thaw overnight in the refrigerator for the best texture and flavor.
