 Pin This
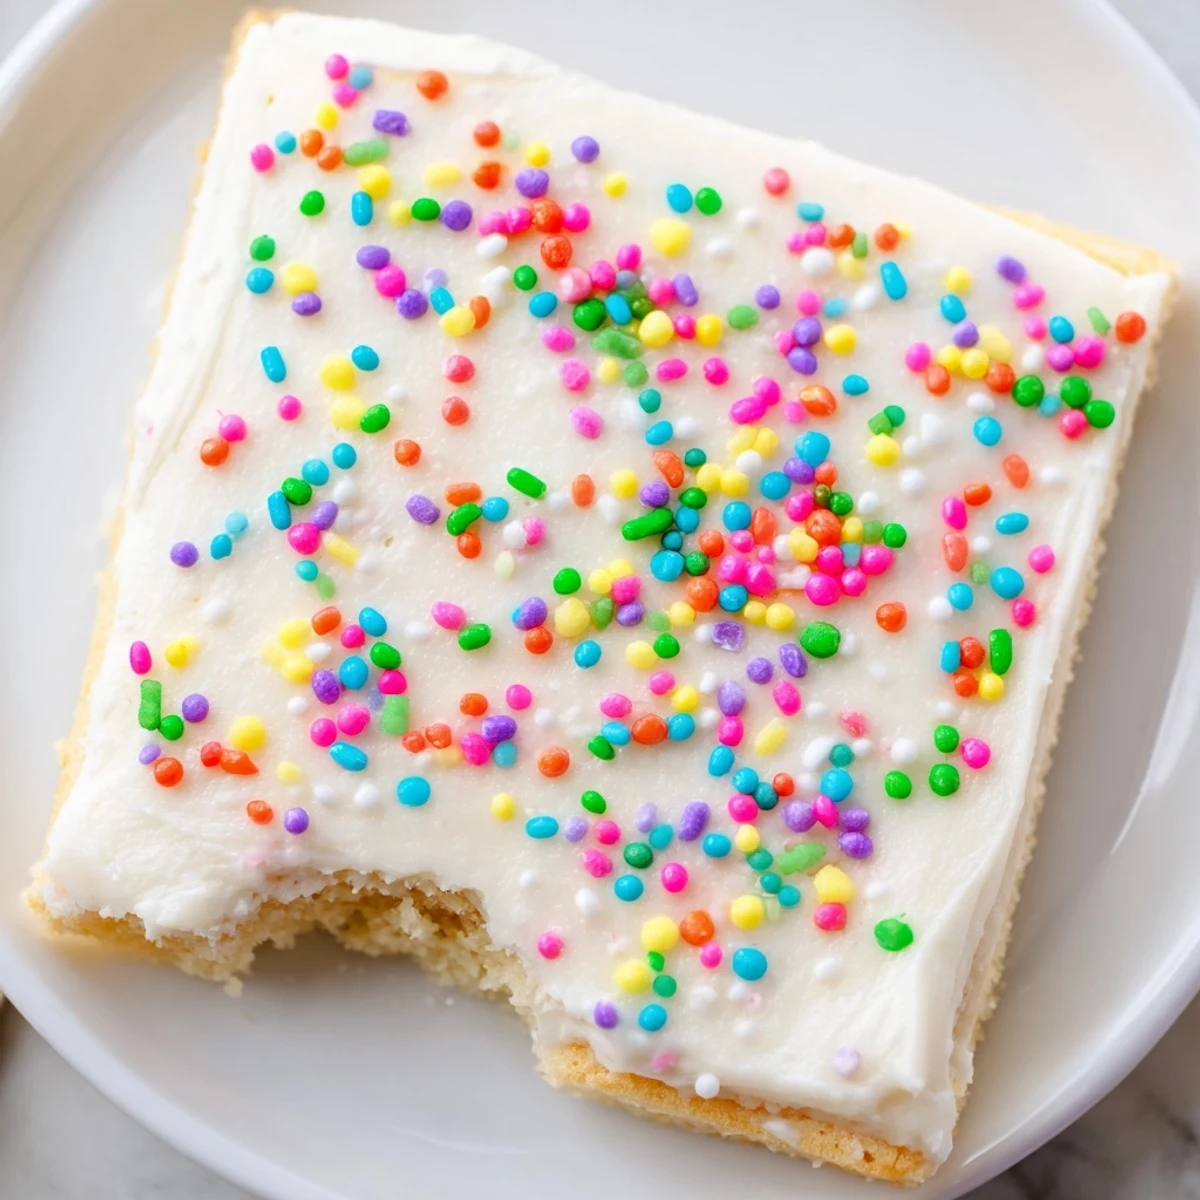
 These soft and buttery sugar cookie bars combine the classic taste of traditional sugar cookies with the ease of a pan dessert. The dough comes together quickly with basic pantry staples, then bakes into a tender golden base that's perfectly complemented by creamy vanilla frosting. What makes these bars special is their texture—slightly crisp edges with a soft, melt-in-your-mouth center that stays fresh for days. The frosting is silky smooth, easily spreadable, and can be customized with food coloring and sprinkles for any occasion. Perfect for holidays, birthday parties, potlucks, or weeknight treats, these bars are simpler than rolling and cutting individual cookies while delivering that nostalgic homemade flavor everyone craves.
The scent of vanilla and butter drifting from my oven still takes me back to that chaotic Sunday when I decided last minute that regular cookies were too much work for my book club. I pressed this dough into the pan with questionable confidence, nervous that bars would taste like a compromise rather than a choice. When everyone reached for seconds before even touching the cheese plate, I realized something beautiful about the unpretentious nature of a sugar cookie bar.
My daughter actually helped me make these for her class party last year, and I have never seen a six year old take such ownership of sprinkles placement. She stood on her step stool, carefully placing each color in a pattern that made sense only to her, beaming like she invented dessert itself. The other parents asked for the recipe, but honestly it was that genuine pride on her face while she handed them out that really sold the whole thing.
Ingredients
- Unsalted butter: Softened butter creates air pockets when creamed, giving these bars their signature tender crumb that melts on your tongue
- Granulated sugar: This sweet foundation creates those irresistible crisp edges while keeping centers pillowy soft
- Large egg: Room temperature eggs incorporate better, creating structure without toughness
- Pure vanilla extract: Never skimp here because vanilla is the backbone of that classic sugar cookie flavor everyone craves
- All purpose flour: The protein structure that transforms butter and sugar into something recognizably cookie like
- Baking powder: Just enough lift to keep these bars light without making them cakey or dry
- Salt: A pinch balances sweetness and actually enhances vanilla flavor in ways people notice but cannot name
- Unsalted butter for frosting: Cold butter makes frosting too stiff, while warm butter turns it into a sad puddle
- Powdered sugar: Sifting first prevents those tiny lumps that ruin an otherwise perfectly smooth frosting experience
- Whole milk: Adjust this teaspoon by teaspoon until your frosting reaches that spreadable consistency you love
- Pure vanilla extract: Same upgrade rule applies here because frosting vanilla flavor hits your palate first
- Pinch of salt: This keeps frosting from tasting like pure sugar and adds professional depth
- Food coloring: Gel colors create vibrant hues without changing frosting consistency like liquid dyes can
- Sprinkles: These add joy and crunch and basically make everything better
Instructions
- Prep your pan and oven:
- Preheat to 350°F and line a 9x13 inch pan with parchment, letting those edges hang over like handles that will save you later
- Cream butter and sugar:
- Beat them together for 2 to 3 minutes until pale and fluffy, trusting that air pockets are creating the texture you want
- Add egg and vanilla:
- Beat until incorporated, scraping the bowl to ensure every bit gets its fair share of flavor
- Whisk dry ingredients:
- Combine flour, baking powder, and salt in a separate bowl so everything distributes evenly
- Combine mixtures:
- Gradually add dry ingredients to wet, mixing just until combined because overmixing makes tough bars nobody wants
- Press dough into pan:
- Use clean hands or a spatula to evenly spread the dough, creating a smooth surface for that perfect frosting canvas
- Bake until set:
- Check at 18 minutes, looking for light golden edges while the center should still feel slightly soft to the touch
- Cool completely:
- Let them rest in the pan because frosting warm bars creates melty disasters I have learned from experience
- Make the frosting:
- Beat butter until creamy, then gradually add powdered sugar followed by milk, vanilla, and salt until silky smooth
- Frost and decorate:
- Spread frosting evenly over cooled bars, then add sprinkles before the frosting sets so they actually stick
- Slice and serve:
- Use the parchment overhang to lift the entire batch out, then cut into 24 squares that disappear faster than expected
 Pin This
 These bars have become my go to for everything from school bake sales to casual Tuesdays when we just need something sweet after dinner. Last Christmas I made three different batches with different frosting colors, and my neighbor actually asked if I could make them for her New Years party too.
Making Them Your Own
Lemon zest folded into the dough transforms these into spring bars that taste like sunshine. Almond extract creates something more sophisticated that adults tend to gravitate toward at parties. Mix and match frosting colors to match any season or celebration.
Storage Secrets
These bars stay surprisingly fresh stored in an airtight container at room temperature for up to three days. The frosting actually helps keep them moist, which I discovered accidentally when I forgot to refrigerate a batch overnight. They can also be frozen unfrosted for up to a month if you want to get ahead of party prep.
Party Perfect Tips
These bars travel better than regular cookies because they do not break or crumble during transport. Cut them slightly smaller if you are serving a large crowd because people tend to grab multiple when they look bite sized. Set up a sprinkles bar and let guests decorate their own.
- Use a sharp knife wiped clean between cuts for professional looking edges
- Bring room temperature bars to parties because cold frosting lacks that creamy appeal
- Stack between parchment layers if you need to transport multiple layers without sticking
 Pin This
 There is something genuinely joyful about a dessert that does not pretend to be fancy but still disappears first at every gathering. Make these once and they will become your answer to everything from potlucks to midnight cravings.
Questions & Answers
- → How do I know when the bars are done baking?
-
The bars are ready when the edges are lightly golden and the center appears set. A toothpick inserted in the middle should come out clean or with just a few moist crumbs. Avoid overbaking to maintain the soft texture.
- → Can I make these bars ahead of time?
-
Yes, you can bake the bars up to 2 days in advance. Store them unfrosted in an airtight container at room temperature, then frost shortly before serving. You can also freeze the unfrosted bars for up to 3 months.
- → Why did my bars turn out hard or dry?
-
Overbaking is usually the culprit. Sugar cookie bars continue to firm as they cool, so removing them when the center is just set ensures a tender texture. Also, measure flour accurately—too much flour creates a denser, drier bar.
- → Can I use salted butter instead of unsalted?
-
Yes, you can substitute salted butter, but reduce the added salt in both the cookie dough and frosting by half. The overall flavor balance remains excellent with this simple adjustment.
- → What's the best way to get evenly thick bars?
-
Press the dough firmly into the prepared pan using clean hands or the flat bottom of a measuring cup. For perfectly uniform squares, chill the frosted bars for 30 minutes before cutting, and use a sharp knife wiped clean between slices.
- → Can I add mix-ins to the cookie dough?
-
Absolutely! Fold in 1/2 cup of sprinkles, chocolate chips, or chopped nuts after mixing the dough. Avoid adding too many extras, as they can affect the texture and rise of the bars.
