 Pin This
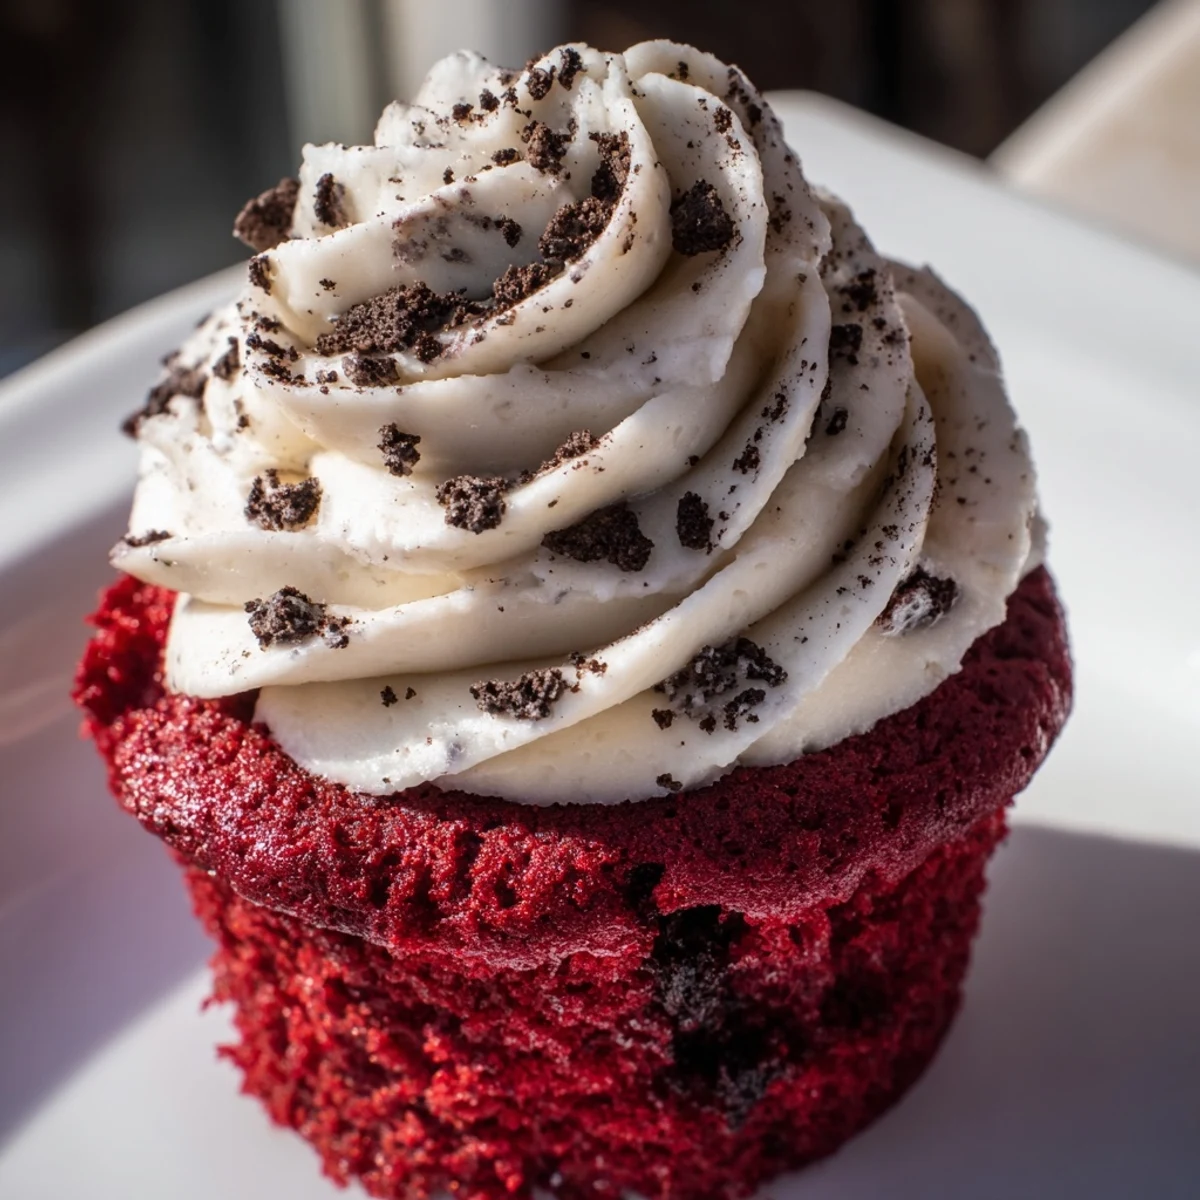
 These red velvet Oreo cupcakes combine a tender, cocoa-kissed red velvet batter with generous chunks of chopped Oreo cookies throughout. Each cupcake is crowned with a luscious cream cheese frosting infused with finely crushed Oreos, creating a delightful contrast of textures.
Ready in just 40 minutes with 20 minutes of prep and 20 minutes in the oven, this medium-difficulty treat yields a dozen beautifully vibrant cupcakes. They're an excellent choice for birthday parties, holiday gatherings, or anytime you want to impress with a striking dessert.
The batter turned out so violently red that my daughter asked if I was making monster food, and honestly, she was not wrong. Red velvet anything has that theatrical quality that makes baking feel like a tiny production, and folding crushed Oreos into it only heightens the drama. These cupcakes are unapologetically indulgent, with a soft crumb that practically melts and a cream cheese frosting that people will scrape off the wrapper. They have become my go to whenever I need something that looks effortful but comes together in under an hour.
I brought a batch of these to a friend potluck last winter and watched three people quietly return for seconds when they thought no one was looking. One of them later texted me at midnight asking if I had any leftover frosting in my fridge, which I honestly did because I always make extra. That text told me everything I needed to know about whether this recipe was worth sharing.
Ingredients
- All purpose flour (1 1/4 cups): The structural backbone, and spooning it into the cup rather than scooping prevents dense cupcakes.
- Unsweetened cocoa powder (3 tbsp): Just enough to give depth without turning these into chocolate cake, which is a common red velvet mistake.
- Baking soda (1/2 tsp) and salt (1/4 tsp): Standard leavening and flavor balancing, nothing unusual here.
- Vegetable oil (1/2 cup): Oil keeps these cupcakes softer for longer than butter would, and you will notice the difference on day two.
- Granulated sugar (3/4 cup): Moderately sweet to balance the tang of buttermilk and cream cheese.
- Large egg (1, room temperature): One egg is all you need, and letting it sit out for twenty minutes before baking makes a real difference in how the batter comes together.
- Buttermilk (1/2 cup, room temperature): The secret to that tender crumb, and if you do not have any, a splash of vinegar in regular milk works in a pinch.
- Red food coloring gel (1 tbsp): Gel is far more concentrated than liquid, so you use less and get a bolder color without thinning the batter.
- Pure vanilla extract (1 tsp): A background note that ties everything together quietly.
- Distilled white vinegar (1/2 tsp): Reacts with the baking soda to give a little extra lift, a trick worth remembering.
- Oreo cookies (10 chopped, plus 6 for frosting): Roughly chopped for the batter so you get real bites of cookie, and finely crushed for the frosting so it spreads smoothly.
- Unsalted butter (1/2 cup, softened): The base of the frosting, and softened truly means soft, not melted.
- Cream cheese (8 oz, softened): Full fat cream cheese is nonnegotiable here, the low fat version will make your frosting runny.
- Powdered sugar (2 cups, sifted): Sifting prevents those awful lumps that ruin an otherwise silky frosting.
Instructions
- Preheat and prepare:
- Set your oven to 350 degrees Fahrenheit and line a standard muffin tin with paper liners, because nothing is sadder than a beautiful cupcake stuck to the pan.
- Whisk the dry team:
- In a medium bowl, whisk together the flour, cocoa powder, baking soda, and salt, then set it aside so it is ready when you need it.
- Build the wet batter:
- In a large bowl, beat the oil and sugar together, then add the egg, buttermilk, red food coloring, vanilla, and vinegar, mixing until everything looks smooth and vibrantly red.
- Bring it all together:
- Gradually add the dry ingredients to the wet, mixing just until combined because overmixing is the enemy of a tender cupcake.
- Fold in the Oreos:
- Gently fold the roughly chopped Oreos into the batter with a spatula, trying not to crush them into dust.
- Fill and bake:
- Divide the batter evenly among the twelve liners, filling each about two thirds full, and bake for 18 to 20 minutes until a toothpick comes out clean from the center.
- Cool properly:
- Let the cupcakes rest in the pan for five minutes, then transfer them to a wire rack to cool completely because warm cupcakes will melt your frosting into a sad puddle.
- Make the frosting:
- Beat the softened butter and cream cheese together until creamy and lumpless, then add the sifted powdered sugar and vanilla, beating until the mixture is fluffy and smooth.
- Finish with crushed Oreos:
- Gently fold the finely crushed Oreos into the frosting, then pipe or spread generously onto each cooled cupcake and add extra crumbs on top if you want that bakery look.
 Pin This
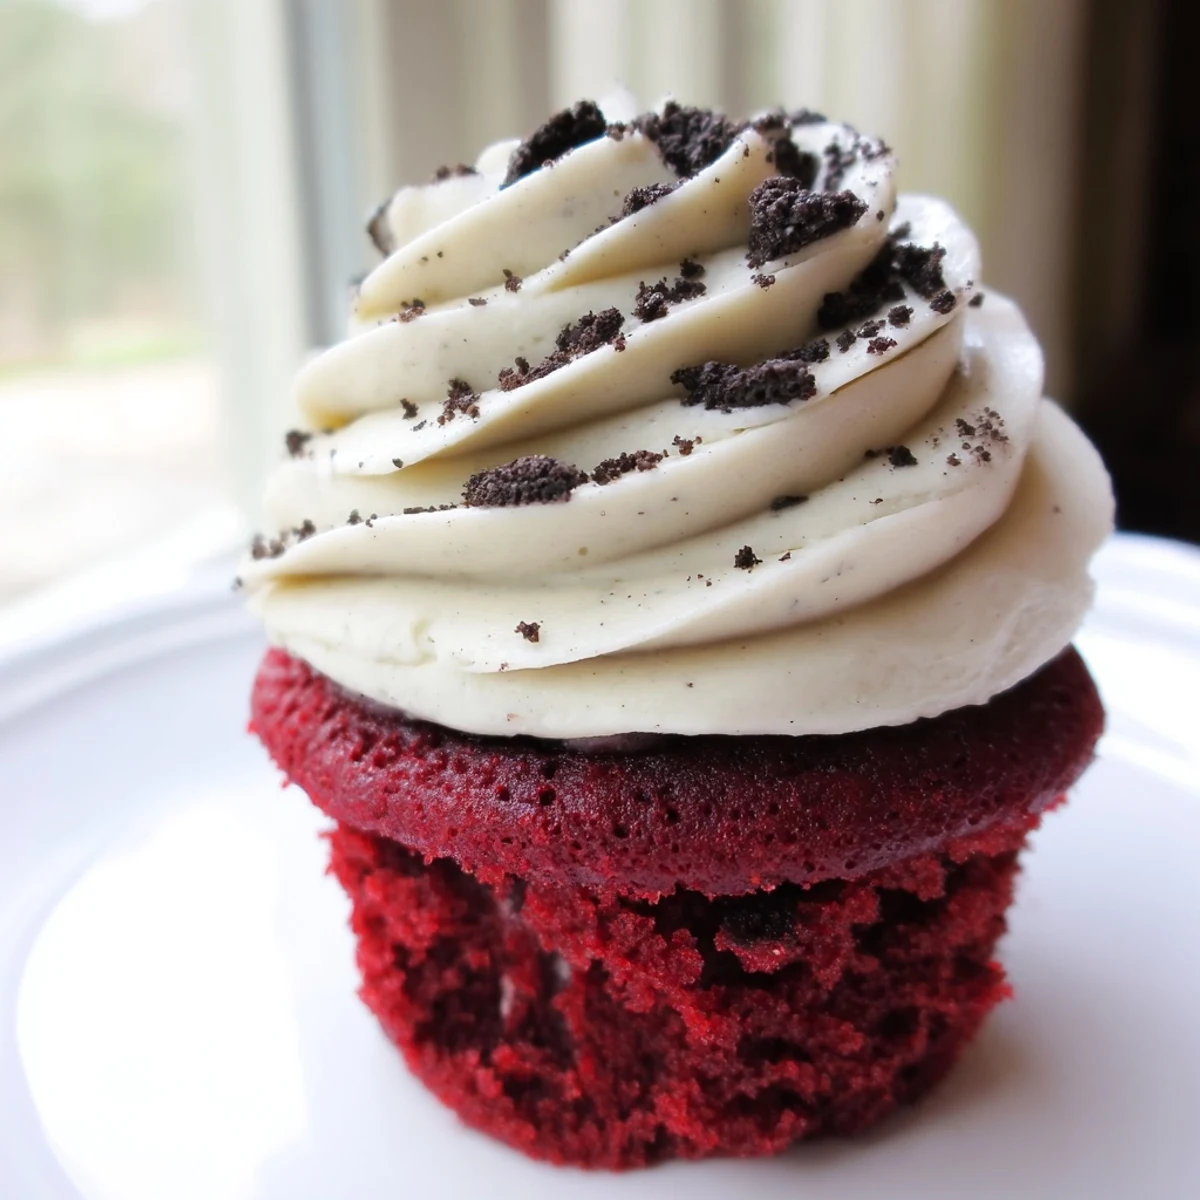
 There is something about a tray of red velvet cupcakes dotted with Oreo pieces that makes people feel like they are at a real event, even if that event is just a Tuesday night in your kitchen.
Serving and Storing
These cupcakes are best served chilled, which is a detail I learned after leaving them out at a summer barbecue and watching the frosting soften into a crestfallen slouch. Refrigerate them uncovered for about thirty minutes before serving if you want clean, defined swirls that hold their shape.
Making It Your Own
A handful of mini chocolate chips folded in with the Oreos adds a deeper chocolate hit that some people genuinely prefer, and I have started doing this almost every time. You can also swap in gluten free flour and gluten free cookies without losing much texture, though you may need an extra minute in the oven.
What to Watch Out For
Most of the common pitfalls with this recipe come down to temperature and timing, so here are a few things to keep in your back pocket.
- Make sure your cream cheese and butter are truly softened before making the frosting, or you will chase lumps forever.
- Do not skip sifting the powdered sugar, because those tiny hard pieces will surprise you at the worst moment.
- Remember that these contain dairy and eggs, so do not leave them out at room temperature for more than a couple of hours.
 Pin This
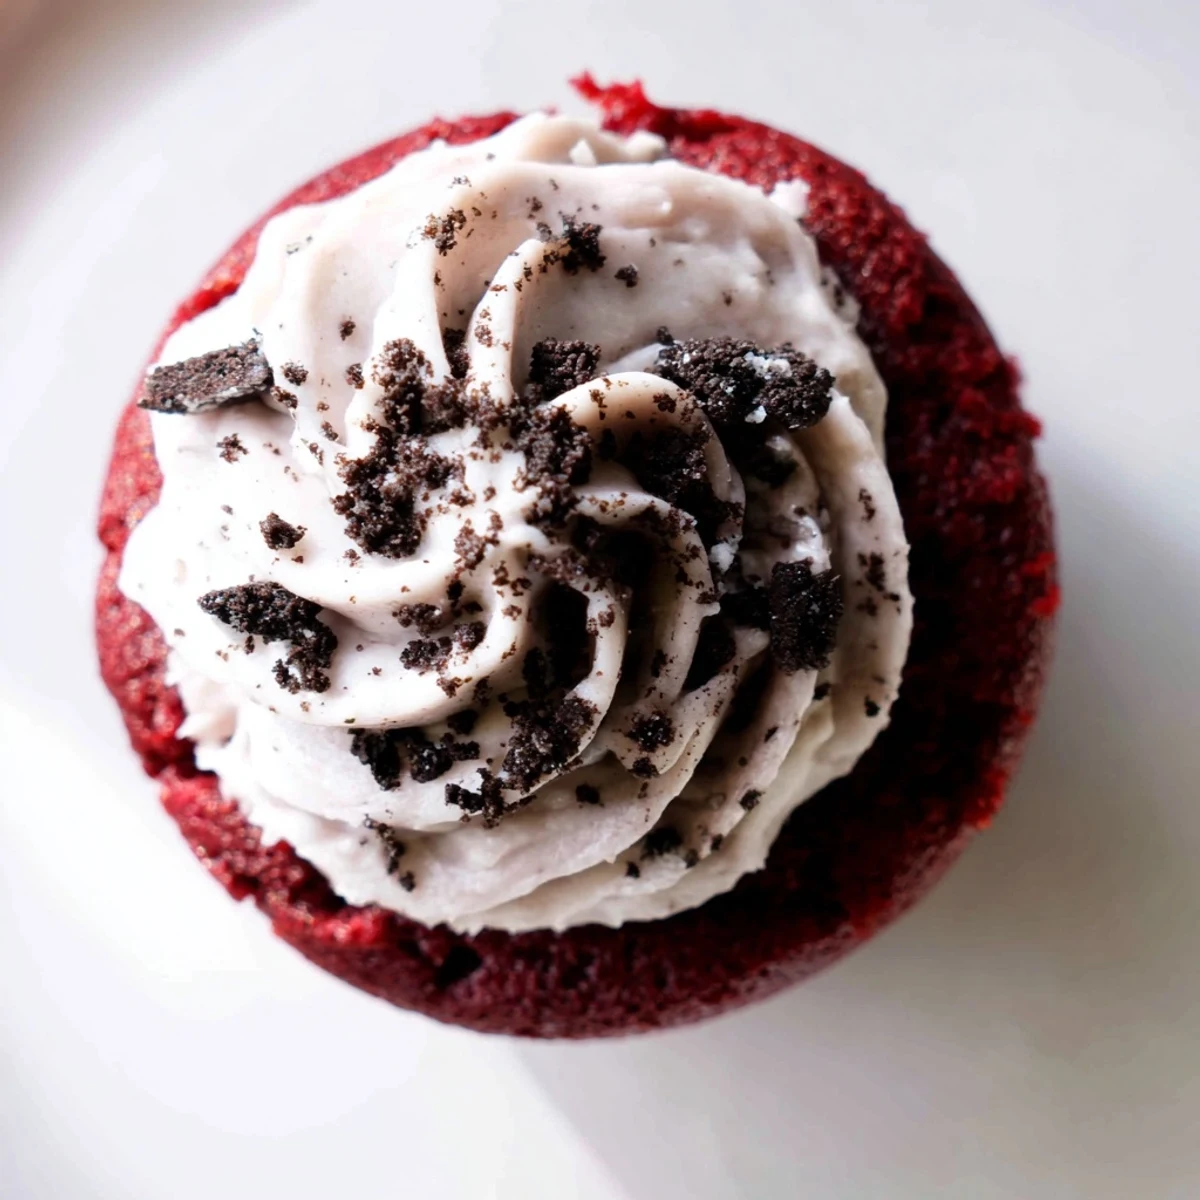
 These cupcakes are proof that sometimes the best recipes come from combining two things you already love without overthinking it. Share them generously, and maybe hide one for yourself before they disappear.
Questions & Answers
- → Can I make these cupcakes ahead of time?
-
Yes, you can bake the cupcakes a day in advance and store them in an airtight container at room temperature. Frost them on the day of serving for the freshest presentation. Frosted cupcakes can also be refrigerated for up to 3 days.
- → Why is buttermilk important in red velvet batter?
-
Buttermilk adds tanginess and tenderness to the crumb. Its acidity reacts with baking soda to create lift, resulting in a lighter, softer texture. If you don't have buttermilk, you can make a substitute by adding 1/2 tablespoon of lemon juice or white vinegar to regular milk and letting it sit for 5 minutes.
- → Can I freeze these cupcakes?
-
Absolutely. Freeze unfrosted cupcakes wrapped tightly in plastic wrap for up to 2 months. Thaw at room temperature before frosting. You can also freeze frosted cupcakes by placing them on a tray until the frosting firms up, then wrapping individually.
- → What type of red food coloring works best?
-
Gel food coloring is strongly preferred over liquid coloring. Gel provides a much more vibrant, deep red hue without adding extra liquid to the batter, which could throw off the texture. One tablespoon of gel will give you that classic bold red velvet look.
- → How do I get perfectly even cupcake batter portions?
-
Use an ice cream scoop or a measuring cup to divide the batter evenly among the liners. Filling each liner about two-thirds full ensures the cupcakes rise properly without overflowing. This yields consistent sizing across all twelve cupcakes.
- → Can I make these gluten-free?
-
Yes, substitute the all-purpose flour with a 1:1 gluten-free baking flour blend. Also use gluten-free chocolate sandwich cookies in place of traditional Oreos. The texture may be slightly different but still delicious.
