 Pin This
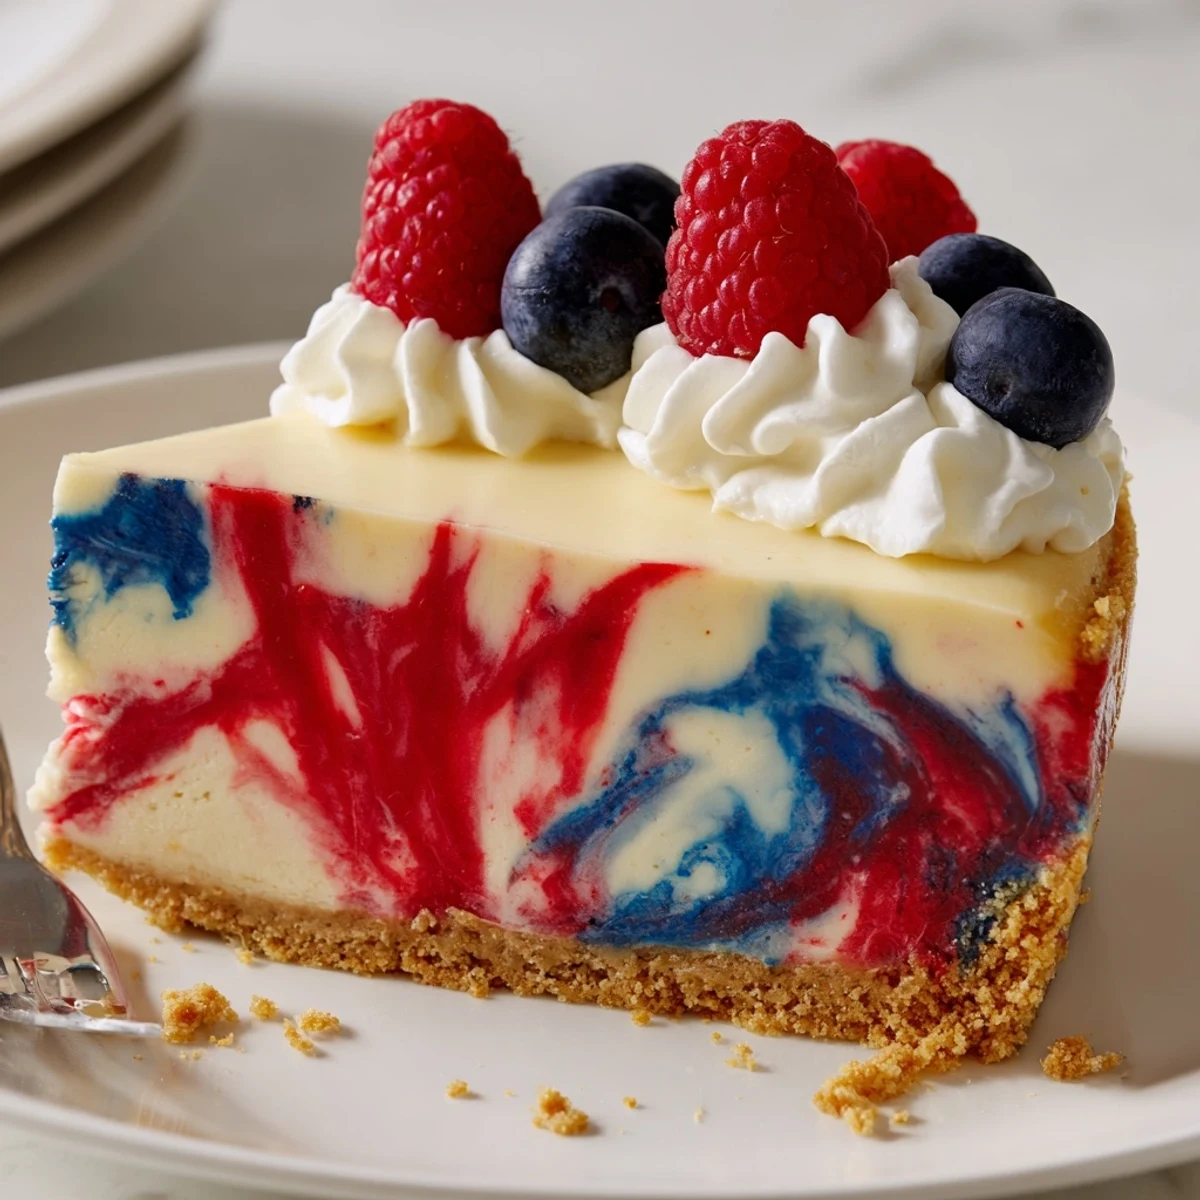
 This festive cheesecake pairs a buttery graham crust with a silky, tangy cream cheese filling split and tinted for bright red and blue swirls. Bake at 325°F until the center is just set, cool slowly with the oven door cracked, then chill at least three hours to firm. Use gel colors for vivid marbling, avoid overmixing to keep distinct patches, and top with whipped cream or fresh berries for extra flair.
Some desserts simply demand attention, and the first time I made this Patriotic Swirl Cheesecake, my kitchen felt more like an art studio. The sight of vivid red and blue swirling into plush creaminess was almost hypnotic, and I'll admit to swirling a bit too enthusiastically before remembering to slow down. There's just something about uniting a colorful treat with a velvety cheesecake base that gets my creative and sweet tooth equally excited. Every time, it turns a basic holiday menu into a celebration center stage.
The year I unveiled this for July Fourth, I remember my neighbor Lil blurting out Is that store-bought? while peeking in the fridge. There was a little gathering out on the deck and as I carried out the cake, people actually paused their conversations, craning to see. It’s not just for holidays, either—one slice turned an ordinary Tuesday potluck at work into an impromptu party.
Ingredients
- Graham cracker crumbs: I’ve learned to press these down extra firmly for a crust that cuts clean and holds its shape—let it cool to avoid a soggy bottom.
- Granulated sugar: It brings gentle sweetness to both crust and filling, but taste a pinch before adding to adjust for your preference.
- Unsalted butter: Melted and mixed in, it gives the crust richness and a buttery scent that makes the kitchen feel welcoming.
- Pinch of salt: Just enough to balance out all the sweetness; trust me, don’t skip it.
- Cream cheese: Softened fully, this becomes effortless to blend and eliminates pesky lumps—set it out in advance for best results.
- Vanilla extract: This hint of background warmth brings the whole flavor profile together.
- Large eggs: Add them one by one for an extra-silky filling every time and avoid overbeating to prevent cracks.
- Sour cream: It’s my trick for keeping the texture lush and the tanginess fresh.
- All-purpose flour: Just enough to give structure, so the cake slices tall and proud.
- Red and blue gel food coloring: Gel is key; it keeps colors vivid without thinning your batter—don’t panic if it looks bold before swirling, it will mellow on baking.
Instructions
- Get set:
- Fire up your oven to 325°F and prep a 9-inch springform pan, lining the bottom so the crust pops out without drama later.
- Make the crust:
- Mix graham crumbs, sugar, salt, and melted butter until it feels like wet sand, then press it down firmly into the pan; bake just until golden and let cool while you work on the filling.
- Whip the filling:
- Use your mixer to soften the cream cheese to cloud-like smoothness before blending in sugar and vanilla, scraping down the bowl with each addition.
- Add eggs with care:
- Crack in eggs one a time, blending gently so the batter stays luscious and doesn’t get overly airy.
- Smooth and swirl:
- Add sour cream and flour, mixing just until combined—overmixing is the enemy of silkiness!
- Color and create:
- Divide the batter into three and tint two of them with your gel colors; then layer big spoonfuls haphazardly over the crust and swirl with a skewer for that marbled effect, but stop before the colors blend fully.
- Bake with patience:
- Bake until just set with a subtle wobble in the center, then turn off the heat, crack the door, and let it gently cool inside the oven—it prevents cracks and keeps the texture perfect.
- Chill completely:
- After an hour, slide the pan into the fridge for at least three hours or overnight—this wait is truly worth it.
 Pin This
 The first time a kid at the table asked me how I “painted” the cake, I felt this quiet pride. Decorating it with fresh berries and whipped cream, surrounded by laughter and sticky fingers, somehow made the cheesecake taste twice as sweet.
Choosing & Using Food Coloring
Years ago, I tried the classic liquid dyes but found the color faded after baking, leaving me a little let down. Gel or paste food colorings are intensely pigmented and thick, so they don’t thin out the batter or cause streaking. It only takes a tiny dab to get those firework-bright reds and blues—just go slow and blend thoroughly with a clean spatula.
Swirling Techniques That Actually Work
Swirling looks trickier than it is: using a wooden skewer or the tip of a butter knife, I make broad ‘S’ shapes just through the top inch of the batter. Focus on only a few swoops and resist the urge to keep swirling or the colors muddy up. Every time, the cake comes out with hypnotic streaks that reveal themselves even better once sliced.
Make-Ahead & Serving Happiness
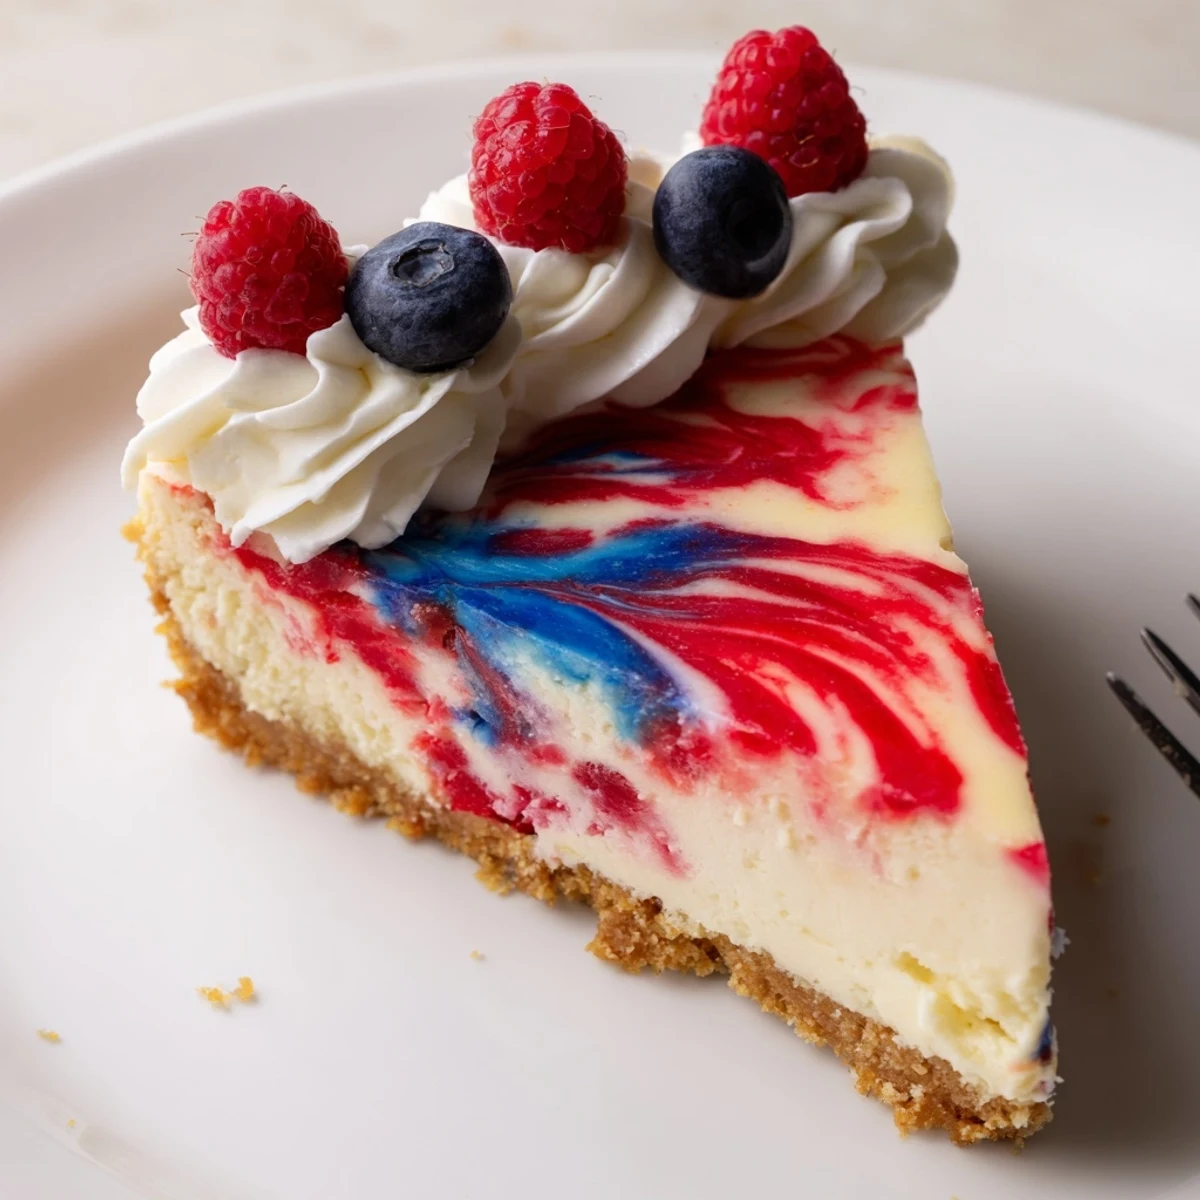
Baking this cheesecake a day in advance lets both the flavor and colors develop beautifully in the fridge. It slices much cleaner when it’s well-chilled, and the swirls seem even more vivid against the creamy base the next morning. Leftovers rarely last, but if they do, tight plastic wrap keeps it moist in the fridge for up to 4 days.
- Use a knife dipped in hot water for picture-perfect slices every time.
- Don't forget to let the cheesecake cool fully before unlocking the pan to avoid crumbling.
- Decorate just before serving so whipped cream holds its shape and berries stay fresh.
 Pin This
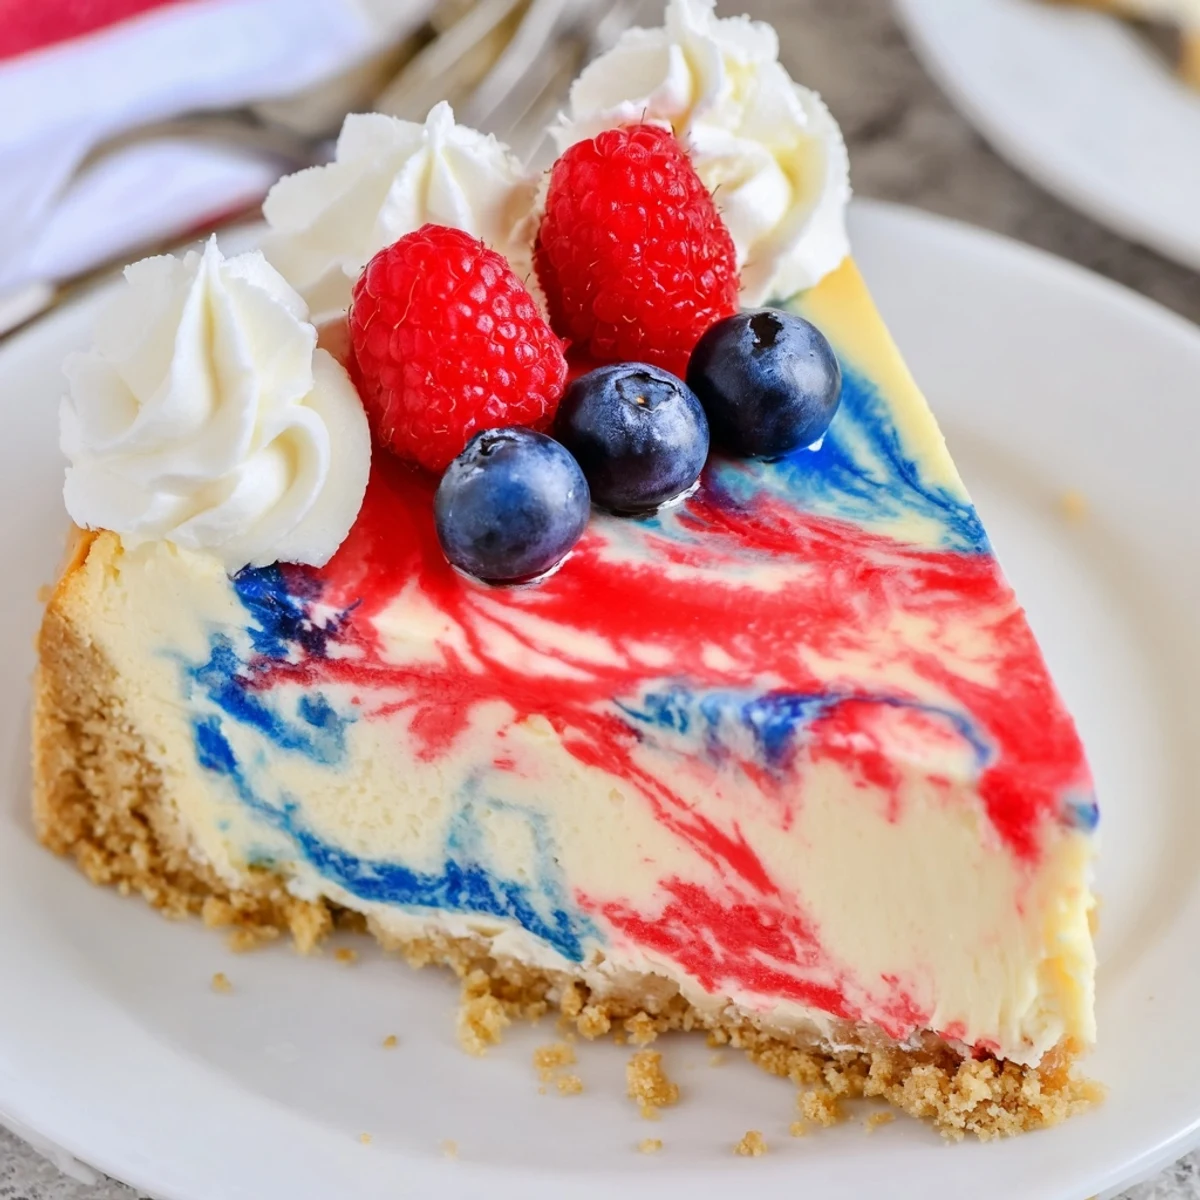
 If you ever need a showstopper that brings a rush of smiles and color to the table, this cheesecake is it. Every slice feels like a celebration worth sharing year-round.
Questions & Answers
- → How do I get bright, non-bleeding swirls?
-
Use gel food coloring rather than liquid dyes, adding only a few drops until you reach the desired vibrancy. Tint separate portions of batter and fold gently to avoid thinning the base, which helps colors hold their shape during baking.
- → What's the best way to prevent cracks on top?
-
Bake at a moderate temperature and avoid overbaking; the center should still be slightly jiggly when removed. Let the cheesecake cool gradually by turning off the oven and cracking the door for an hour before chilling to reduce sudden temperature shifts that cause cracks.
- → Can I make the crust ahead of time?
-
Yes. Press the graham cracker crust into the pan and bake for the short pre-bake, then cool and refrigerate the crust for up to a day before adding the filling. This keeps the base crisp and saves prep time on baking day.
- → How long should the cheesecake chill before slicing?
-
Chill at least three hours, though overnight chilling yields a firmer, cleaner slice. Proper chilling helps the filling set and makes slicing neater, especially with the marbled layers.
- → Any tips for achieving even marbling?
-
Divide the batter evenly into bowls and spoon alternating dollops onto the crust. Use a skewer or knife to gently draw through the batter in wide S-shaped motions—work lightly to maintain distinct color patches rather than blending them smooth.
- → What toppings complement the flavors and colors?
-
Light toppings like whipped cream, fresh berries, or a dusting of powdered sugar keep the focus on the swirls while adding freshness and contrast. Avoid heavy sauces that could run into the marbling.
