 Pin This
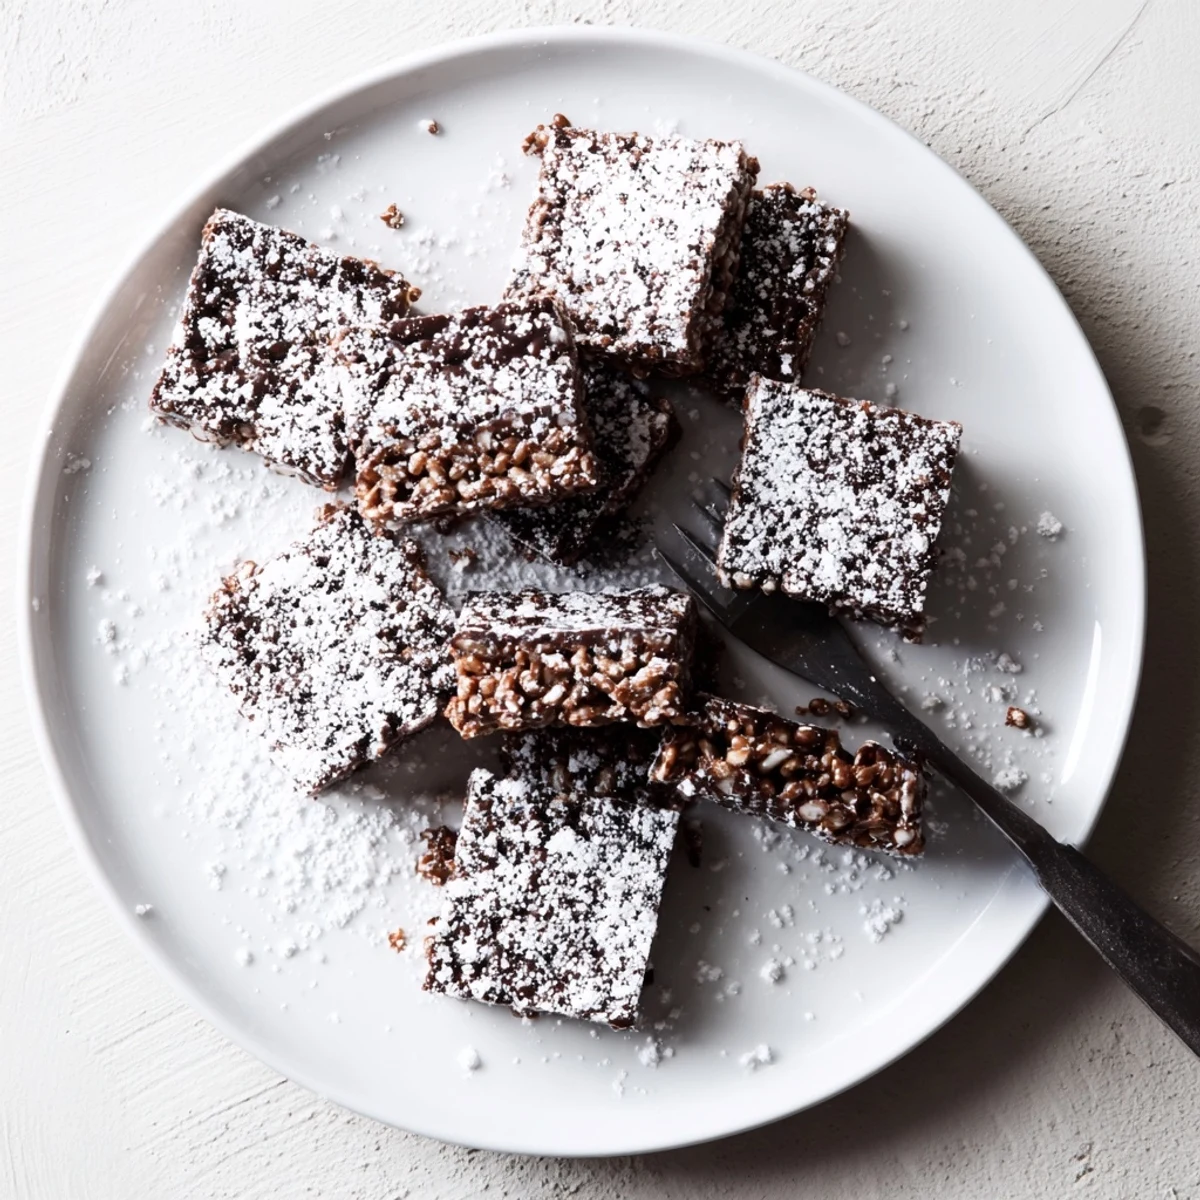
 These Muddy Buddy Rice Krispies combine the classic crunch of cereal with a rich chocolate-peanut butter coating. The entire mixture gets tossed in powdered sugar for that signature dusty finish. Ready in under 20 minutes, these squares are perfect for parties, bake sales, or afternoon snacks. The process involves melting chocolate and peanut butter together, coating the cereal, pressing into a pan, and giving each piece a quick toss in sugar before serving.
Rain was pounding against the kitchen window last Tuesday when I suddenly needed to make something that would turn the whole gray afternoon around. My cousin had texted asking if I remembered those muddy buddy snacks from grade school parties, and honestly, I hadn't thought about them in years. The microwave hummed while I watched chocolate and peanut butter melt together, and suddenly my apartment smelled like the school cafeteria but better.
Brought these to a book club meeting last month and watched three grown women literally scrape powdered sugar off their plates with their fingers. Someone asked for the recipe before we'd even discussed the book, which I took as a compliment to the treats rather than an insult to our literary discussion.
Ingredients
- 6 cups Rice Krispies cereal: The classic snap, crackle, pop base that holds everything together without getting soggy
- 1 cup semisweet chocolate chips: I've tried expensive bars and generic chips, and honestly the chips melt more evenly for this application
- 1/2 cup creamy peanut butter: Use the regular kind, not natural, because you want that smooth emulsified texture
- 1/4 cup unsalted butter: Adds richness without making the chocolate coating too soft
- 1 teaspoon pure vanilla extract: Don't skip this, it somehow makes the chocolate taste more like chocolate
- 1 1/2 cups powdered sugar: The magical snowfall that turns sticky chocolate into finger friendly perfection
Instructions
- Set yourself up for success:
- Line a 9x13 inch pan with parchment paper, leaving some overhang like handles, and pour your Rice Krispies into a truly enormous bowl because you need room to stir without sending cereal flying across your kitchen.
- Melt the good stuff together:
- Combine chocolate chips, peanut butter, and butter in a microwave safe bowl and heat in 30 second bursts, stirring between each, until everything's smooth and glossy like a chocolate pond.
- Add the vanilla magic:
- Stir in the vanilla extract and watch the mixture suddenly smell like something you'd pay eight dollars for at a fancy bakery.
- Coat every crispy piece:
- Pour the chocolate mixture over your cereal and fold gently with a spatula, taking your time to get every single square coated without crushing them into dust.
- Press and wait briefly:
- Transfer everything to your prepared pan and press down lightly with the back of your spatula, then let it set for just a few minutes so it holds together when you cut it.
- The snowfall treatment:
- Cut the mixture into squares, dump your powdered sugar into a large zip top bag, add a few squares at a time, and shake gently until each piece looks like it's been rolling in a winter drift.
 Pin This
 My dad texted me at midnight last week saying he'd eaten half the batch I left at their house and was now brainstorming excuses to make more for breakfast.
Making It Your Own
Last month I threw in some crushed pretzels because I had a bag that needed using up, and the salty crunch cutting through all that sugar was absolutely genius. Mini marshmallows work beautifully too, turning the whole thing into something between muddy buddies and regular rice crispy treats.
The Storage Situation
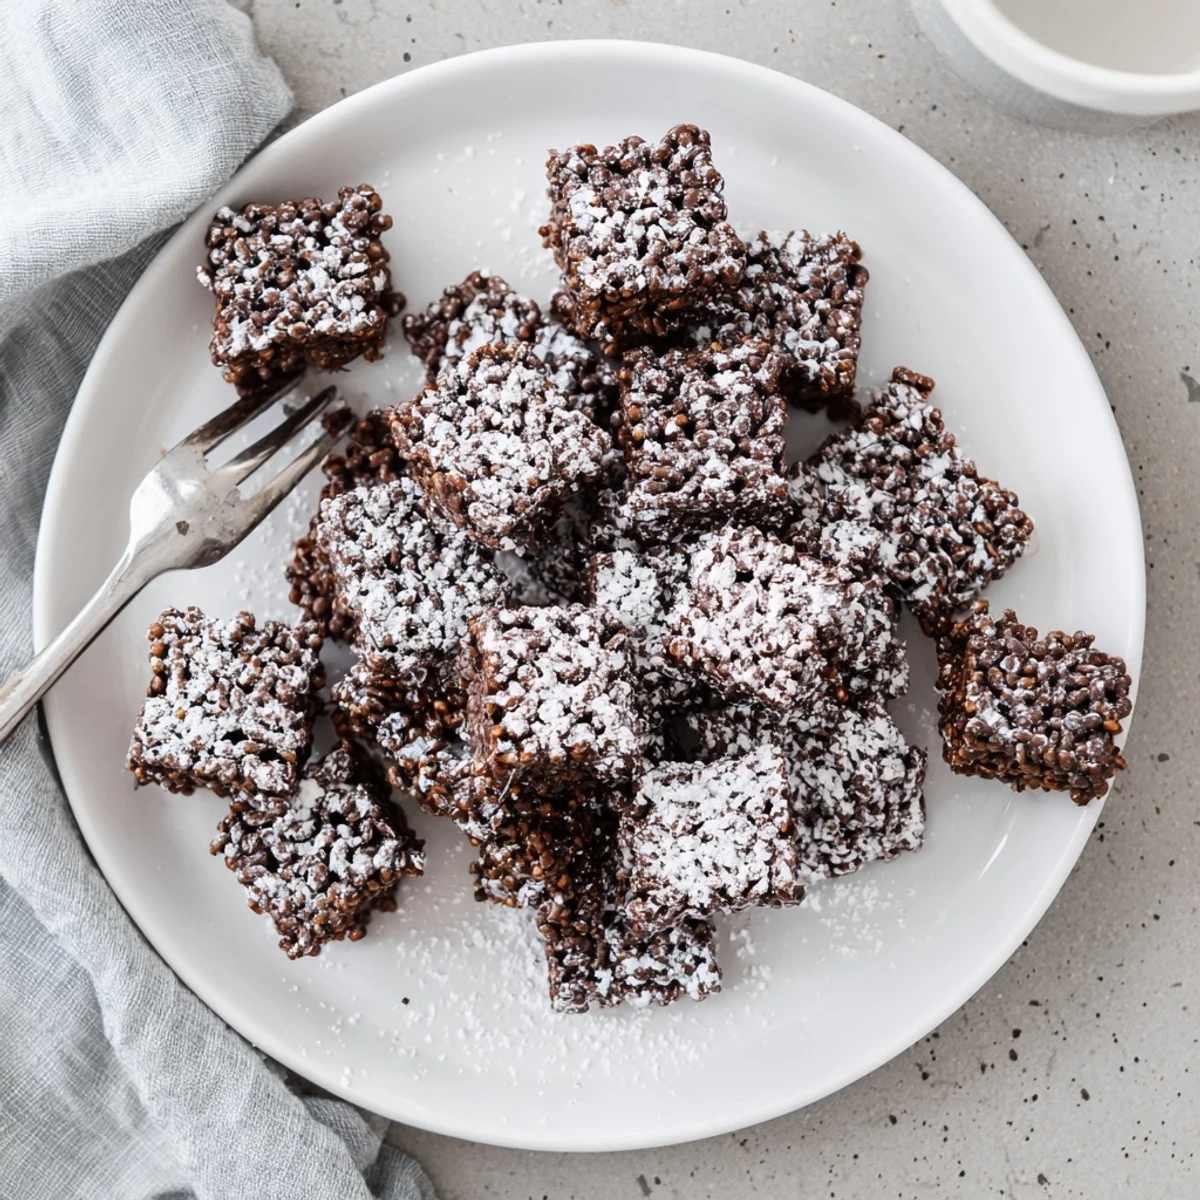
These keep surprisingly well in an airtight container for about four days, though the powdered sugar does start to disappear into the chocolate coating a bit. I've learned to give them a quick toss in fresh sugar before serving day old leftovers, which brings back that snowy appearance.
Serving Suggestions
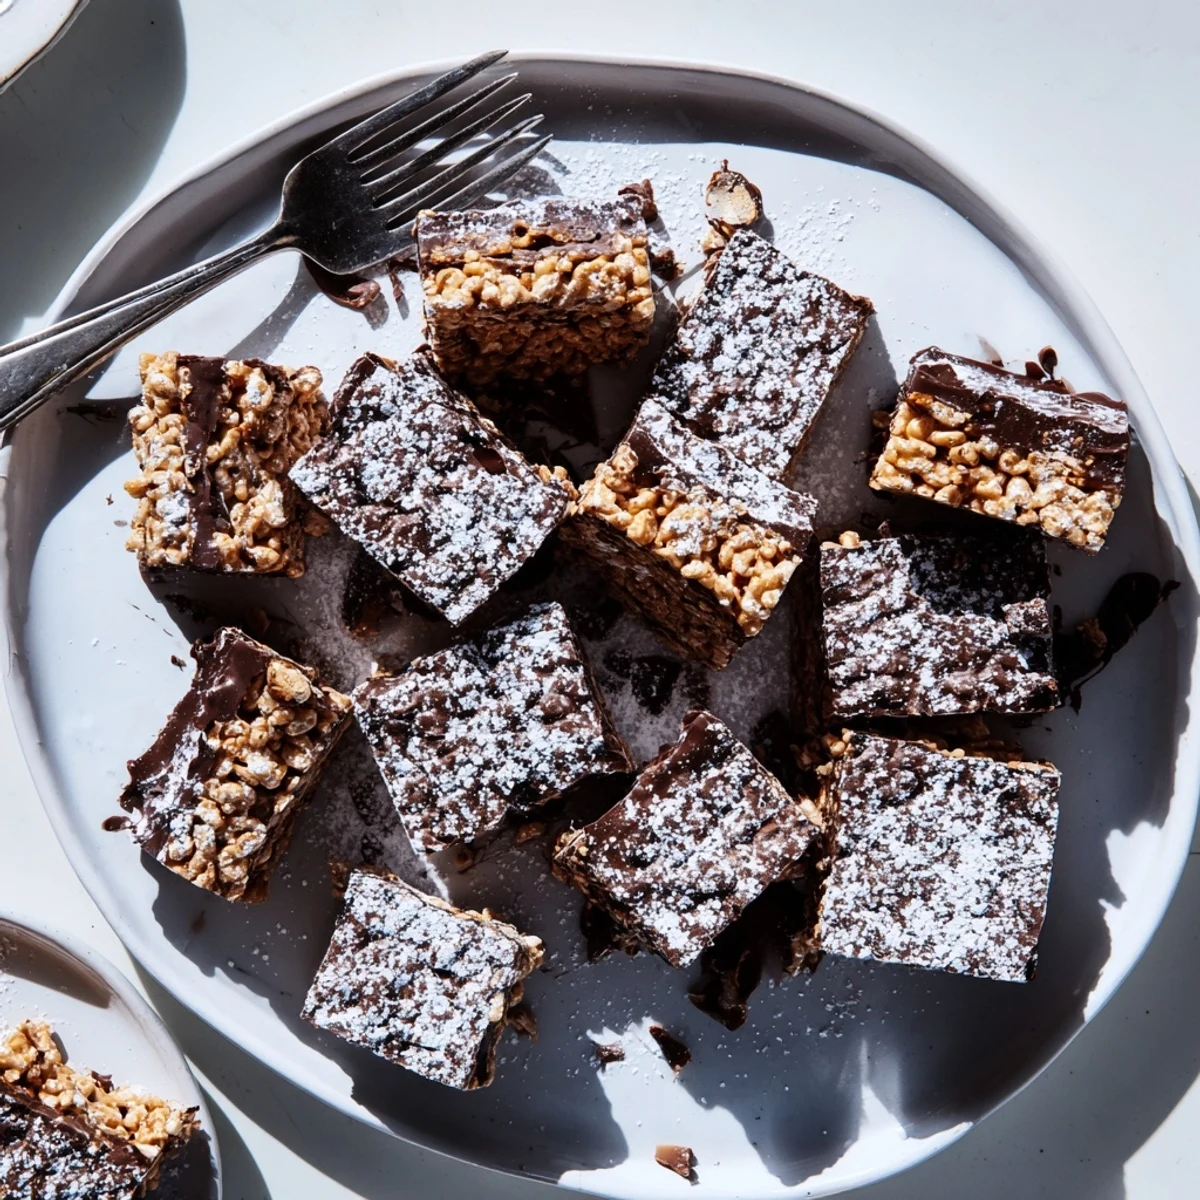
These show up at basically every gathering I host now because they're impossible to mess with and people genuinely light up when they see them. Arrange them on a platter with the powdered sugar sides facing up for maximum visual appeal.
- Stack them in little paper cups for easy grabbing at parties
- Crumble some over vanilla ice cream if you want to be extra decadent
- Package them in clear bags tied with twine for impromptu neighbor gifts
 Pin This
 Sometimes the simplest recipes are the ones that stick around, turning ordinary afternoons into something worth remembering.
Questions & Answers
- → Can I make these ahead of time?
-
Yes, prepare these up to 4 days in advance. Store in an airtight container at room temperature. The powdered sugar coating will stay intact if layered between parchment paper.
- → What's the best way to coat the cereal evenly?
-
Pour the warm chocolate mixture slowly over the cereal while gently folding with a spatula. Use a light touch to avoid crushing the cereal while ensuring every piece gets coated.
- → Can I use different nut butters?
-
Absolutely. Almond butter, sunflower seed butter, or cashew butter work well. Just ensure it's creamy and stir-able for the smoothest coating consistency.
- → Why do I need to toss pieces in powdered sugar separately?
-
Tossing individual squares ensures even coverage without making the mixture soggy. This method creates that classic dusty coating on all sides while keeping the interior crunchy.
- → Can I freeze these treats?
-
Freezing isn't recommended as the powdered sugar coating can become sticky when thawed. These squares taste best when stored at room temperature and enjoyed within 4 days.
- → What if my mixture seems too dry?
-
If the cereal isn't fully coated, microwave another tablespoon of butter with a tablespoon of peanut butter and drizzle over the mixture. Fold gently to distribute evenly.
