 Pin This
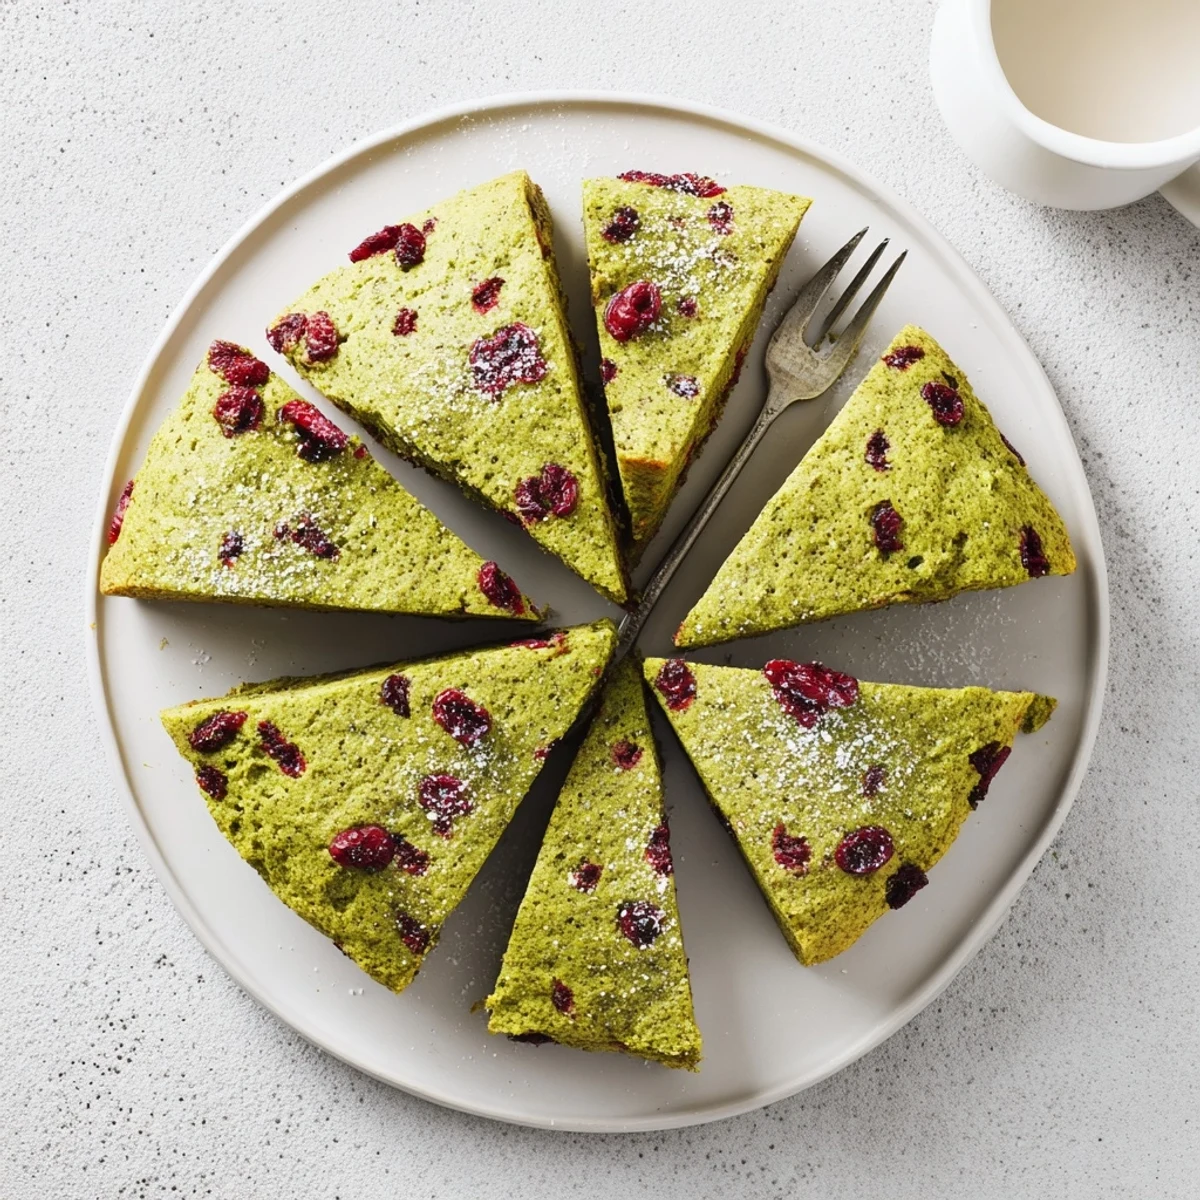
 These tender scones combine the earthy notes of premium matcha green tea powder with the bright tang of dried cranberries. The buttery dough bakes up light and flaky, with a vibrant green hue that makes them visually striking.
Mix cold butter into the flour mixture until crumbly, then combine with milk, egg, and vanilla. Gently fold in the cranberries, being careful not to overwork the dough. Shape into a circle, cut into wedges, and brush with milk before baking at 400°F for 16-18 minutes until golden.
Enjoy warm with clotted cream or lemon curd for a traditional British experience. The natural sweetness balances beautifully with the matcha's subtle bitterness, while the cranberries provide bursts of tart fruitiness throughout each bite.
The first time I made matcha scones, my kitchen smelled like a tea shop had collided with a French bakery. That vibrant green color striking through pale yellow dough felt like a small rebellion against the ordinary. I pulled them from the oven, set them on the windowsill to cool, and my roommate walked in asking what kind of magic I had been brewing. One bite into that still-warm scone, the tart cranberries popping against the earthy matcha, and I knew these were not just weekend treats.
Last winter, when the days felt too short and the world too heavy, I started baking these on Sunday mornings. The ritual of measuring bright green powder into a bowl became an anchor. My neighbor would catch the scent through our shared wall and knock on my door with an empty plate, knowing there would be fresh scones cooling on the counter. We would sit by the window, sipping tea and breaking apart still-warm wedges, talking about everything and nothing.
Ingredients
- All-purpose flour: The structure here. I have used bread flour in a pinch, but the texture gets a bit chewier than you want in a scone.
- Matcha powder: Splurge on ceremonial grade if you can. The cheaper stuff tastes dusty and bitter, and you deserve better.
- Granulated sugar: Just enough to temper the matcha and cranberries without making these cloyingly sweet.
- Baking powder: Fresh is nonnegotiable. Check the expiration date or risk flat, disappointing scones.
- Salt: Unsalted butter means you control the seasoning. Do not skip it. Salt makes everything taste more like itself.
- Cold unsalted butter: Cold, cold, cold. I keep mine in the freezer for 15 minutes before cutting it in. Those tiny butter pockets create flaky layers.
- Cold whole milk: Whole milk yields the tenderest crumb. I have used half and half for extra richness, but skim makes these tough.
- Large egg: Bring it to room temperature while you prep your ingredients. It incorporates more evenly that way.
- Pure vanilla extract: The warm, floral notes bridge the gap between earthy matcha and bright cranberries.
- Dried cranberries: Tart ones, not sweetened. The contrast against the slightly bitter matcha is what makes these work.
- Milk for brushing: Creates that golden, professional looking top. Cream works too if you want more shine.
- Coarse sugar: Optional but that crunch against the tender crumb is worth the extra two seconds.
Instructions
- Get your oven ready:
- Preheat to 400 degrees Fahrenheit and line a baking sheet with parchment paper. I learned the hard way that greasing the sheet directly makes these stick and brown unevenly.
- Mix your dry ingredients:
- Whisk the flour, matcha, sugar, baking powder, and salt in a large bowl until everything is evenly distributed. You do not want pockets of straight matcha powder in your final scone.
- Cut in the butter:
- Add those cold, cubed butter pieces and work them into the flour with a pastry cutter or your fingertips. Stop when the mixture looks like coarse crumbs with some pea sized butter pieces still visible. Those bigger bits become flaky layers in the oven.
- Whisk the wet ingredients:
- In a separate bowl, combine the milk, egg, and vanilla extract. Whisk until the egg is fully incorporated and the mixture looks uniform.
- Bring the dough together:
- Pour the wet ingredients into the dry mixture, add the cranberries, and stir gently with a spatula just until everything comes together. The dough will look shaggy and slightly dry. That is exactly right. Overworking develops gluten and makes scones tough.
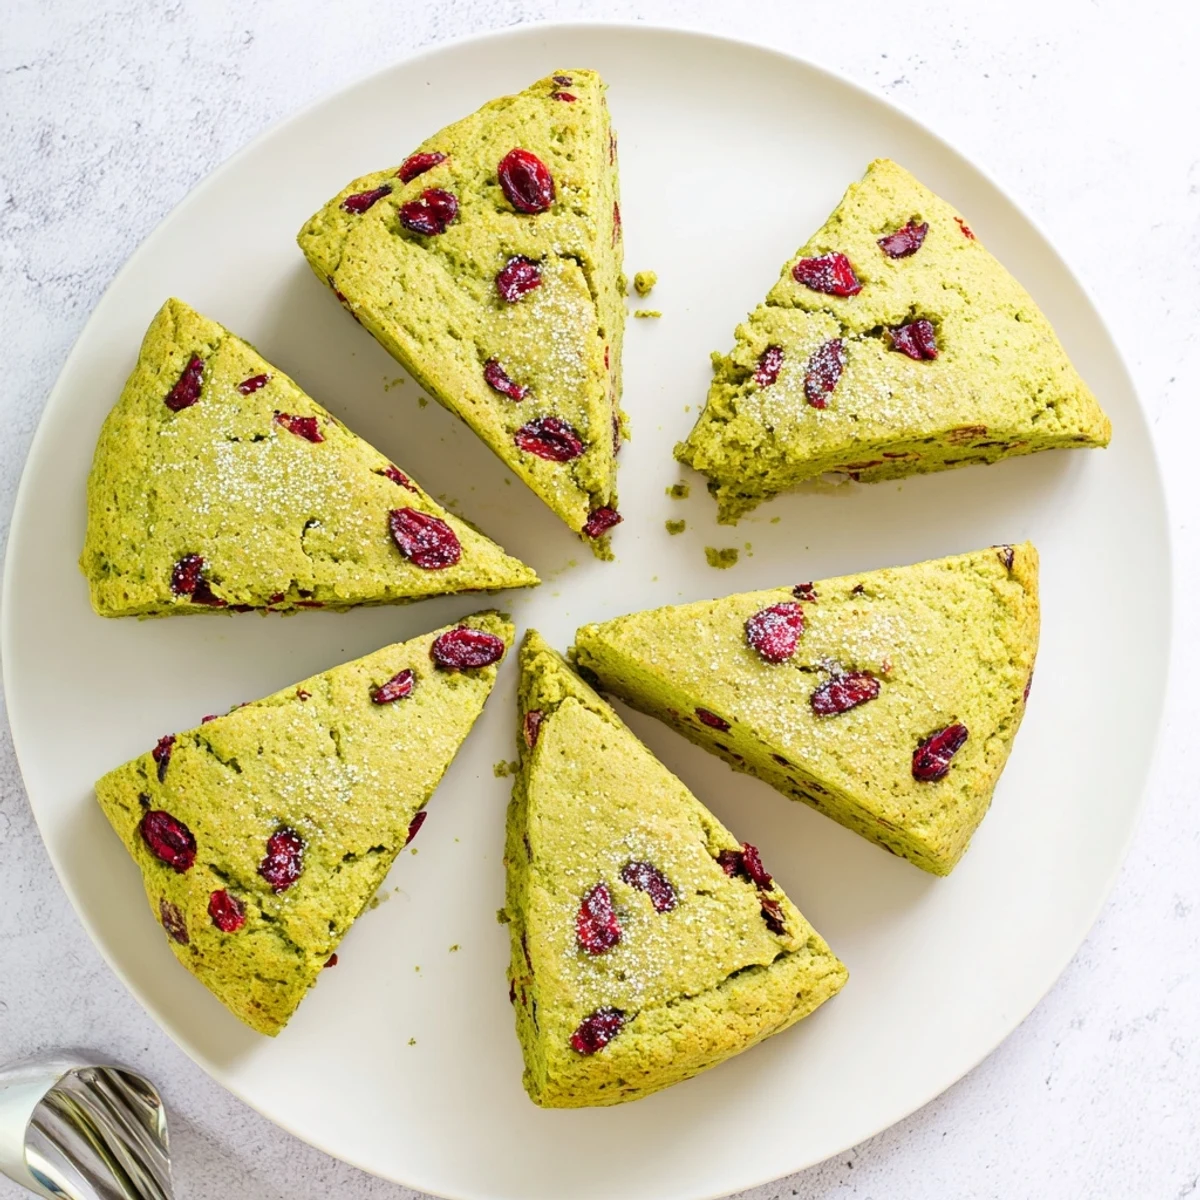
- Shape and portion:
- Turn the dough onto a lightly floured surface and pat it into a circle about one inch thick. Use a sharp knife to cut it into eight wedges. Transfer them to your prepared baking sheet, leaving space between each one for spreading.
- Add the finishing touches:
- Brush the tops with milk and sprinkle with coarse sugar if you are using it. This step is purely aesthetic but that golden, crunchy top makes these feel special.
- Bake until perfect:
- Bake for 16 to 18 minutes until the scones are set and the edges are lightly golden. The tops should feel firm to the touch, with just a slight give in the center.
- Patience pays off:
- Cool on a wire rack for 10 minutes before serving. I know the temptation is real, but cutting into these too soon releases steam and makes the texture gummy.
 Pin This
 These scones have become my go to when I need to bring something to a gathering. People always assume they are complicated or fussy, but the truth is they are remarkably simple. Watching someone take that first bite, seeing their eyes light up at the unexpected combination of flavors, that is where the real joy lives.
Making These Ahead
You can cut the scones and freeze them unbaked on a baking sheet, then transfer to a bag once solid. Bake from frozen, adding a couple minutes to the time. They taste just as fresh as the day you made them, which means impromptu guests never catch you empty handed.
Serving Ideas
These shine with nothing but a pat of butter, but lemon curd cuts through the earthiness beautifully. Clotted cream makes them feel like proper afternoon tea fare. I have even served them alongside a bowl of soup when I want something slightly sweet to balance a savory meal.
Storage and Freshness
These are best the day they are made, but they reheat beautifully in a 350 degree oven for 5 minutes. The microwave makes them tough, so avoid that temptation. For longer storage, wrap individually and freeze for up to a month.
- Wrap cooled scones in plastic wrap if keeping overnight. They will still be tender, just not quite as perfect.
- A quick toast in the toaster oven restores that freshly baked texture remarkably well.
- Never store these warm or trapped in a container. The steam creates soggy bottoms.
 Pin This
 There is something deeply satisfying about pulling a tray of these from the oven, that matcha scent filling the kitchen, knowing you have created something that feels both familiar and entirely new. Hope these bring you as many small, quiet moments of joy as they have brought me.
Questions & Answers
- → Can I use fresh cranberries instead of dried?
-
Fresh cranberries release too much moisture during baking, which can make the dough soggy. Stick with dried cranberries for the best texture. If you prefer a different fruit, dried cherries or chopped dried apricots work well as substitutes.
- → Why is my scone dough crumbly and not coming together?
-
If the dough won't hold together, the butter may have softened too much before mixing. Keep everything cold, and add an additional tablespoon of milk if needed to help the dough bind. Work quickly and handle the dough as little as possible.
- → Can I freeze these scones before or after baking?
-
Yes! Freeze unbaked wedges on a baking sheet until firm, then transfer to a freezer bag for up to 3 months. Bake from frozen, adding 2-3 minutes to the baking time. Already-baked scones freeze well for 2 months—thaw and reheat at 350°F for 5-10 minutes.
- → What's the best way to achieve a flaky texture?
-
The key is keeping your butter and milk very cold. When the cold butter melts in the oven, it creates steam pockets that produce flaky layers. Work the butter into the flour until it resembles coarse crumbs with some pea-sized pieces remaining.
- → Can I make these dairy-free?
-
Absolutely. Substitute the butter with cold vegan butter or solid coconut oil, and use your preferred plant-based milk. The texture may be slightly denser, but the matcha and cranberry flavors will still shine through beautifully.
- → How do I know when the scones are done baking?
-
The scones are ready when the edges are lightly golden and the tops feel set when gently pressed. They should sound slightly hollow when tapped on the bottom. If you insert a toothpick into the center, it should come out clean or with just a few moist crumbs.
