 Pin This
 Create bakery-worthy French pastries at home with this comprehensive guide to achieving perfectly laminated dough. The process combines gluten-free flour blends with traditional techniques, resulting in crescents that deliver the signature shattering exterior and tender honeycombed interior that makes croissants irresistible.
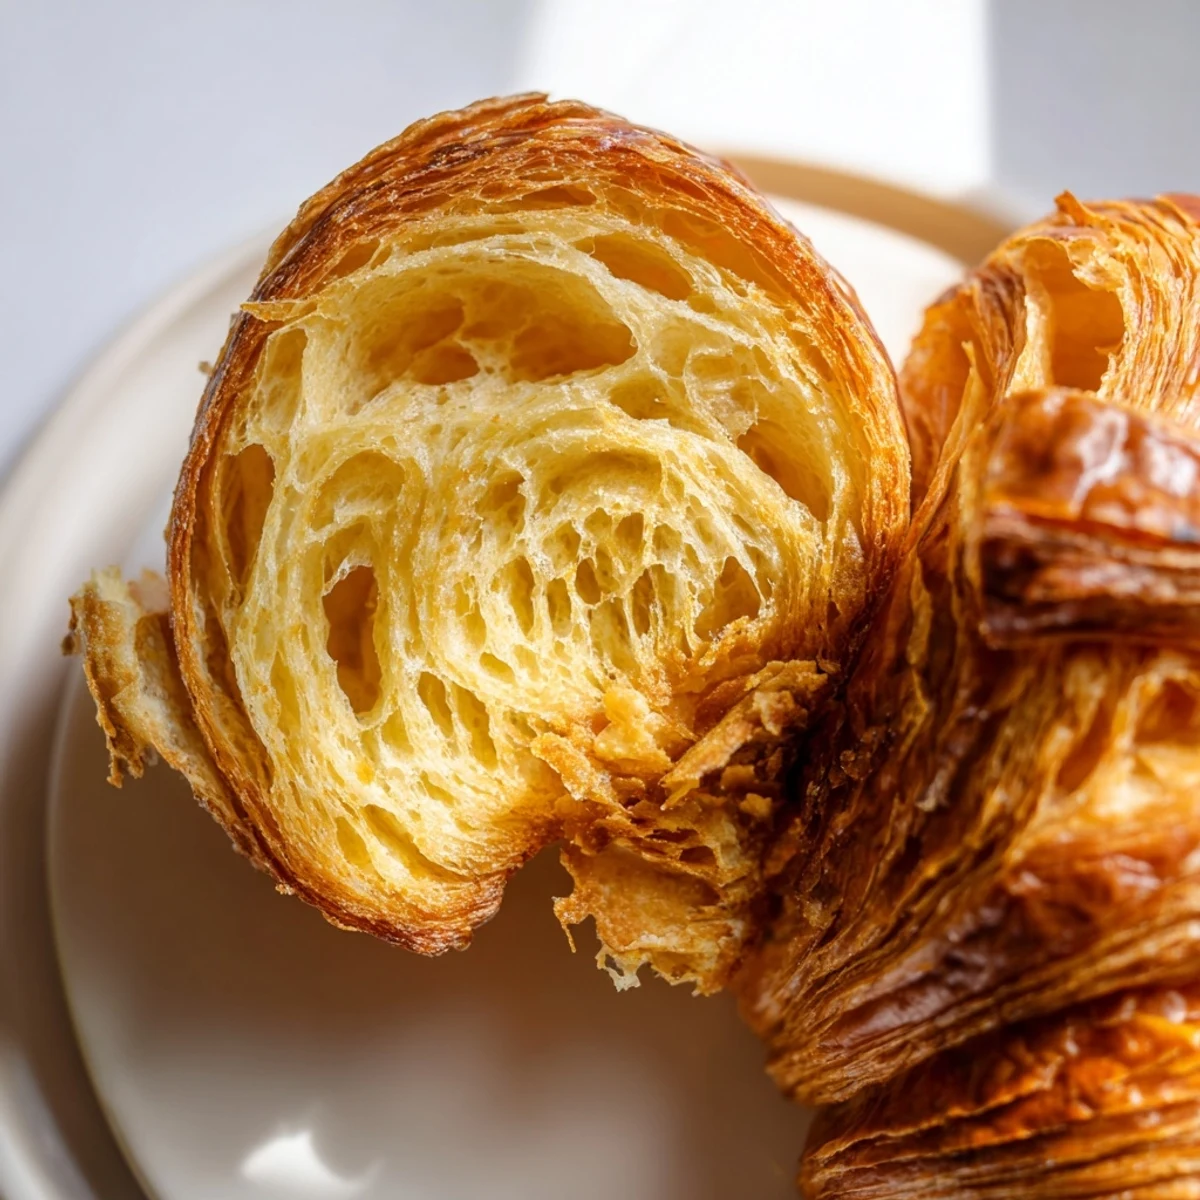
Success hinges on temperature control during the critical folding process, which creates dozens of alternating butter and dough layers. The method requires patience but rewards you with pastries that rival any Parisian boulangerie. Each golden crescent offers rich butter flavor, satisfying crispiness, and that unmistakable flaky texture that makes these pastries a beloved breakfast staple worldwide.
Standing in my kitchen at 2 AM, covered in flour and questioning every life choice that led me to attempt gluten-free croissants, I discovered something magical about persistence. My first attempts were dense, flat disappointments that tasted like regret. But somewhere around attempt number seven, watching those golden layers rise in the oven, I understood why French bakers guard their secrets so fiercely.
Last Christmas morning, my celiac sister took one bite and immediately asked if I'd been secretly taking night classes at Le Cordon Bleu. Watching someone who hasn't had a real croissant in years close their eyes and just savor that first flaky bite—that's the kind of kitchen moment that sticks with you.
Ingredients
- Gluten-free all-purpose flour: The xanthan gum here is non-negotiable—it's what provides the elastic structure that gluten usually handles
- Almond flour: This adds richness and helps replicate the tender texture wheat flour provides naturally
- Instant yeast: No proofing needed, which means less room for error and more reliable rises
- Cold butter: Temperature is everything—warm butter melts into the dough instead of creating distinct flaky layers
- Egg: Structure, richness, and that gorgeous golden color we all associate with perfect croissants
Instructions
- Mix your base dough:
- Whisk those dry ingredients thoroughly so the yeast distributes evenly, then pour in your warm liquids and watch the transformation begin as everything comes into a sticky, shaggy mass
- First chill:
- Wrap your dough rectangle and let the refrigerator work its magic—this rest period relaxes the proteins and makes rolling actually possible
- Prepare butter layer:
- Pound that cold butter between parchment paper until it's perfectly pliable but still cold, aiming for an even rectangle that will spread evenly through your dough
- First fold:
- Place your butter over two-thirds of the dough, then fold like you're enclosing a letter, creating that first layer of butter within dough
- Turn and chill:
- Roll out, fold, rotate ninety degrees, repeat—this creates hundreds of microscopic layers that will become flaky perfection in the oven
- Final chill:
- Give your dough a good hour rest after all that folding work so the butter firms up again before shaping
- Shape croissants:
- Cut your dough into triangles, roll from wide end to point, and arrange them with that classic curve that makes them instantly recognizable
- Proof patiently:
- Let them rise until slightly puffy and noticeably lighter—this can take anywhere from one to one and a half hours depending on your kitchen temperature
- Egg wash and bake:
- Brush gently with egg wash and slide into a hot oven, watching as they transform into golden, puffy masterpieces
 Pin This
 There's something deeply satisfying about pulling a tray of these from the oven, the kitchen filled with that unmistakable buttery aroma, and watching steam rise from the layers as they cool slightly. My daughter now requests these for every special occasion, and honestly, I'm happy to oblige.
Temperature Control
Keep everything cold. Work quickly. If your kitchen runs warm, chill your rolling pin and work surface. The difference between okay croissants and incredible ones often comes down to butter temperature management.
Rolling Technique
Use even pressure when rolling—pushing harder in the middle creates uneven layers that won't bake consistently. Think of your rolling pin as an extension of your hands, smooth and steady.
Storage and Freshness
These are absolutely best the day they're made, but you can freeze unbaked shaped croissants and bake them straight from frozen—just add about five minutes to the baking time.
- Wrap cooled croissants individually in foil and reheat at 350°F for 5 minutes
- Never refrigerate baked croissants—they'll stale faster than at room temperature
- The freezer is your friend for making large batches ahead of time
 Pin This
 Whether you're gluten-free by necessity or just love a good baking challenge, these croissants prove that dietary restrictions never have to mean giving up on the foods you love most.
Questions & Answers
- → What makes these croissants gluten-free?
-
The pastry uses a carefully balanced gluten-free all-purpose flour blend containing xanthan gum, which mimics the elastic properties normally provided by gluten. Almond flour adds structure and creates a tender crumb, while the rolling and folding technique builds traditional layers without requiring wheat proteins.
- → Why is chilling the dough so important?
-
Cold dough prevents the butter from melting into the flour during lamination. Keeping everything chilled ensures the butter remains in distinct layers, which creates steam pockets during baking—the secret to achieving those signature flaky, airy layers that separate into delicate shreds.
- → Can I make these dairy-free?
-
Absolutely. Substitute cold plant-based butter sticks for the butter layer, and use your preferred non-dairy milk for both the dough and egg wash. The texture remains excellent, though the rich buttery flavor will vary depending on your butter alternative choice.
- → Why do I need to fold the dough multiple times?
-
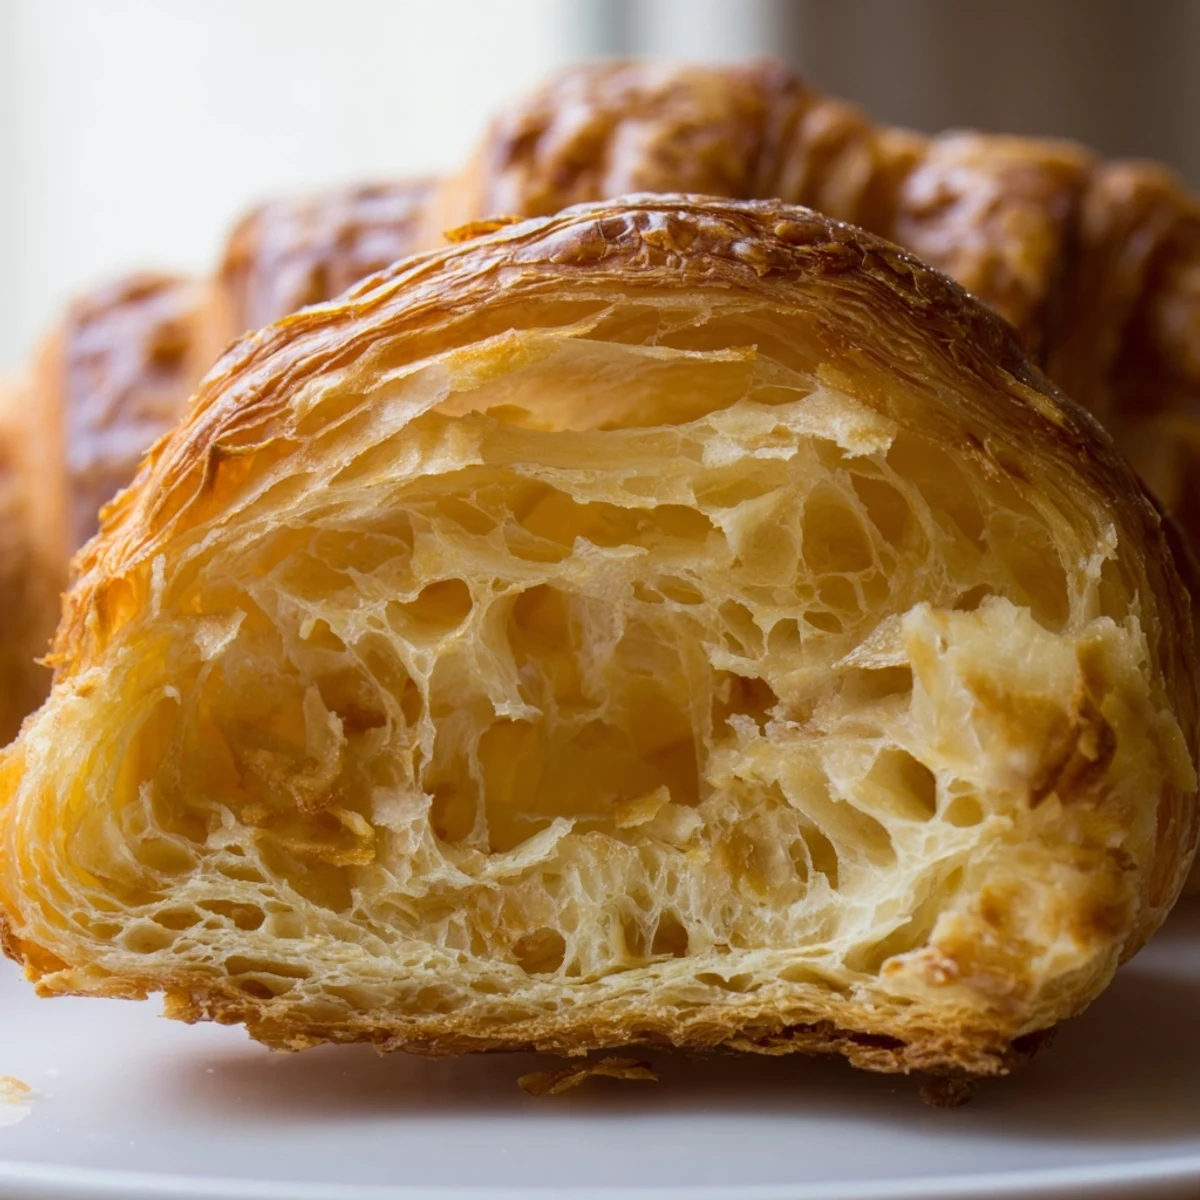
Each fold creates additional layers of butter and dough. By folding, rolling, and turning four times, you create over 80 layers. During baking, water in the dough and butter turns to steam, puffing these layers apart and producing the characteristic honeycomb interior and crispy exterior.
- → How do I know when croissants are properly proofed?
-
Properly proofed croissants will increase noticeably in size, becoming puffy and jiggly when gently shaken. They should look slightly aerated but not collapsed. Press gently with a finger—the dough should spring back slowly but leave a slight indentation, indicating optimal rise before baking.
- → Can I freeze the dough?
-
Yes, after completing all folds and the final chilling, wrap the dough tightly and freeze for up to a month. Thaw overnight in the refrigerator before rolling, cutting, and shaping. This lets you prepare the dough in advance and bake fresh croissants whenever the craving strikes.
