 Pin This
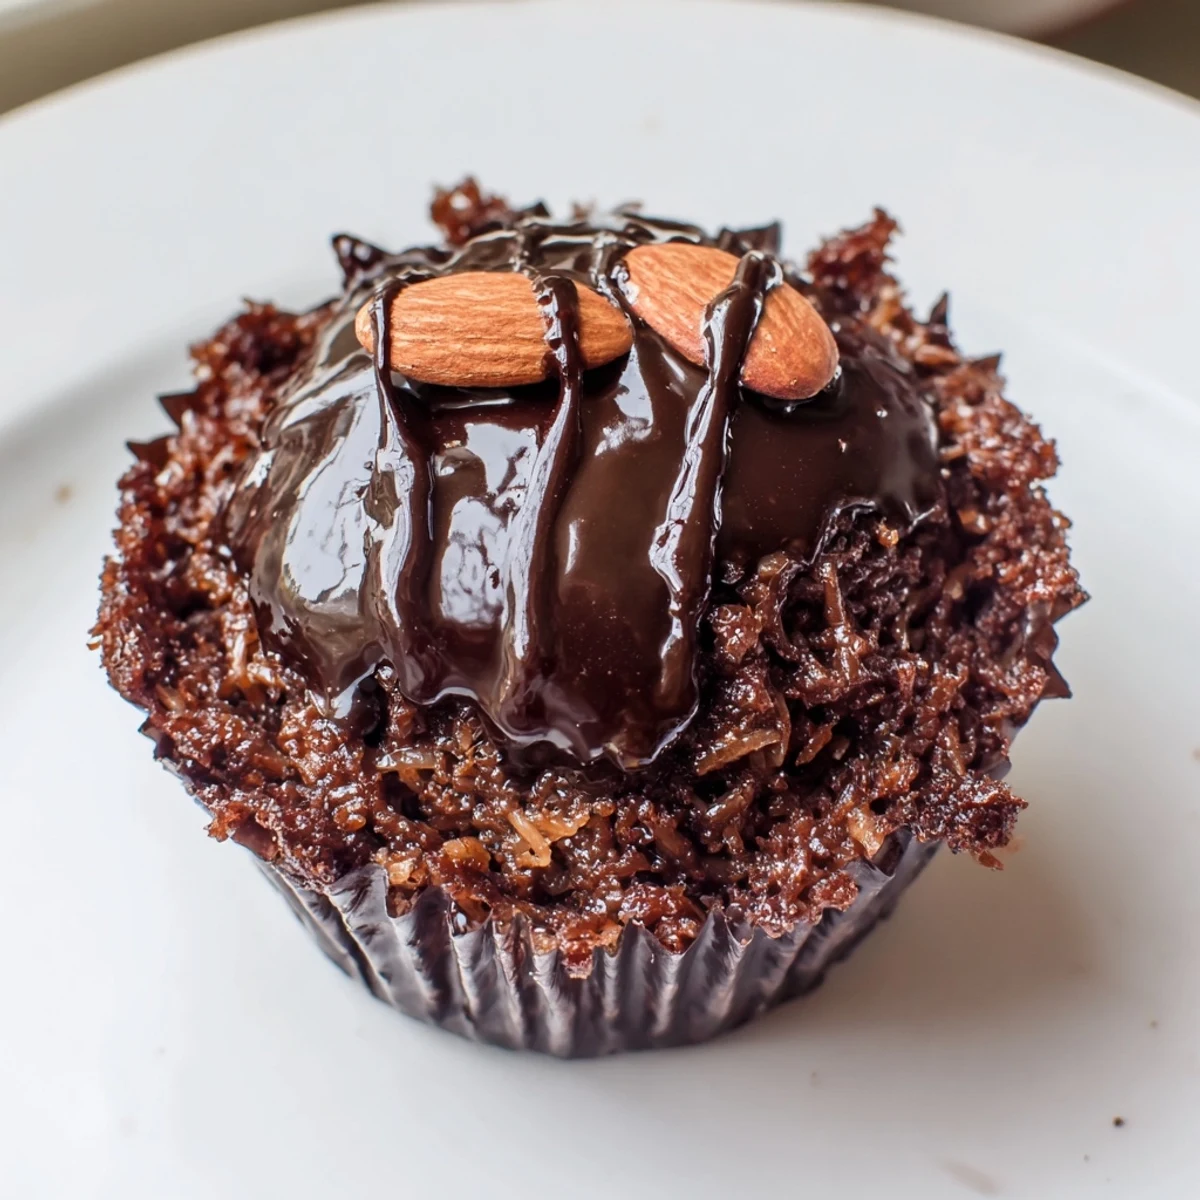
 These flourless chocolate cupcakes bring the classic Almond Joy candy bar to life in dessert form. The rich chocolate base gets filled with sweet coconut mixture, topped with roasted almonds, and finished with melted chocolate drizzle. Perfect for those avoiding gluten but craving something decadent.
The batter comes together quickly with melted chocolate, butter, eggs, and cocoa powder—no flour needed. Each cupcake bakes up with a slightly crisp edge and fudgy center. The coconut filling adds chewy texture while the almonds provide satisfying crunch.
Ready in 45 minutes from start to finish, these cupcakes yield 12 servings. They stay fresh for 3 days in an airtight container, making them ideal for preparing ahead or bringing to gatherings.
My sister announced she was going gluten-free last year, and I panicked about birthday dessert. These cupcakes saved the day completely—no one at her party even noticed they were flourless until I mentioned it halfway through coffee.
I brought these to a potluck when I was still testing the recipe, and my friend Sarah actually hid two in her purse to take home. Watching people suspiciously eye the remaining platter was half the fun.
Ingredients
- Semi-sweet chocolate chips: Use the good stuff here since its the main flavor event—I like Ghirardelli or Guittard
- Unsalted butter: Room temperature melts more evenly with the chocolate
- Granulated sugar: Creates that crackly, bakery-style top we all love
- Salt: Just a pinch makes all that chocolate sing
- Large eggs: Make sure theyre room temperature so they incorporate properly
- Unsweetened cocoa powder: Dutch-processed gives the deepest chocolate flavor
- Unsweetened shredded coconut: Sweetened condensed milk balances this perfectly
- Sweetened condensed milk: The glue that holds our coconut filling together
- Vanilla extract: Pure extract, never imitation
- Whole roasted almonds: Salted ones create this amazing sweet-salty contrast
- Extra chocolate chips: For drizzling because chocolate on chocolate is never wrong
Instructions
- Preheat and prep:
- Get your oven to 350°F (175°C) and line a standard muffin tin with 12 paper liners—this prevents any sticking drama later.
- Melt the base:
- In a microwave-safe bowl, melt 1 cup chocolate chips with butter in 20-second intervals, stirring after each until it looks like glossy liquid silk.
- Build the batter:
- Whisk in sugar and salt until combined, then add eggs one at a time—whisking like you mean it after each one before moving on.
- Add the cocoa:
- Sift in cocoa powder and mix until the batter is smooth and glossy, about 30 seconds of serious whisking.
- Fill the liners:
- Divide batter evenly among the 12 cupcake liners, filling each only halfway—the coconut filling needs space too.
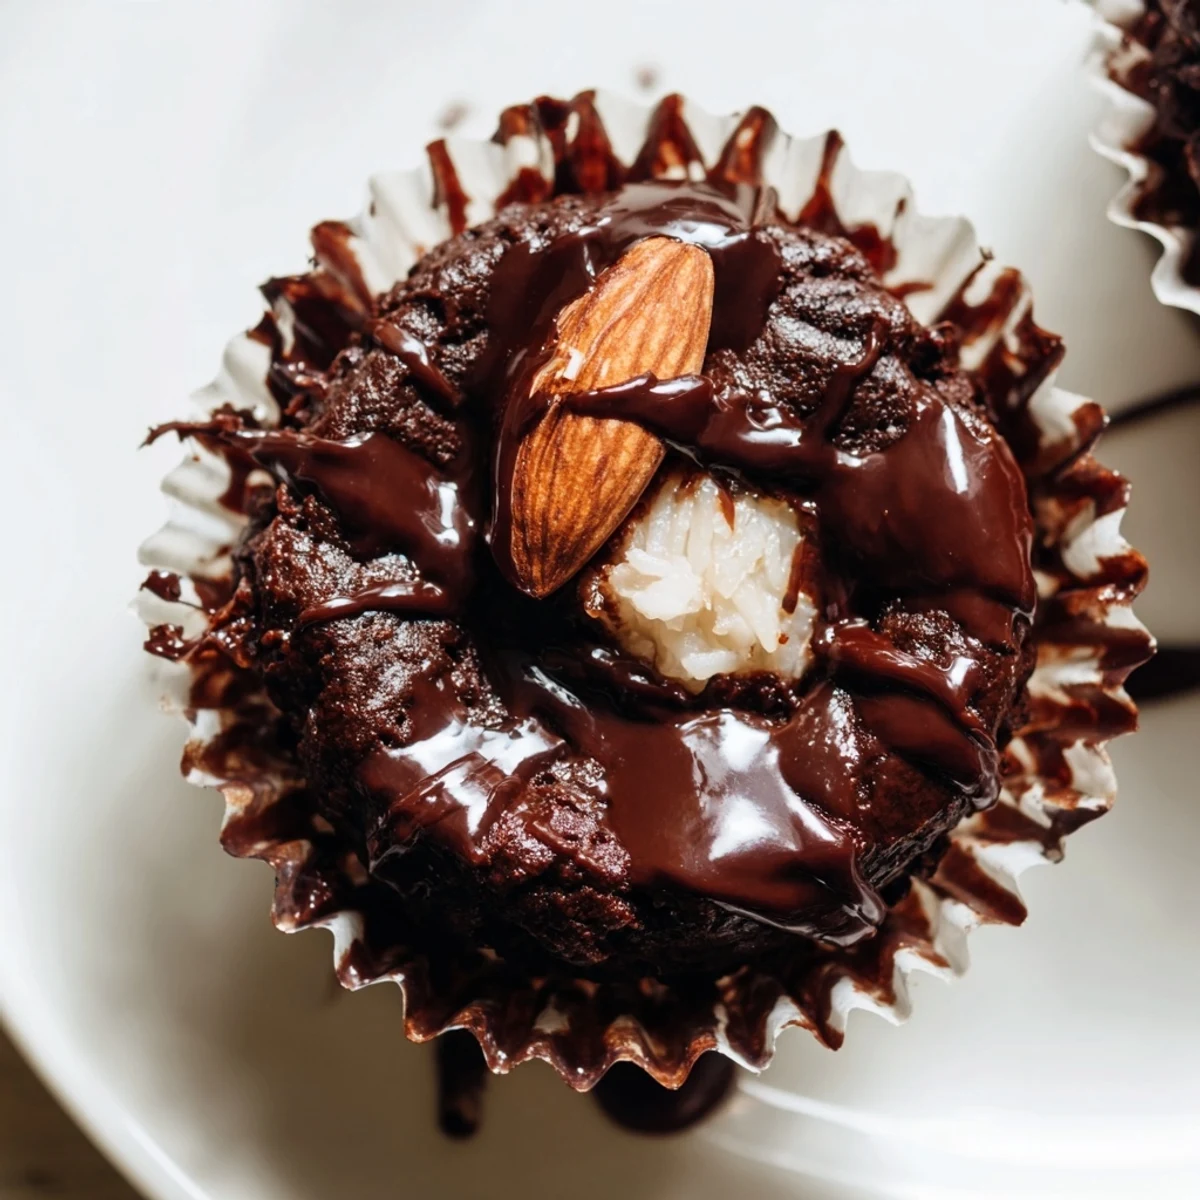
- Make the surprise center:
- Mix shredded coconut with condensed milk and vanilla until it forms a sticky, clumpy mixture that holds together when pressed.
- Nestle in the coconut:
- Roll about a teaspoon of coconut mixture into a small ball and press it gently into the center of each unbaked cupcake.
- Bake until just set:
- Bake for 20–25 minutes until edges are firm and centers are slightly puffed—underbaking beats overbaking here.
- Cool with patience:
- Let cupcakes hang out in the pan for 10 minutes before moving them to a wire rack to cool completely.
- Finish with flair:
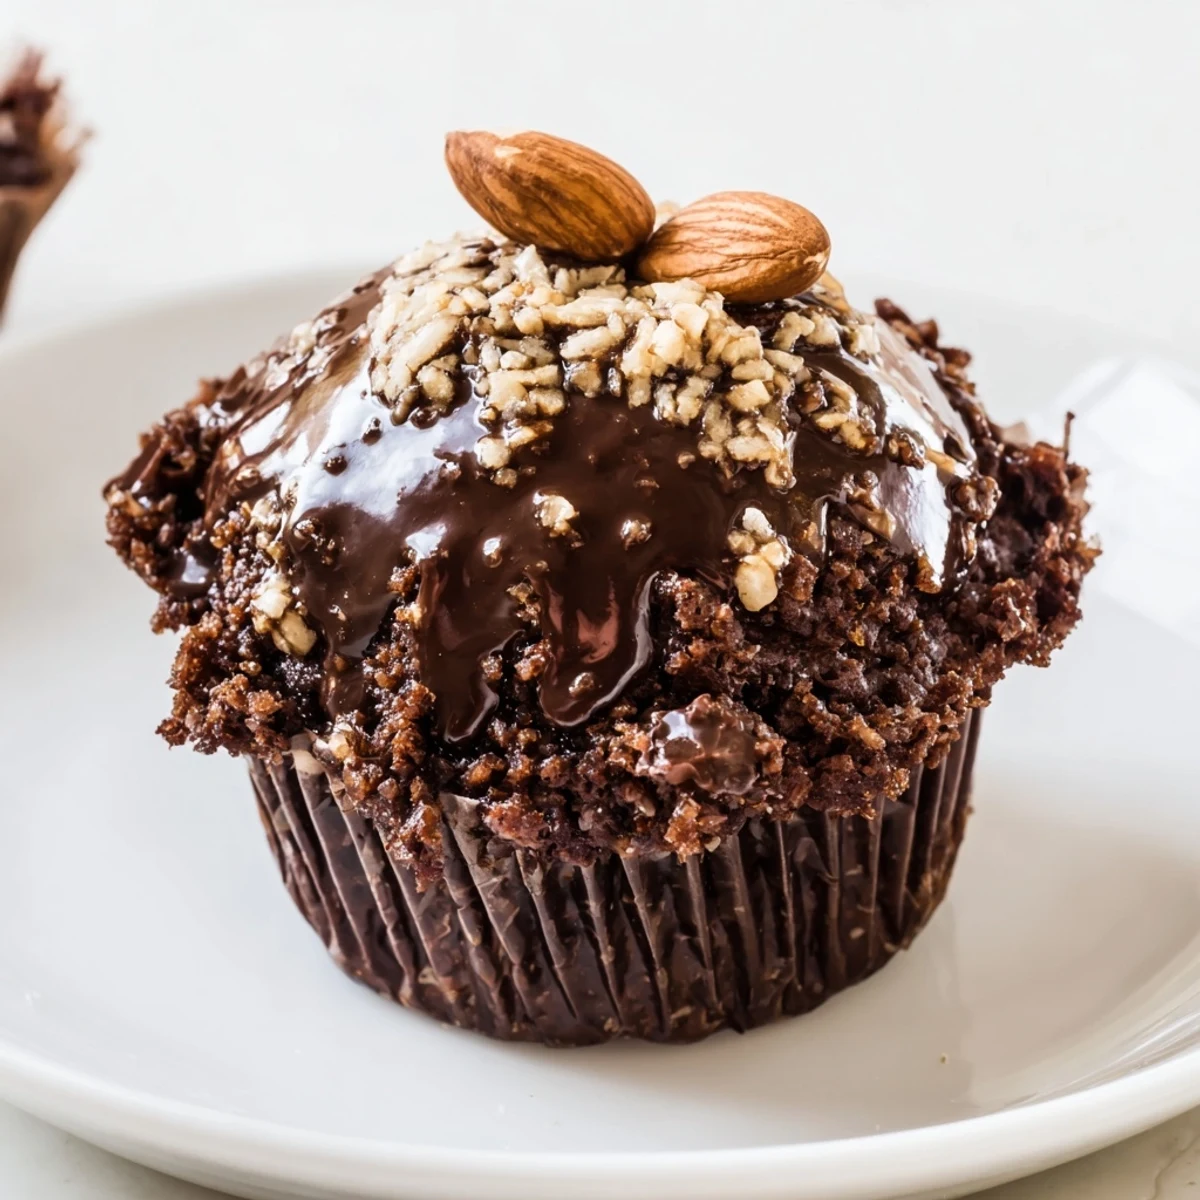
- Top each cooled cupcake with 2 roasted almonds, melt remaining chocolate chips, and drizzle generously over everything.
 Pin This
 My dad usually turns his nose up at anything labeled gluten-free, but he ate three of these in one sitting. Sometimes the best recipes are the ones that prove everyone wrong.
Making Them Ahead
Ive baked these a day before serving and they stayed perfectly moist stored in an airtight container. The coconut center actually gets even better after sitting for a few hours.
Getting The Drizzle Right
Melting chocolate in the microwave requires stopping to stir every 15 seconds once it starts looking soft. One time I got impatient and seized an entire batch, which is basically chocolate tragedy.
Serving Suggestions
These cupcakes are rich enough on their own, but a scoop of vanilla ice cream turns them into dinner party territory. They also pair beautifully with black coffee or a glass of cold milk.
- Sprinkle extra coconut over the chocolate drizzle before it sets
- Try swapping almonds for pecans if thats your preference
- Leftovers are actually amazing for breakfast the next day
 Pin This
 Hope these bring as much joy to your kitchen as they have to mine.
Questions & Answers
- → Are these cupcakes completely flourless?
-
Yes, these cupcakes contain no wheat flour or grain flours. The structure comes from eggs, cocoa powder, and melted chocolate, creating a dense, fudgy texture that holds together perfectly without any flour-based ingredients.
- → Can I make these dairy-free?
-
Absolutely. Substitute the butter with coconut oil or vegan butter sticks, and use dairy-free chocolate chips for both the cupcake base and the drizzle. The texture remains rich and satisfying while accommodating dairy restrictions.
- → How do I know when the cupcakes are done baking?
-
The cupcakes are ready when the edges appear set and slightly firm, while the centers remain slightly puffed. A toothpick inserted should come out with moist crumbs but not wet batter. Avoid overbaking to maintain the fudgy texture.
- → Can I prepare the coconut filling ahead of time?
-
Yes, the coconut mixture can be prepared up to 2 days in advance and stored in an airtight container in the refrigerator. Bring it to room temperature before portioning into the cupcakes, as cold coconut filling may affect baking time.
- → What's the best way to melt chocolate for these cupcakes?
-
Melt chocolate chips and butter in a microwave-safe bowl using 20-second intervals, stirring thoroughly between each interval. This prevents scorching. Alternatively, use a double boiler with simmering water for gentle, even melting without risk of burning.
- → How should I store leftover cupcakes?
-
Keep cupcakes in an airtight container at room temperature for up to 3 days. The chocolate drizzle may soften slightly in warm weather, so refrigerate if your kitchen runs hot. Bring to room temperature before serving for the best texture and flavor.
