 Pin This
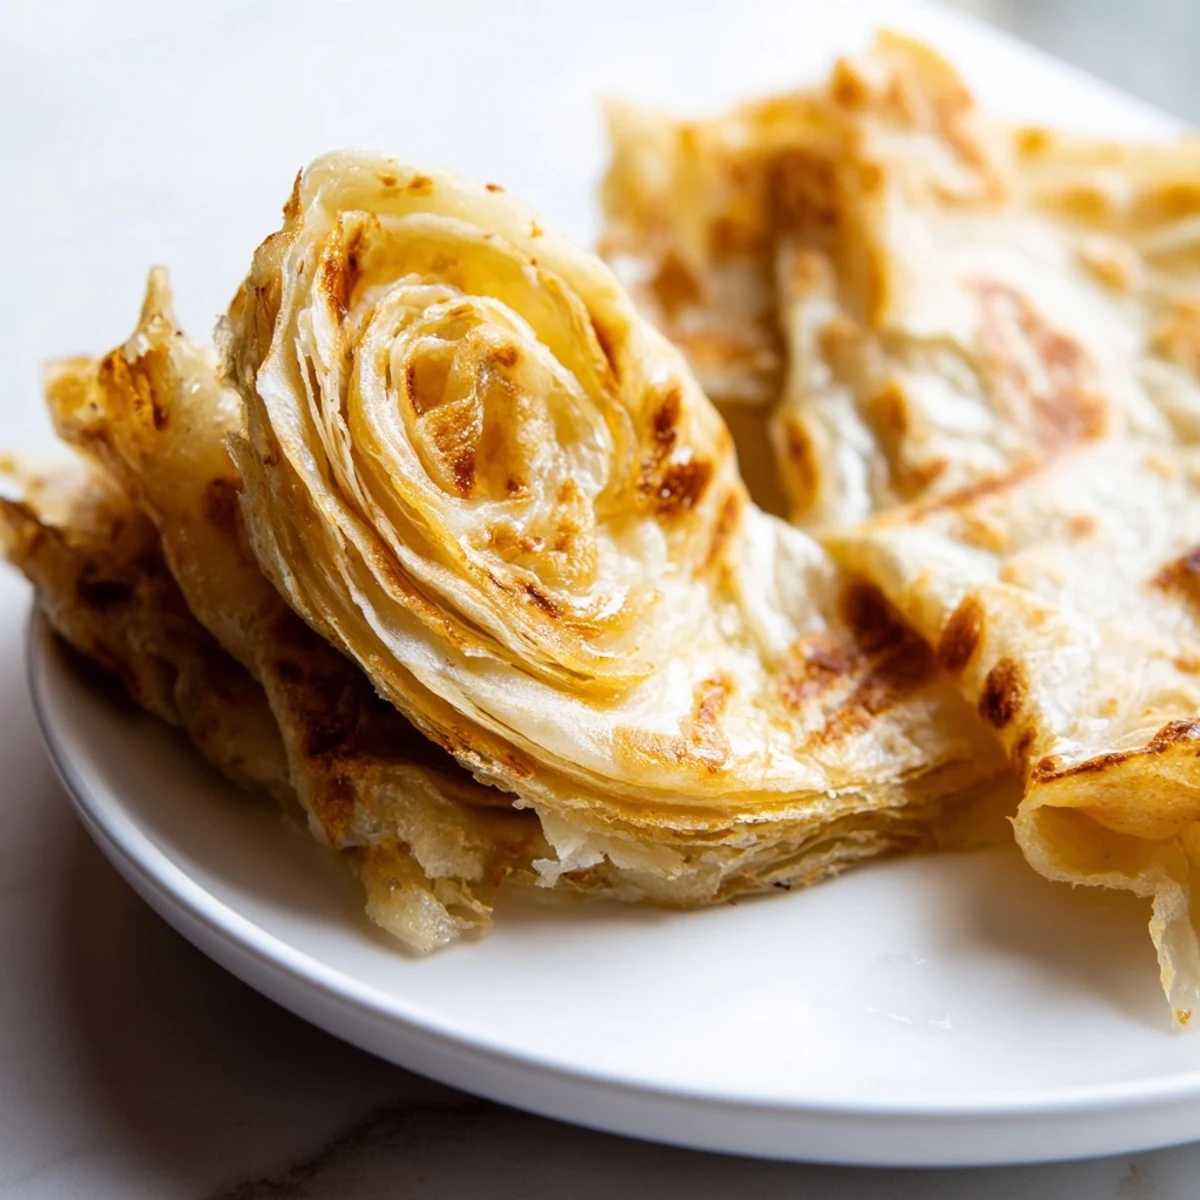
 Discover the secrets behind authentic Malaysian Roti Canai, a beloved flatbread celebrated for its irresistibly flaky texture and golden crispy exterior. This traditional bread requires patience during resting time, which allows the gluten to develop for effortless stretching into translucent sheets.
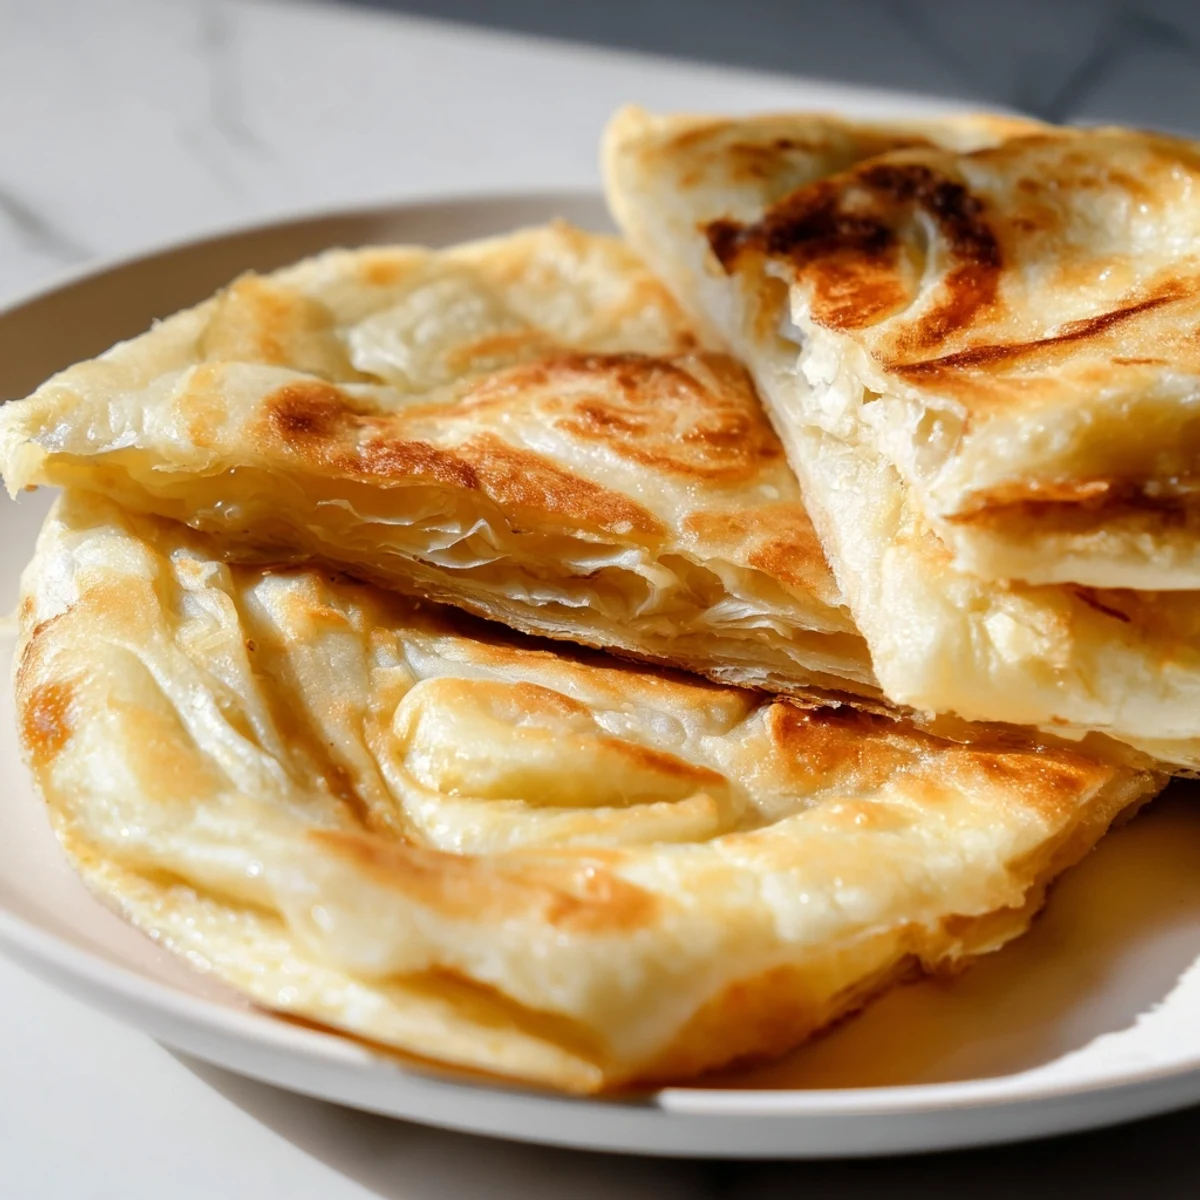
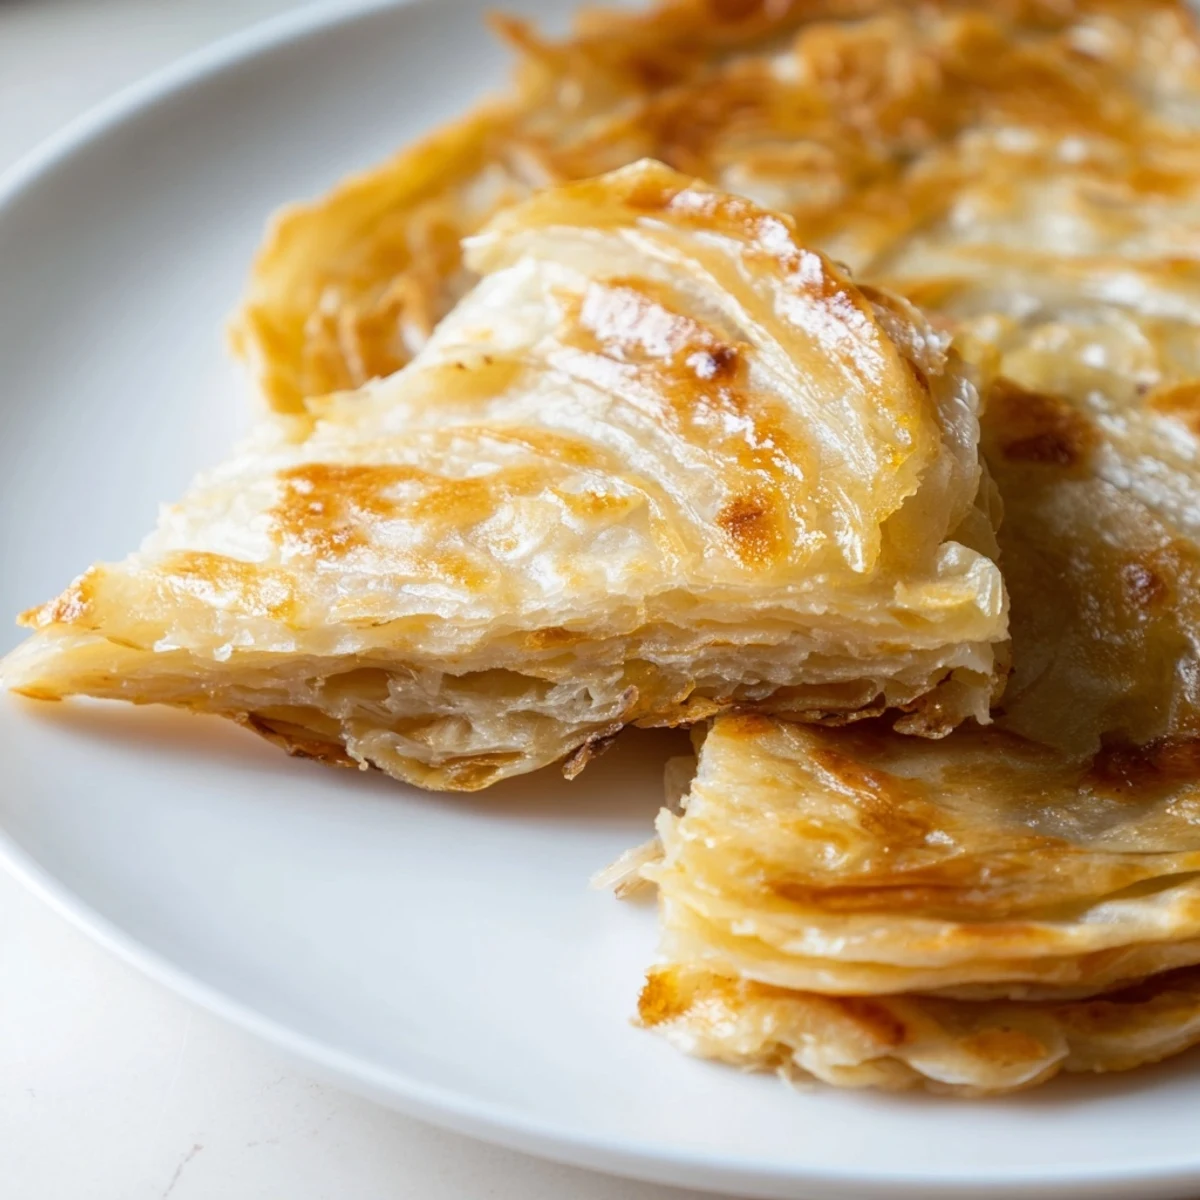
The folding technique creates signature layers that puff beautifully when cooked on a hot griddle. Rich ghee adds luxurious flavor while condensed milk provides subtle sweetness and tenderizing properties. Though the stretching method takes practice, the resulting crisp-chewy texture is incomparable.
Serve warm alongside aromatic dhal, spicy chicken curry, or enjoy simply with a sprinkle of sugar for a traditional Malaysian breakfast or tea-time treat.
The first time I watched a street vendor in Kuala Lumpur flip and stretch roti dough, I stood there for twenty minutes completely mesmerized. His hands moved with this practiced confidence, tossing the dough until it became paper-thin and translucent, folding it with a rhythmic precision that made it look effortless. I went home that same day determined to recreate those impossibly flaky layers, though my kitchen looked nothing like that bustling roadside stall. Three failed attempts later, I finally understood that the secret isn't technique—it's patience.
My roommate walked in while I was on attempt number four, flour coating my hair and dough stuck to my elbows, and asked if I was actually okay or if I needed help. I made her try the first semi-successful roti, and we stood in the kitchen eating it straight from the pan, burning our fingers and not caring one bit. Now whenever I make this, I'm transported back to that tiny kitchen and the moment something finally clicked.
Ingredients
- All-purpose flour: The foundation that gives structure while still allowing those delicate layers to separate
- Salt and sugar: Essential for balancing flavors—the sugar helps with browning while salt enhances everything
- Condensed milk: Adds subtle sweetness and contributes to that golden color and tender texture
- Melted ghee: The traditional choice that adds rich flavor and helps create those signature flaky layers
- Warm water: Brings everything together and activates the gluten for that perfect stretch
Instructions
- Mix the foundation:
- Combine flour salt and sugar in a large bowl then add melted ghee and condensed milk gradually incorporating warm water until a soft slightly sticky dough forms
- Work the dough:
- Knead for 8 to 10 minutes until smooth and elastic letting the gluten develop so it can stretch later without tearing
- Rest and divide:
- Split dough into 6 equal balls coat each lightly with ghee and let them rest on a greased tray covered for at least 2 hours
- Stretch thin:
- Grease your work surface and hands generously then flatten one dough ball and gently pull stretch it into an almost translucent sheet about 18 inches wide
- Create layers:
- Fold the edges inward to form a long rectangle then roll like a Swiss roll and coil into a spiral tucking the end underneath
- Heat the pan:
- Warm a non-stick skillet over medium heat and brush lightly with ghee or oil
- Flatten and cook:
- Gently press one spiral into a 6 to 7 inch round and cook for 2 to 3 minutes per side until golden with crispy flaky layers
- The final touch:
- Cook each roti then immediately clap between your hands to fluff up those beautiful layers before serving hot
 Pin This
 Last weekend I made these for breakfast and my daughter asked why we can't have restaurant food every day. I explained that this is actually home cooking, just with a little extra effort that makes it feel special. She's now requested roti for her school lunch, which might be tricky but I love that enthusiasm.
Getting The Stretch Right
The dough will feel impossibly stubborn at first like it's actively working against you. Trust the process and keep working it gently from the center outward letting gravity help. If small tears appear don't panic just keep going and they'll blend into the folds.
The Clapping Technique
This sounds strange but clapping the cooked roti between your hands immediately off the pan is what separates good from great. The gentle pressure separates the layers creating that signature flaky texture that makes roti so irresistible. Do it confidently but not too aggressively.
Perfect Pairings
While roti can stand alone it truly shines alongside the right companions. The buttery richness balances beautifully with spicy curries and the layers are perfect for soaking up sauces.
- Dhal curry brings a creamy earthy contrast that feels like comfort
- A simple chicken curry lets the roti really take center stage
- Sprinkle with sugar and fold for a sweet version that's surprisingly addictive
 Pin This
 There's something deeply satisfying about pulling apart those warm flaky layers you created with your own hands. Every batch gets easier and every bite reminds you why good things take time.
Questions & Answers
- → What makes Roti Canai flaky?
-
The flakiness comes from the unique folding technique—stretching the dough thin, folding into a rectangle, rolling like a Swiss roll, then coiling into a spiral. This creates multiple layers that separate during cooking. Generous greasing with ghee or oil between folds ensures each layer crisps up beautifully.
- → Why is resting time important?
-
Resting allows the gluten to relax after kneading, making the dough more pliable and easier to stretch into thin sheets without tearing. The minimum 2-hour resting period is crucial for achieving those signature translucent, paper-thin layers. Skipping this step will result in tough, difficult-to-stretch dough.
- → Can I make Roti Canai without condensed milk?
-
Yes, you can substitute condensed milk with an equal amount of evaporated milk plus 1 tablespoon of sugar. Alternatively, use regular milk with extra sugar. The condensed milk provides sweetness and helps tenderize the dough, but these alternatives work well while maintaining good texture.
- → How do I store and reheat leftover Roti Canai?
-
Store cooked rotis in an airtight container or zip-lock bag for up to 2 days. For longer storage, freeze individually wrapped portions for up to 1 month. Reheat on a hot skillet for 1-2 minutes per side or in a toaster oven until warm and crispy. Avoid microwaving as it makes them chewy rather than flaky.
- → What's the difference between Roti Canai and paratha?
-
While both are flaky flatbreads, Roti Canai is Malaysian and typically uses condensed milk for slight sweetness and tenderness, resulting in a lighter, more delicate texture. Paratha is Indian, usually made with just flour, water, and ghee, creating a richer, denser bread. The shaping techniques also differ—paratha is often folded into triangles while Roti Canai uses a spiral coil method.
- → Why does my dough tear when stretching?
-
Tearing usually means the dough hasn't rested long enough, or it's overworked. Ensure you rest the dough for the full 2 hours minimum. When stretching, work gently and use well-oiled hands and surface. Don't force the dough—let gravity help. If tearing persists, let it rest another 30 minutes. Properly rested dough should stretch almost paper-thin without resistance.
