 Pin This
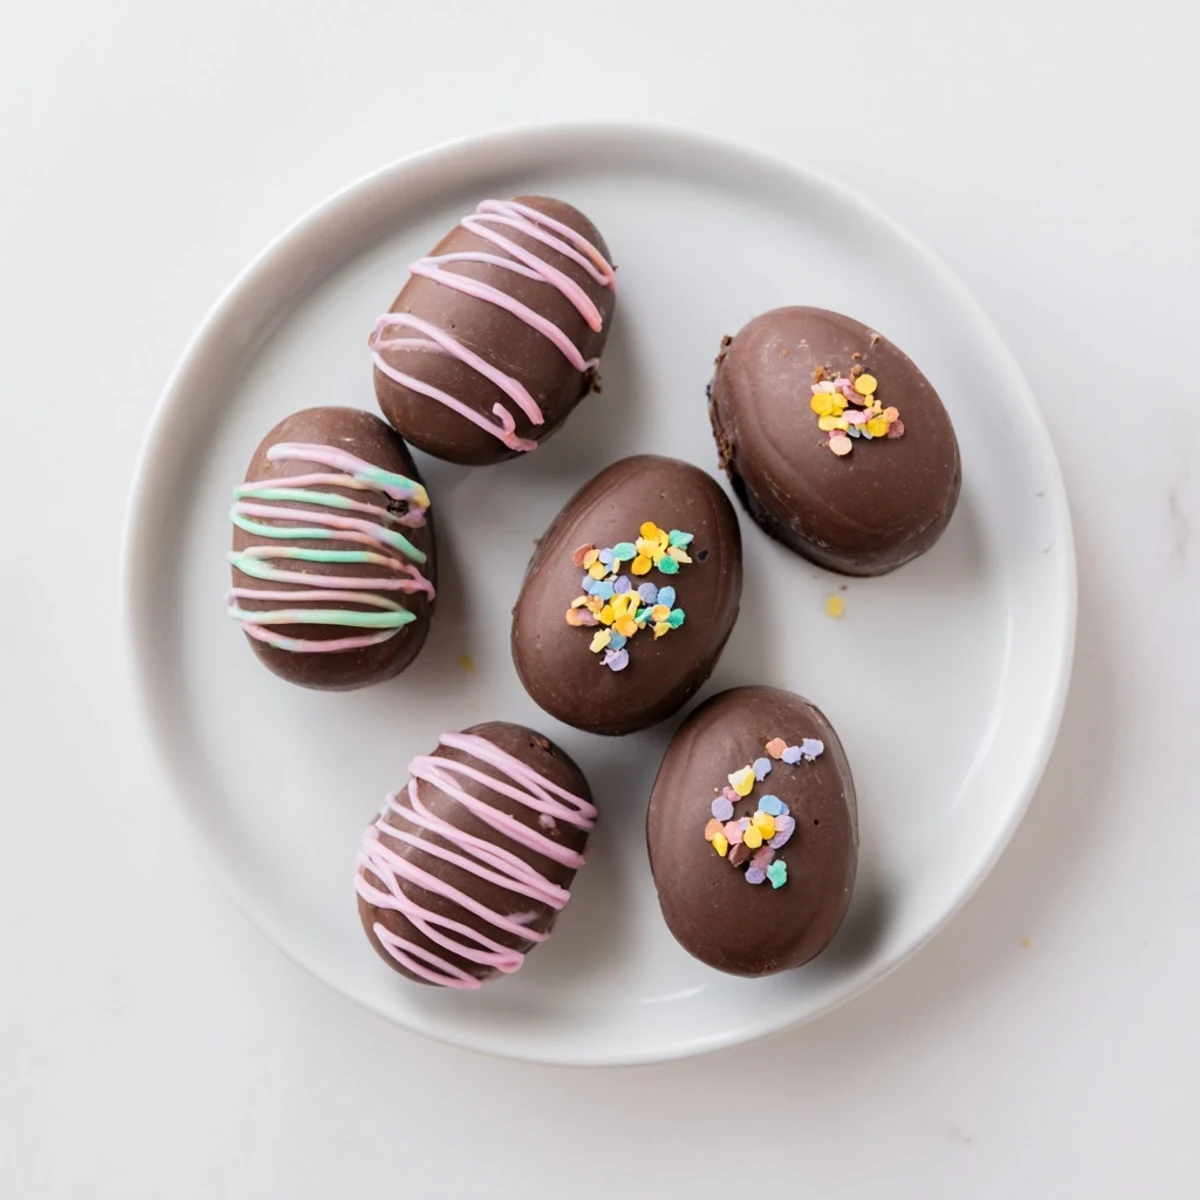
 Create festive egg-shaped Oreo balls that combine the classic crunch of chocolate sandwich cookies with rich cream cheese and a silky chocolate coating. These no-bake treats come together in just 25 minutes of active prep time, requiring only a food processor and microwave. The dough forms easily when blended, then chills until firm enough to shape into perfect ovals. Dip them in semi-sweet or white chocolate, decorate with colorful sprinkles, and let them set for an impressive Easter dessert that looks beautiful on any spring table.
My youngest daughter stood on a step stool at the kitchen counter, hands covered in chocolate, grinning like she'd just discovered a secret treasure. We were supposed to be making proper Easter eggs, but somehow we'd ended up with these Oreo truffle creatures instead. She popped an imperfect one into her mouth and declared them better than anything the Easter bunny could bring.
Last spring I made three batches for our neighborhood egg hunt, and honestly, half disappeared before I even got them into the festive packaging. My neighbor texted me at midnight asking for the recipe, which I consider the highest possible compliment. Now they're requested for every gathering, Easter or not.
Ingredients
- 36 Oreo cookies: One standard package does the trick, and I've found that crushing them with their filling intact creates the perfect fudgy texture
- 8 oz cream cheese, softened: Room temperature cream cheese blends seamlessly into the cookie crumbs without leaving any lumps behind
- 12 oz semi-sweet or white chocolate: Chopped bars melt more smoothly than chips, but use what you have
- Candy melts or food coloring: These transform simple chocolate coated truffles into festive Easter eggs
- Sprinkles and edible decorations: Let your creativity run wild here because the toppings make them truly special
Instructions
- Prepare your workspace:
- Line a baking sheet with parchment paper before you start, because once your hands are covered in chocolate mixture, you'll thank yourself for thinking ahead.
- Crush the cookies:
- Pulse the entire Oreo cookies, filling and all, in your food processor until they resemble fine sand. This takes about 30 seconds of pulsing.
- Make the dough:
- Add the softened cream cheese to the crushed cookies and blend until everything comes together into a thick, uniform dough that holds its shape when squeezed.
- Shape the eggs:
- Scoop tablespoon sized portions and gently roll them into oval egg shapes, placing each one on your prepared baking sheet as you go.
- Chill thoroughly:
- Freeze the shaped eggs for 30 minutes until they're firm to the touch. This step prevents them from falling apart when you dip them in chocolate.
- Melt the coating:
- Heat your chocolate in a microwave safe bowl in 20 second intervals, stirring between each, until completely smooth and glossy.
- Dip and decorate:
- Using a fork, lower each chilled egg into the melted chocolate, tap off the excess, and return to the baking sheet. Add sprinkles or drizzles immediately before the chocolate sets.
- Final chill:
- Refrigerate for at least 15 minutes until the chocolate coating is completely firm and set.
 Pin This
 My mother in law still talks about the year I brought these to Easter dinner, calling them the little surprise that stole the show. There's something about that creamy Oreo center that makes people's eyes light up, like they're eating something slightly forbidden but absolutely wonderful.
Making Ahead Like A Pro
You can shape the Oreo mixture into eggs up to three days before dipping them. Store them layered between parchment paper in an airtight container in the refrigerator, then bring them to room temperature for about 10 minutes before coating. This breaks up the work beautifully if you're juggling holiday prep.
Chocolate That Actually Sets
I learned the hard way that not all chocolate coatings behave the same way. Candy melts set up the quickest and firmest, while pure chocolate stays softer at room temperature. For Easter eggs that won't melt in your hands, I'd recommend using candy melts or adding a teaspoon of coconut oil to your melted chocolate to help it firm up properly.
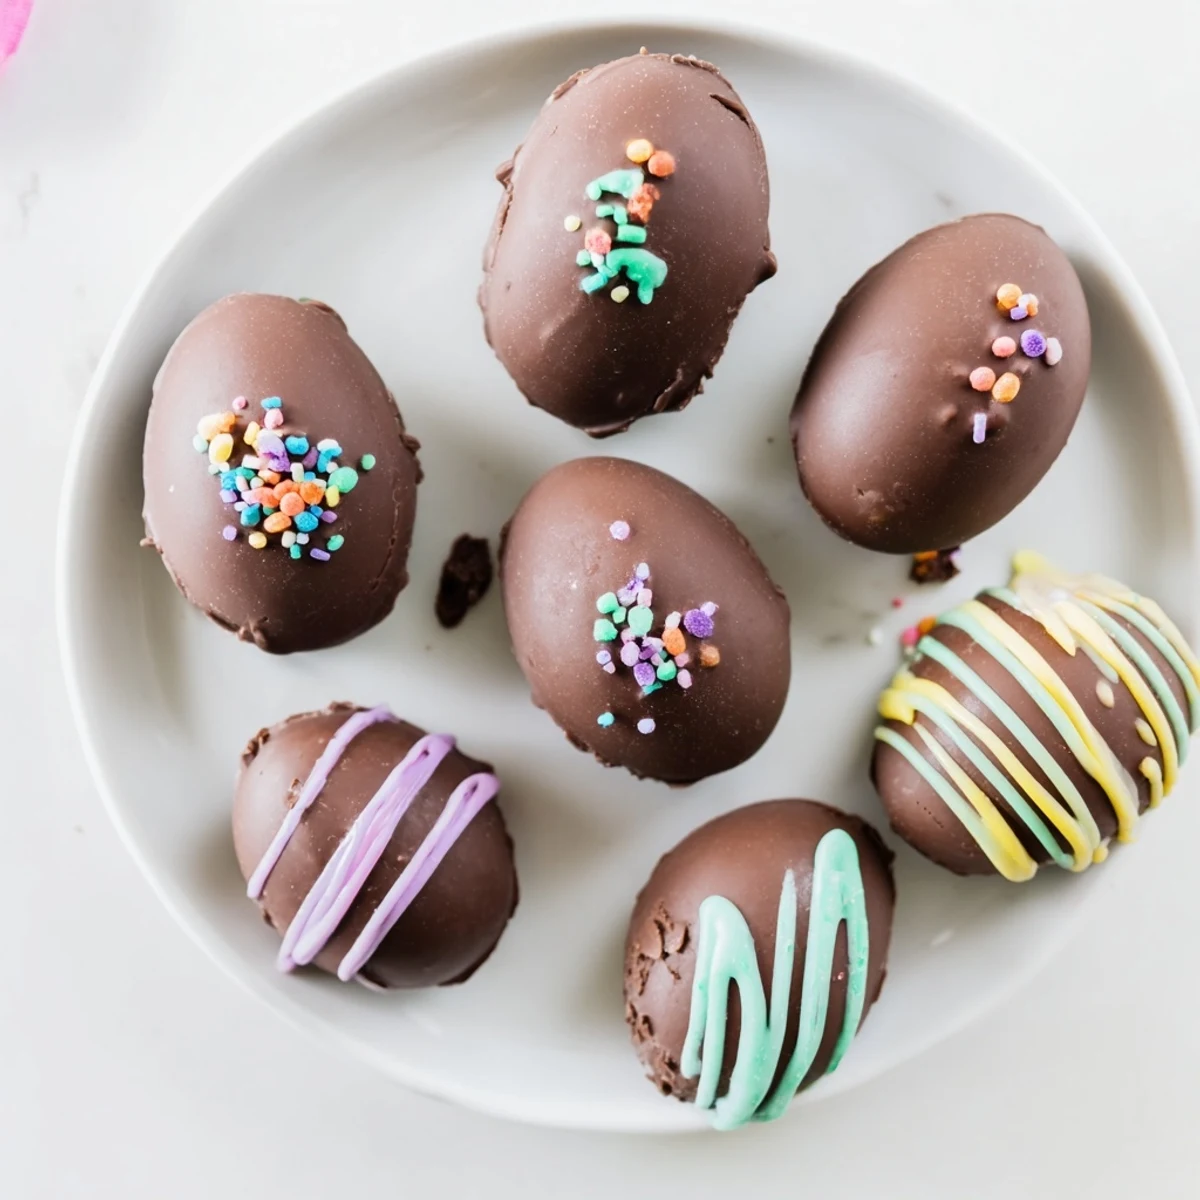
Presentation Ideas That Wow
Package these in clear egg cartons or nestle them in cupcake liners lined Easter baskets for an impressive homemade gift. The personal touch goes so far, and people genuinely appreciate receiving something made by hand.
- Use different colored sprinkles to create patterns like polka dots or stripes
- Try crushing a few extra Oreos and sprinkling the crumbs on top before the chocolate sets
- Consider making half white chocolate and half dark chocolate for visual variety on your serving platter
 Pin This
 These Easter egg Oreo balls have become one of those recipes I turn to whenever I need something that brings pure joy. They're simple, they're fun, and they never fail to make people smile.
Questions & Answers
- → Can I make these Oreo balls ahead of time?
-
Yes, these store beautifully in an airtight container in the refrigerator for up to one week. You can also freeze the shaped, uncoated balls for up to 3 months, then thaw and coat when ready to serve.
- → What's the best way to get the egg shape?
-
Use slightly larger portions (about 1.5 tablespoons) and gently roll the dough between your palms to form an oval, then slightly taper one end. The dough firms up during freezing, making it easier to refine the shape before coating.
- → Do I need to remove the Oreo filling first?
-
No, keep the creamy center intact. The filling combines with the additional cream cheese to create the perfect dough consistency. Simply pulse the entire sandwich cookies together.
- → Why do the balls need freezing before dipping?
-
Freezing for 30 minutes firms the dough so it doesn't fall apart when dipped in warm melted chocolate. This step is essential for maintaining the egg shape during coating.
- → Can I use different types of chocolate?
-
Absolutely. Semi-sweet, white, dark, or milk chocolate all work wonderfully. You can also use colored candy melts for vibrant Easter colors without additional food coloring.
