 Pin This
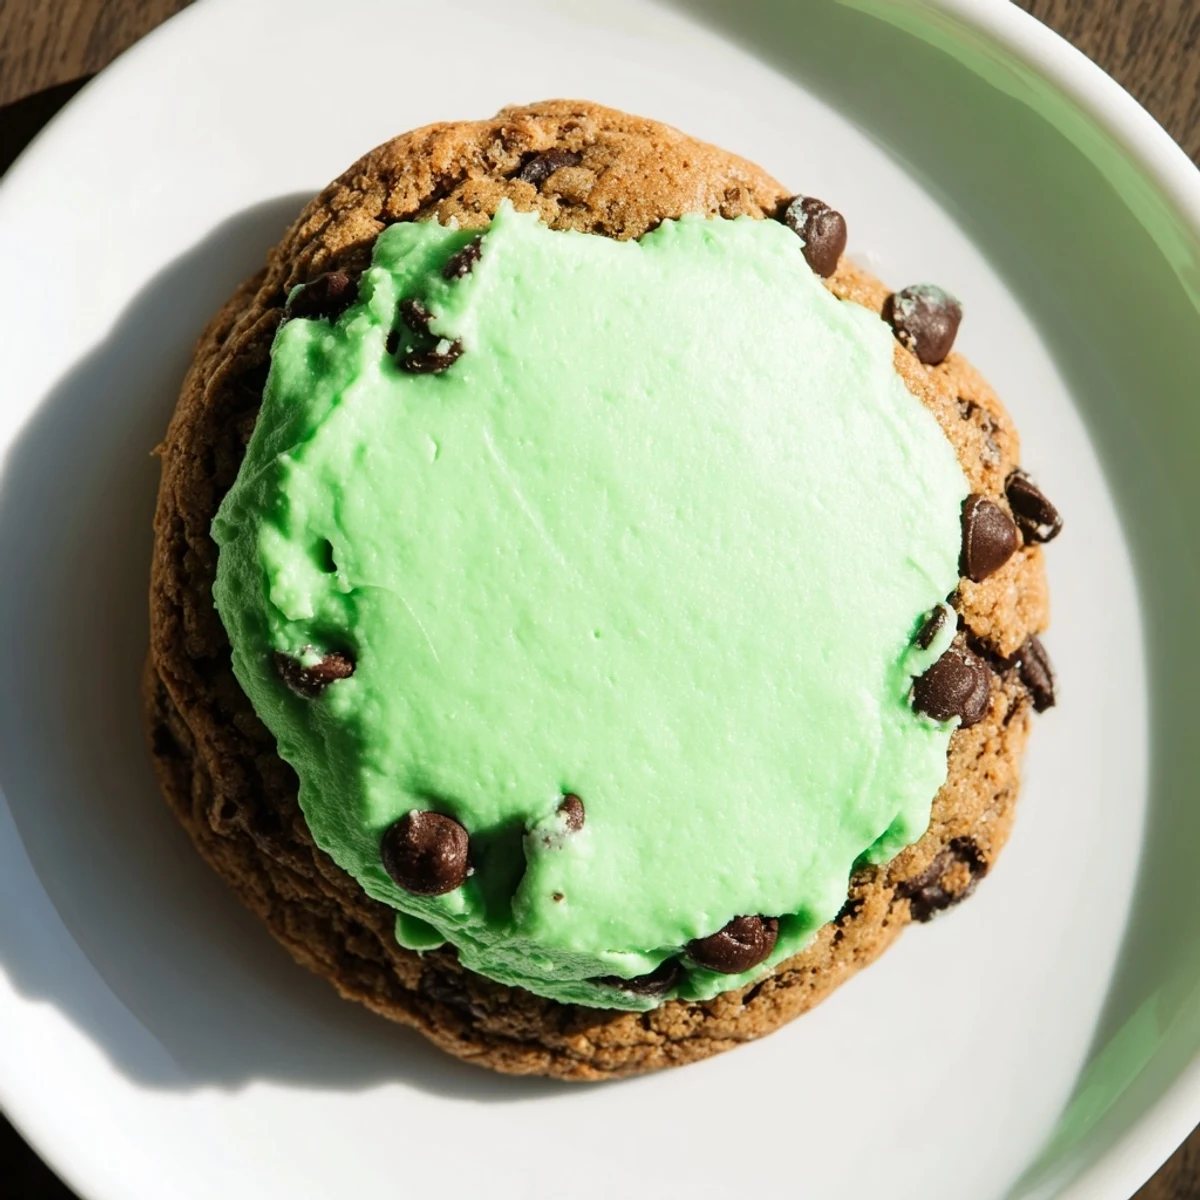
 These delicious chocolate mint cookies combine rich cocoa and peppermint extract for a refreshing flavor. Soft yet firm, the cookie base is enhanced with semi-sweet chocolate chips, offering bursts of melty chocolate throughout. Topped with a smooth, creamy green frosting made from butter, powdered sugar, milk, and peppermint, the dessert is visually striking and full of bright minty notes. Ideal for holiday gatherings or anytime you crave a sweet treat with a refreshing twist, these cookies balance rich chocolate and cool mint perfectly.
The first time I made these cookies was during a Christmas baking marathon that turned into a complete kitchen disaster. I was exhausted, covered in flour, and somehow managed to drop an entire bottle of green food coloring on the floor. But when I finally pulled those chocolate mint beauties out of the oven and slathered them with that ridiculous green frosting, something magical happened. My taste tester took one bite and refused to share the batch with anyone else.
Last summer I brought a batch to a neighborhood potluck and watched my friend Sarah reluctantly try one because she swore mint and chocolate was a weird combination. Ten minutes later I caught her sneaking a third cookie into her purse. Now she requests them for every single gathering and has started calling them her guilty pleasure.
Ingredients
- 1 cup unsalted butter softened: Room temperature butter is non negotiable here. Cold butter will fight you and result in dense cookies instead of the chewy edges we want.
- 1 cup granulated sugar: Creates that crisp exterior while the brown sugar keeps centers soft
- 1/2 cup light brown sugar packed: The molasses in brown sugar adds moisture and depth that balances the bright mint
- 2 large eggs: Bring these to room temperature too. Cold eggs can seize up your butter mixture.
- 1 teaspoon vanilla extract: Dont use the imitation stuff. Pure vanilla makes a difference you can actually taste.
- 1 teaspoon peppermint extract: Start here. You can always add more but you cannot take it back.
- 2 cups all purpose flour: No need to sift unless your flour is super clumpy. Just fluff it with a spoon before measuring.
- 3/4 cup unsweetened cocoa powder: Dutch processed cocoa gives a deeper chocolate flavor but regular works perfectly fine.
- 1 teaspoon baking soda: This gives the cookies just enough lift without turning them into cake.
- 1/2 teaspoon salt: Enhances the chocolate flavor. Use a fine grain salt so it dissolves evenly.
- 1 cup semisweet chocolate chips: Fold these in gently. Overmixing will turn your chocolate streaks into gray dough.
- 1/2 cup unsalted butter softened: For the frosting. Seriously do not try to microwave soften it. You will regret it.
- 2 cups powdered sugar sifted: Sifting prevents lumpy frosting. I learned this the hard way after serving cookies with bumpy frosting.
- 2 tablespoons milk: Whole milk makes a richer frosting but whatever you have in the fridge works.
- 1/2 teaspoon peppermint extract: This is the mint in the frosting. Go light handed. Mint can overpower quickly.
- Green food coloring: Gel coloring gives a more vibrant green with less liquid. Liquid coloring can make your frosting too soft.
- Pinch of salt: A tiny bit cuts through all that sugar and makes the frosting taste more complex.
Instructions
- Get your oven ready:
- Preheat to 350°F and line two baking sheets with parchment paper. Parchment is your friend for easy cleanup and prevents stuck cookies.
- Cream the butter and sugars:
- Beat butter granulated sugar and brown sugar until the mixture looks pale and fluffy. This usually takes about 3 minutes of serious mixing.
- Add the eggs and extracts:
- Beat in eggs one at a time. Then mix in vanilla and peppermint extracts until combined.
- Whisk the dry ingredients:
- In a separate bowl combine flour cocoa powder baking soda and salt. Give it a good whisk to break up any cocoa clumps.
- Combine everything:
- Gradually add the dry ingredients to the wet ingredients mixing just until you no longer see flour streaks. Fold in chocolate chips by hand.
- Scoop the dough:
- Drop tablespoon sized balls onto prepared baking sheets. Space them about 2 inches apart. These do spread a bit.
- Bake to perfection:
- Bake for 8 to 10 minutes. The cookies should look set but still soft in the center. Overbaked mint cookies taste sad and dry.
- Cool completely:
- Let them sit on the baking sheets for 5 minutes then move to a wire rack. Frosting warm cookies is a rookie mistake that ends in melted green mess everywhere.
- Make the frosting:
- Beat the butter until creamy. Slowly add powdered sugar then milk peppermint extract food coloring and salt. Beat until smooth and fluffy.
- Frost and serve:
- Spread or pipe frosting onto completely cooled cookies. Let the frosting set for about 15 minutes before serving or stacking.
 Pin This
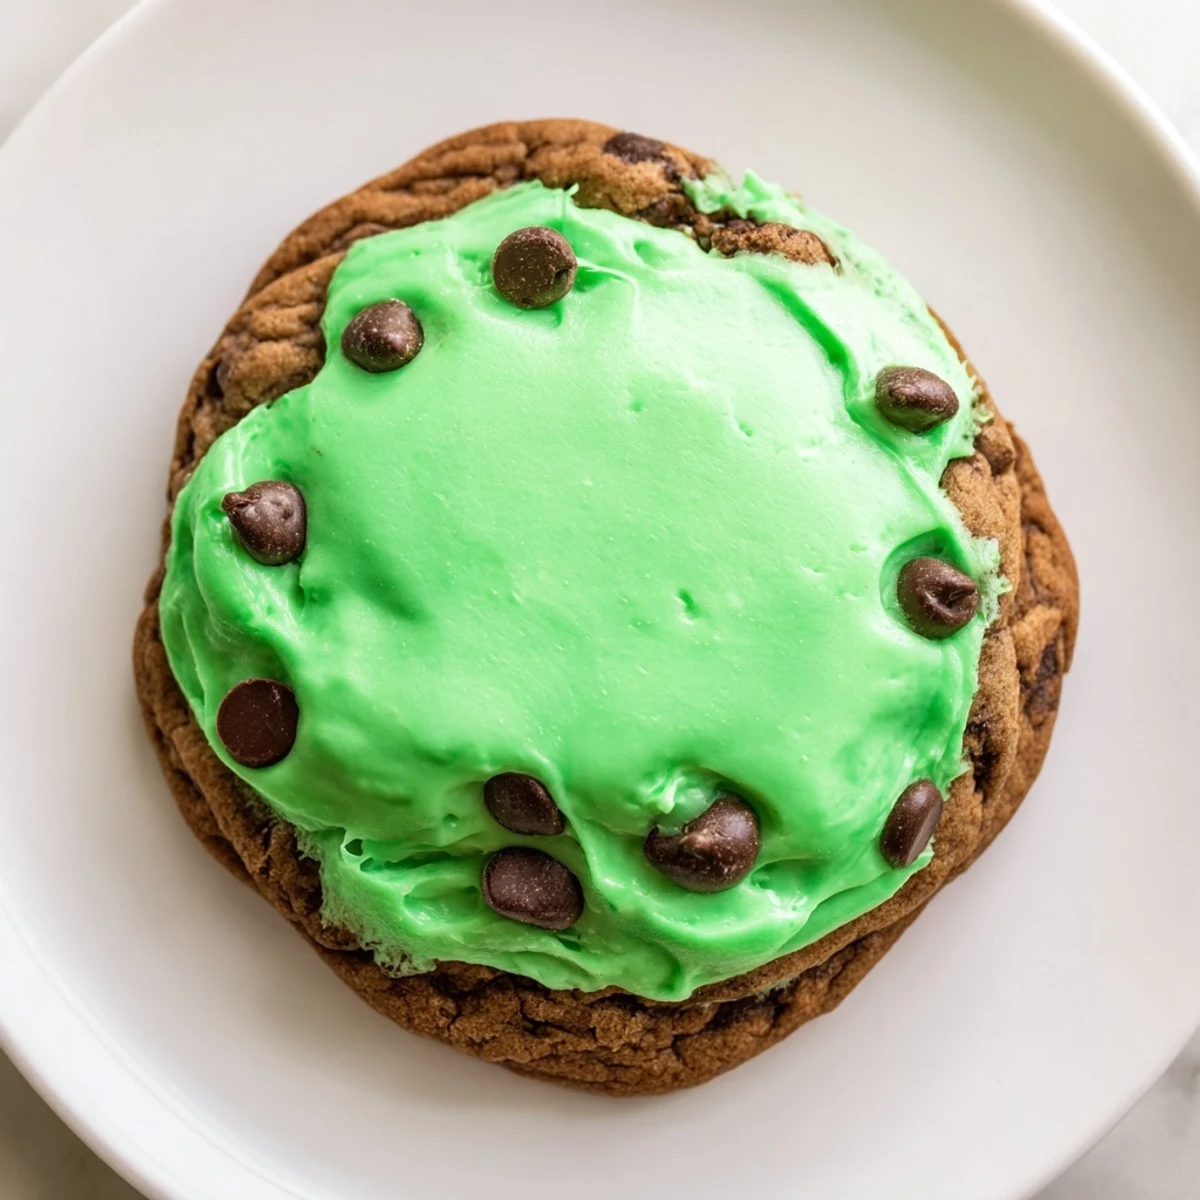
 These cookies became my go to birthday treat for my niece who insists they taste like Christmas in July. The first time she saw me making them she stood on a chair watching every step and declared she would marry someone who bakes these for her. I told her that is an excellent life goal.
Getting The Right Green Color
I once accidentally made forest green frosting because I got aggressive with the food coloring. The cookies tasted amazing but looked like little Christmas trees. Start with one drop of gel coloring or two drops of liquid. You can always add more but that neon green is impossible to tone down.
Mint Intensity Matters
Not all peppermint extracts are created equal. Some are subtle and others will clear your sinuses. Taste your frosting after adding half the extract and adjust from there. I learned this after making cookies so minty my brother accused me of trying to poison him.
Storage And Make Ahead Tips
These cookies actually taste better the next day when the mint has had time to mellow into the chocolate. Store them in a single layer with wax paper between layers if you need to stack them. The frosting can stick together and nobody wants a cookie disaster.
- Unfrosted cookies freeze beautifully for up to three months
- Frosting can be made ahead and stored in the refrigerator for two days
- Let refrigerated frosting come to room temperature and rewhip before using
 Pin This
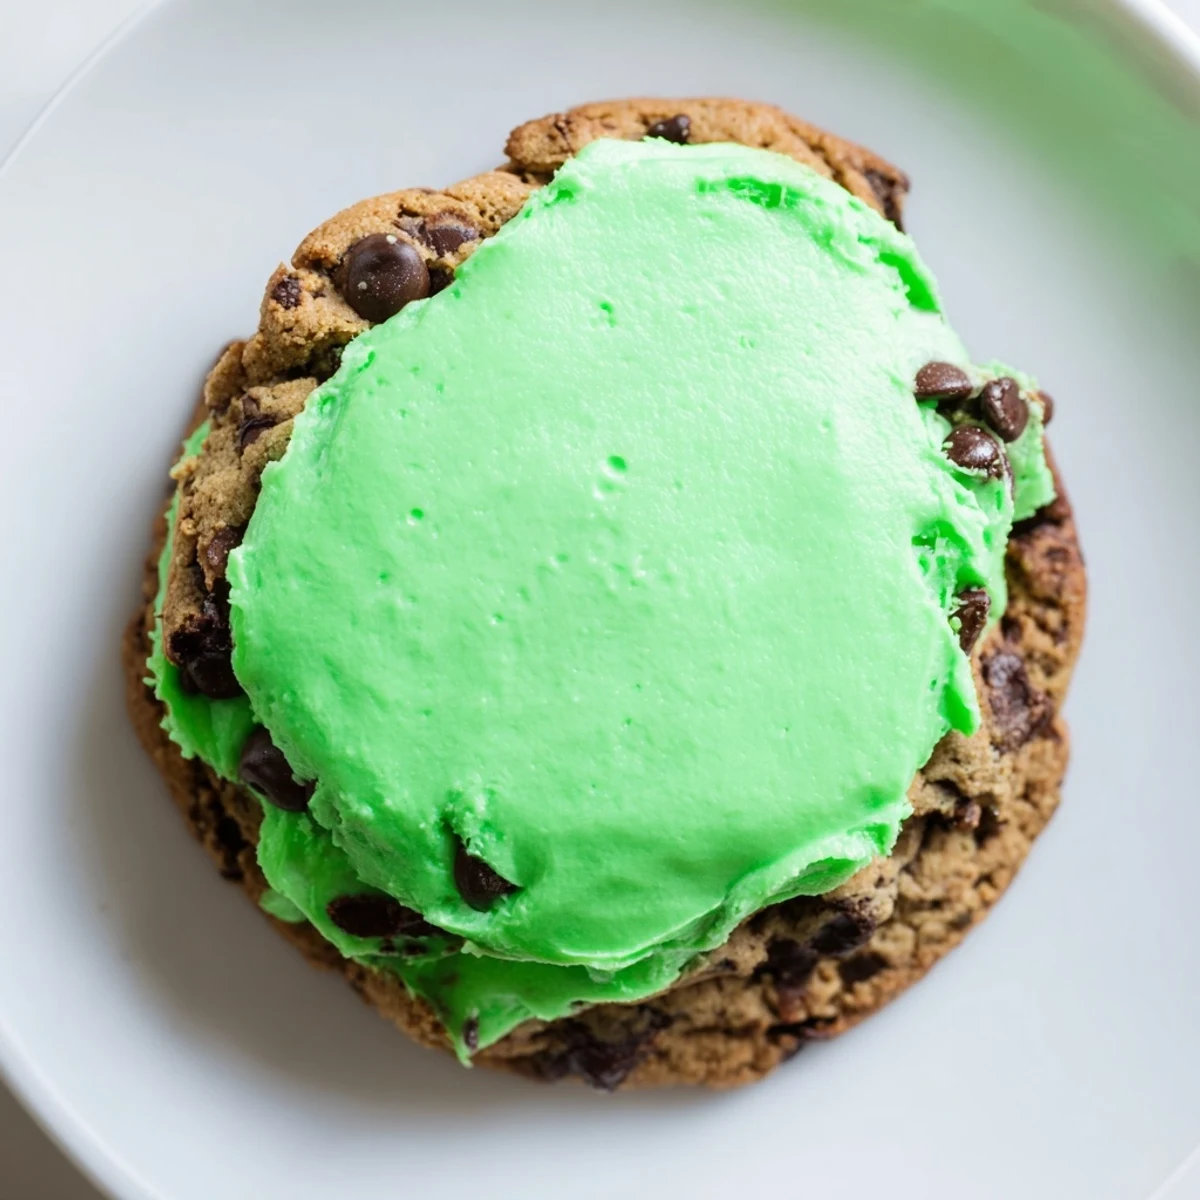
 Every time I make these I remember why mint and chocolate became such a classic pairing. The refreshing mint cuts through the rich chocolate in a way that makes these completely impossible to stop eating.
Questions & Answers
- → Can I use dairy-free alternatives for butter and milk?
-
Yes, plant-based butter and milk can replace dairy ingredients to make these suitable for dairy-free diets while maintaining texture and flavor.
- → How to make the mint flavor stronger?
-
Increase the amount of peppermint extract in both the cookie dough and frosting, or top with crushed mint candies for an extra burst of mint.
- → What is the best way to store the cookies?
-
Store in an airtight container at room temperature for up to four days to keep them fresh and flavorful.
- → Can these cookies be frozen?
-
Yes, the un-frosted cookies can be frozen. Wrap tightly and store for up to 3 months. Frost after thawing for best results.
- → What baking tips ensure soft centers?
-
Bake the cookies until just set and slightly soft in the center, then cool on the baking sheet before transferring to a wire rack.
