 Pin This
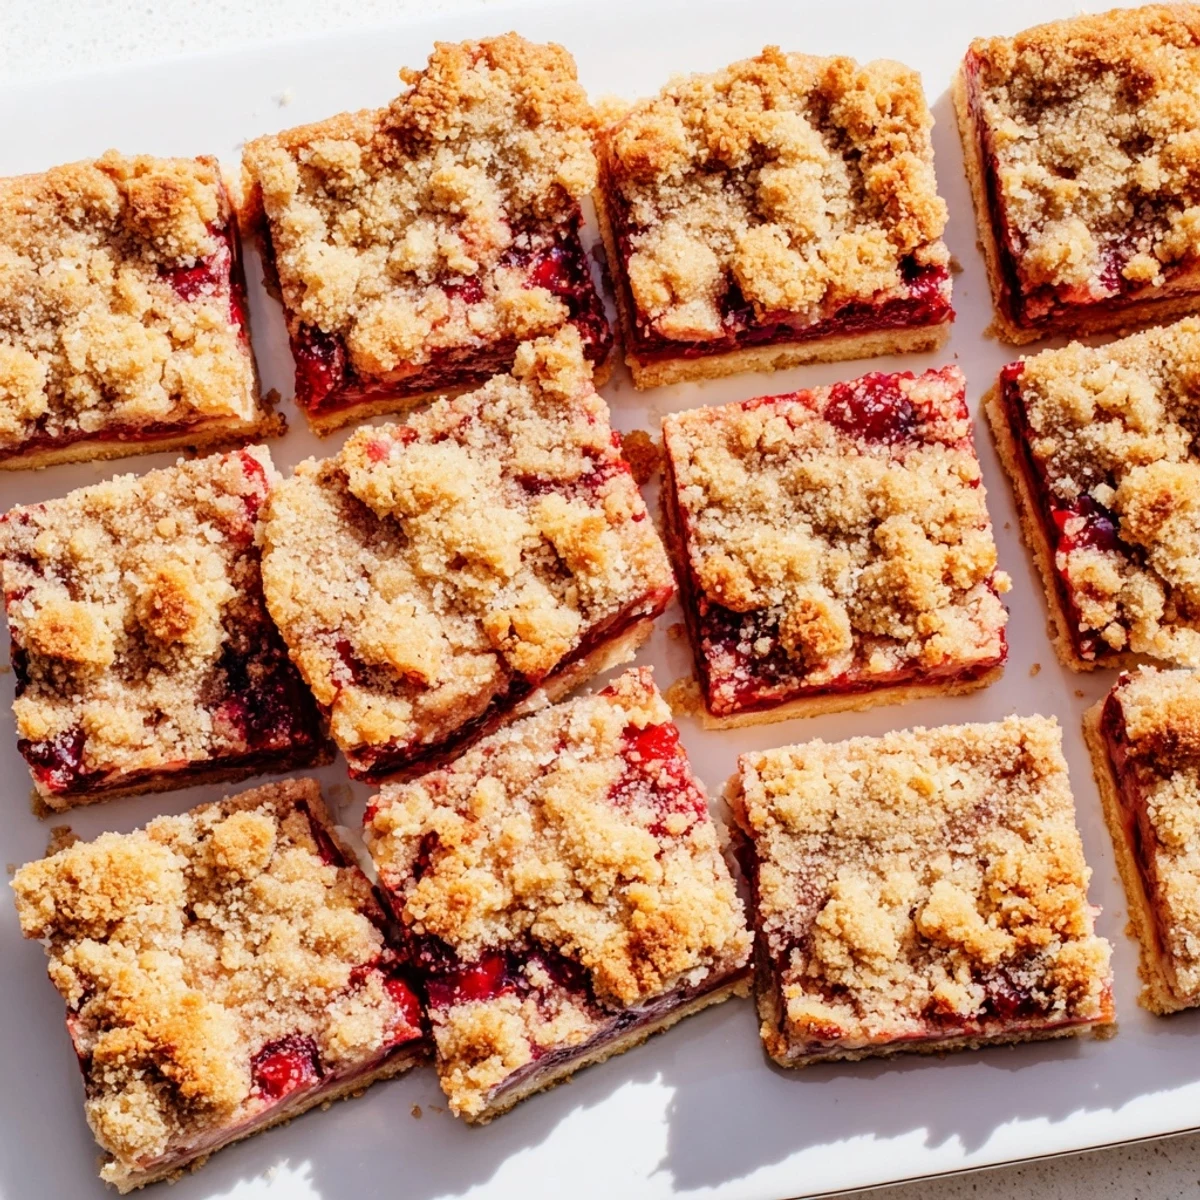
 These Cherry Crumble Bars feature a buttery, cinnamon-spiced crust topped with a luscious sweet-tart cherry filling and finished with a generous layer of crumble topping. The combination of fresh or frozen cherries with the tender, golden crust creates the perfect balance of fruity and rich flavors.
Simple enough for beginner bakers yet impressive enough for gatherings, these bars come together in just 20 minutes of active preparation. The cherry filling thickens beautifully as it bakes, while the crumble topping becomes perfectly golden and crisp.
Customize easily by swapping cherries for mixed berries or blueberries. Serve them plain, or dress them up with whipped cream or vanilla ice cream for an extra indulgent treat.
Last summer I found myself with three pounds of cherries from a roadside stand and absolutely no plan. The vendor had been so enthusiastic about his crop that I bought twice what I needed. These bars were born from that happy accident, turning potential fruit waste into something my family now requests by name.
My neighbor knocked on my door while these were in the oven, drawn by the smell of cinnamon and bubbling fruit. She ended up staying for coffee just so she could try one warm from the pan. Now theyre her go-to contribution to every neighborhood gathering.
Ingredients
- 2 cups all-purpose flour: The foundation of your crumble, providing structure without weighing down the buttery layers
- 1 cup granulated sugar: Sweetens both the crust and filling, creating that bakery-style sweetness we crave
- 1/2 teaspoon baking powder: Gives the crumble a subtle lift so its tender rather than dense or hard
- 1/4 teaspoon salt: Essential for balancing the sugar and enhancing all the flavors
- 1/2 teaspoon ground cinnamon: Adds warmth that pairs beautifully with the natural tartness of cherries
- 1 cup unsalted butter, cold and diced: Cold butter creates those irresistible pockets of flaky texture in the crumble topping
- 1 large egg: Binds the dough together while keeping the crumble tender rather than sandy
- 3 cups pitted fresh or frozen cherries, halved: Fresh cherries in season are ideal but frozen work beautifully year-round
- 1/2 cup granulated sugar: Sweetens the tart cherries just enough to let their natural flavor shine through
- 2 tablespoons cornstarch: Thickens the cherry juices as they bake, preventing a soggy bottom layer
- 1 tablespoon lemon juice: Brightens the filling and enhances the cherries natural acidity
- 1/2 teaspoon vanilla extract: Rounds out the fruit flavors with that classic baked-goods warmth
Instructions
- Get your oven and pan ready:
- Preheat your oven to 350°F and line a 9x9-inch pan with parchment paper, leaving those overhanging edges like little handles for easy lifting later
- Make the crumble base:
- Whisk together your flour, sugar, baking powder, salt, and cinnamon until everything is evenly combined
- Work in the butter:
- Add the cold diced butter and egg, using a pastry cutter or your fingers to blend until the mixture looks like coarse crumbs with some pea-sized pieces remaining
- Press in the crust:
- Take about two-thirds of your crumble mixture and press it firmly and evenly into the bottom of your prepared pan
- Prepare the cherry filling:
- In a separate bowl, toss those halved cherries with sugar, cornstarch, lemon juice, and vanilla until every piece is coated
- Layer the filling:
- Spread your cherry mixture evenly over the pressed crust, making sure the cornstarch doesnt settle in one spot
- Top with remaining crumble:
- Sprinkle the rest of your crumble mixture over the cherries, leaving some clusters for that rustic, bakery look
- Bake until golden:
- Bake for 38 to 42 minutes until the top is golden brown and you can see the cherry filling bubbling happily around the edges
- Cool completely before cutting:
- Let the bars cool completely in the pan, then use those parchment handles to lift them out before cutting into squares
 Pin This
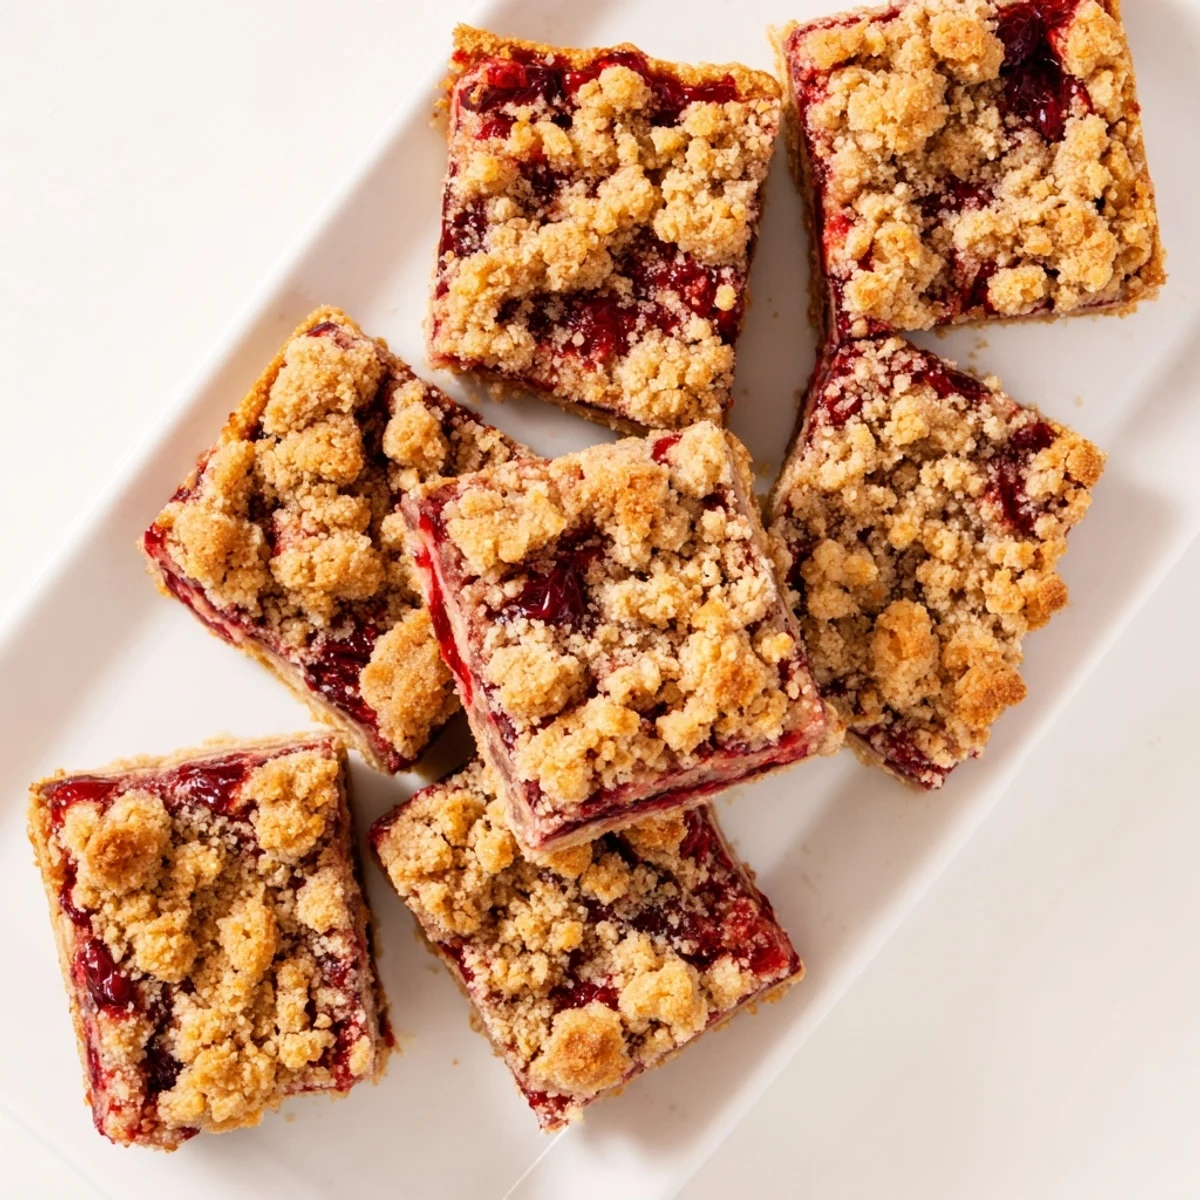
 These bars have become my emergency dessert, the one I can throw together when friends drop by unexpectedly. Theres something about the combination of warm fruit and buttery crumble that makes people feel instantly at home in my kitchen.
Making Them Your Own
Cherries are wonderful but this formula works with almost any fruit you have on hand. Ive made successful swaps with blueberries, peaches, and even a mix of berries when the fruit bowl was overflowing with odds and ends.
Storage Wisdom
These bars actually taste better on day two, once the flavors have had time to meld. Store them in an airtight container at room temperature for up to three days, or freeze them individually wrapped for those moments when you need a homemade treat in a pinch.
Serving Suggestions
While these are perfect on their own with morning coffee, a warm bar with a scoop of vanilla ice cream transforms them into dinner party material. I also like to serve them slightly warmed with a dollop of crème fraîche for that fancy bakery touch.
- Let them sit at room temperature for 20 minutes before serving if theyve been refrigerated
- A light dusting of powdered sugar right before serving makes them look extra special
- Cut them with a sharp knife wiped clean between slices for the cleanest edges
 Pin This
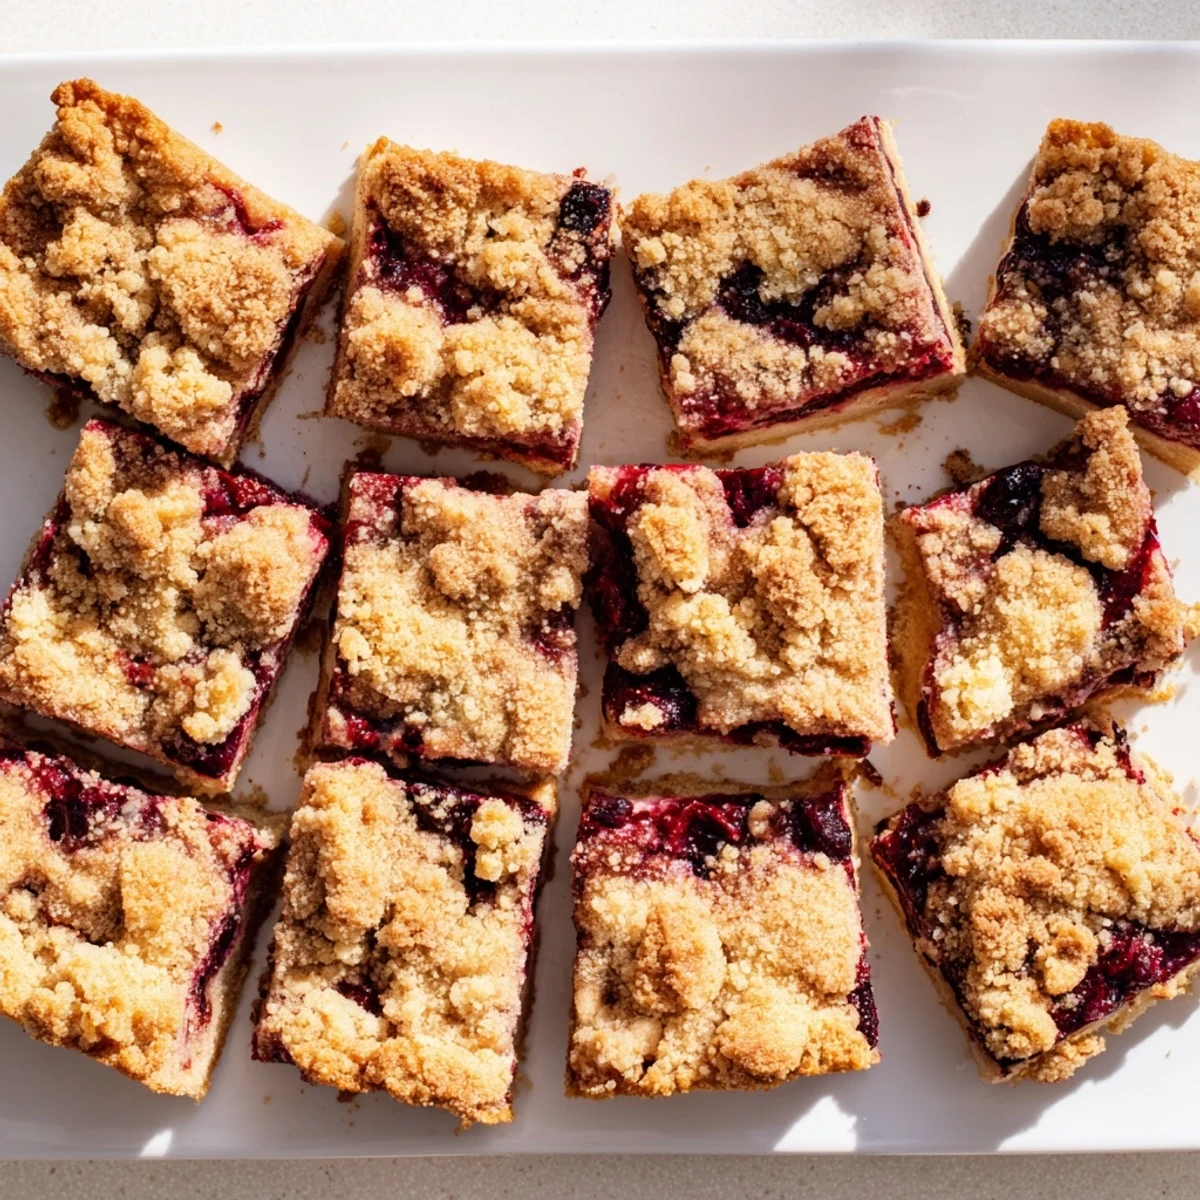
 I hope these bars find their way into your kitchen and become the kind of recipe you make without thinking, the one that feels like coming home every single time.
Questions & Answers
- → Can I use frozen cherries instead of fresh?
-
Absolutely! Frozen cherries work beautifully in these bars. No need to thaw them first—just toss them directly with the sugar and cornstarch mixture. They'll release the perfect amount of moisture as they bake, creating a luscious, thickened filling.
- → How do I know when the bars are done baking?
-
The bars are ready when the top is golden brown and you see the cherry filling bubbling around the edges, typically after 38–42 minutes at 350°F. The filling should be actively bubbling, which ensures the cornstarch has fully thickened the fruit juices.
- → Why must I cool the bars completely before cutting?
-
Cooling completely is essential for clean cuts. The filling needs time to set as it cools, which prevents it from oozing out when sliced. Let them rest at room temperature for at least 2–3 hours, or speed up the process by chilling in the refrigerator for about an hour.
- → Can I make these gluten-free?
-
Yes! Simply replace the all-purpose flour with a high-quality 1:1 gluten-free flour blend. The texture and taste will remain remarkably similar, making these accessible to everyone at your table while keeping that classic buttery crumble texture.
- → How should I store these bars?
-
Store the bars in an airtight container at room temperature for up to 3 days. For longer storage, keep them in the refrigerator for up to a week. You can also freeze them individually wrapped for up to 3 months—just thaw at room temperature before serving.
- → Can I substitute the cherries with other fruits?
-
Definitely! Mixed berries, blueberries, raspberries, or sliced stone fruits like peaches or plums all work wonderfully. Just keep the same measurements and adjust the sugar slightly based on the fruit's natural sweetness.
